DIY Rainbow Paper Plate Hat for Kids
[disclosure]
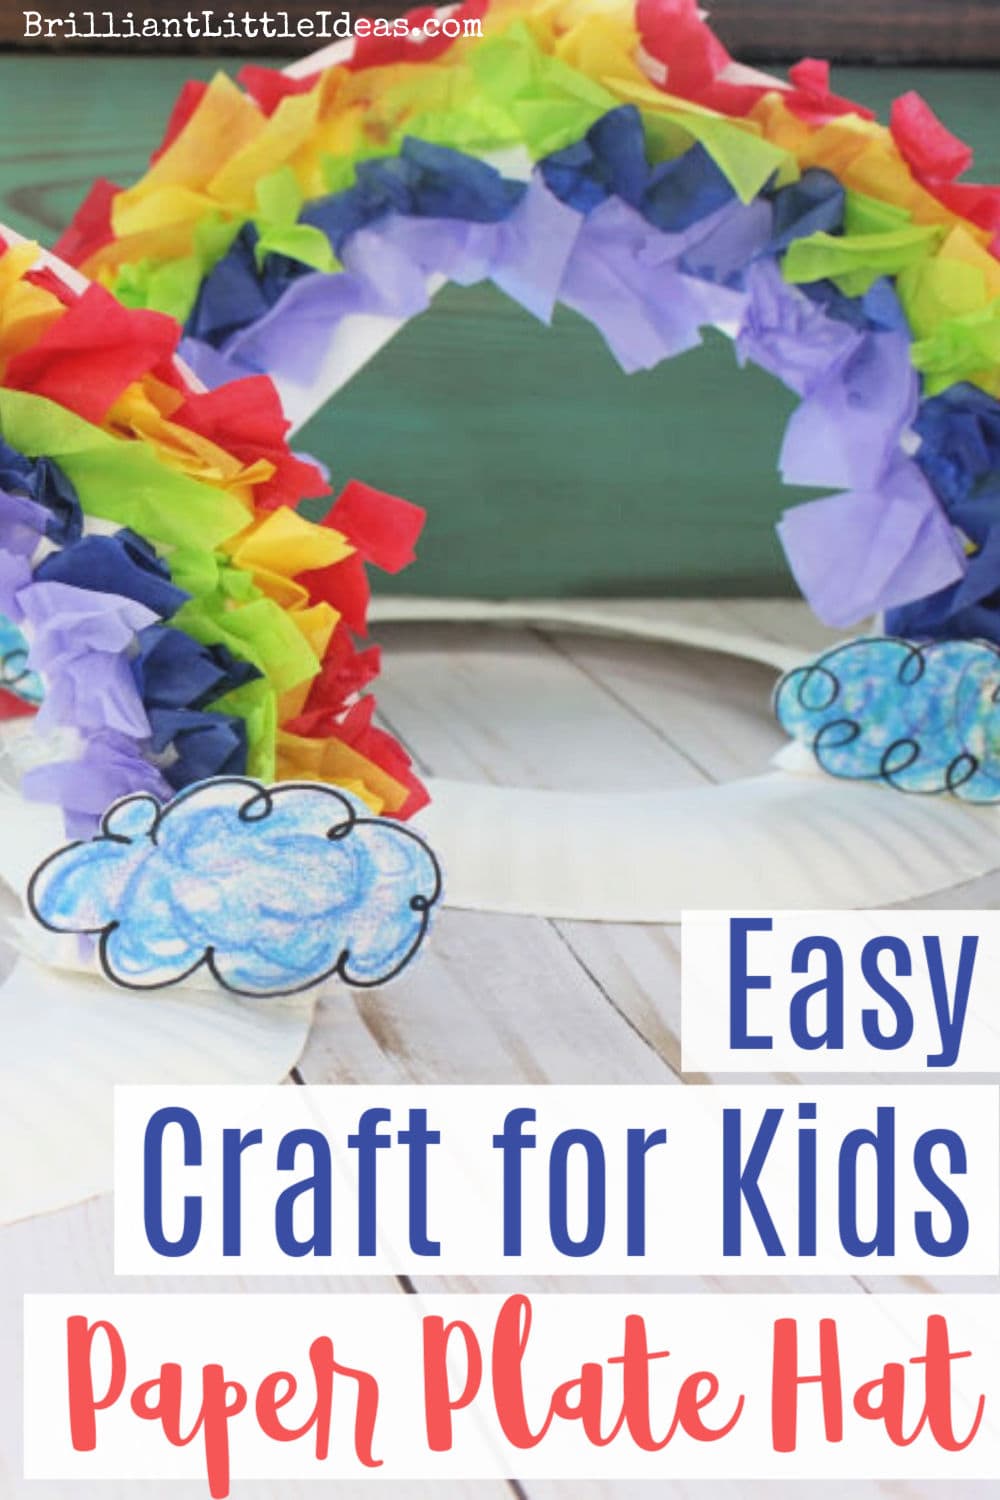
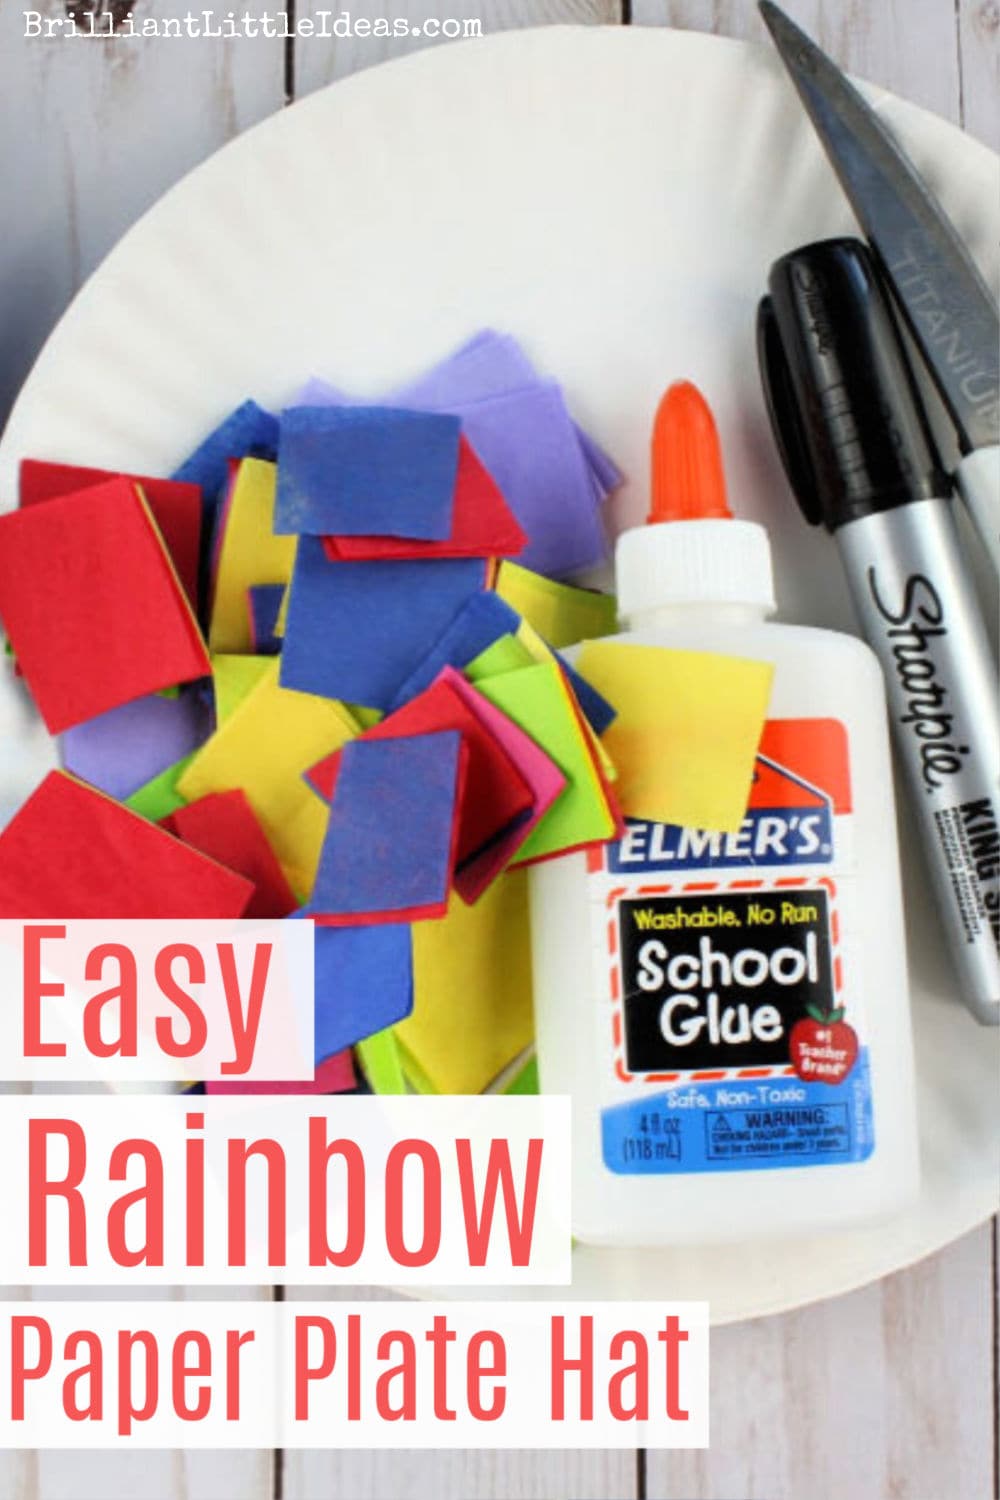
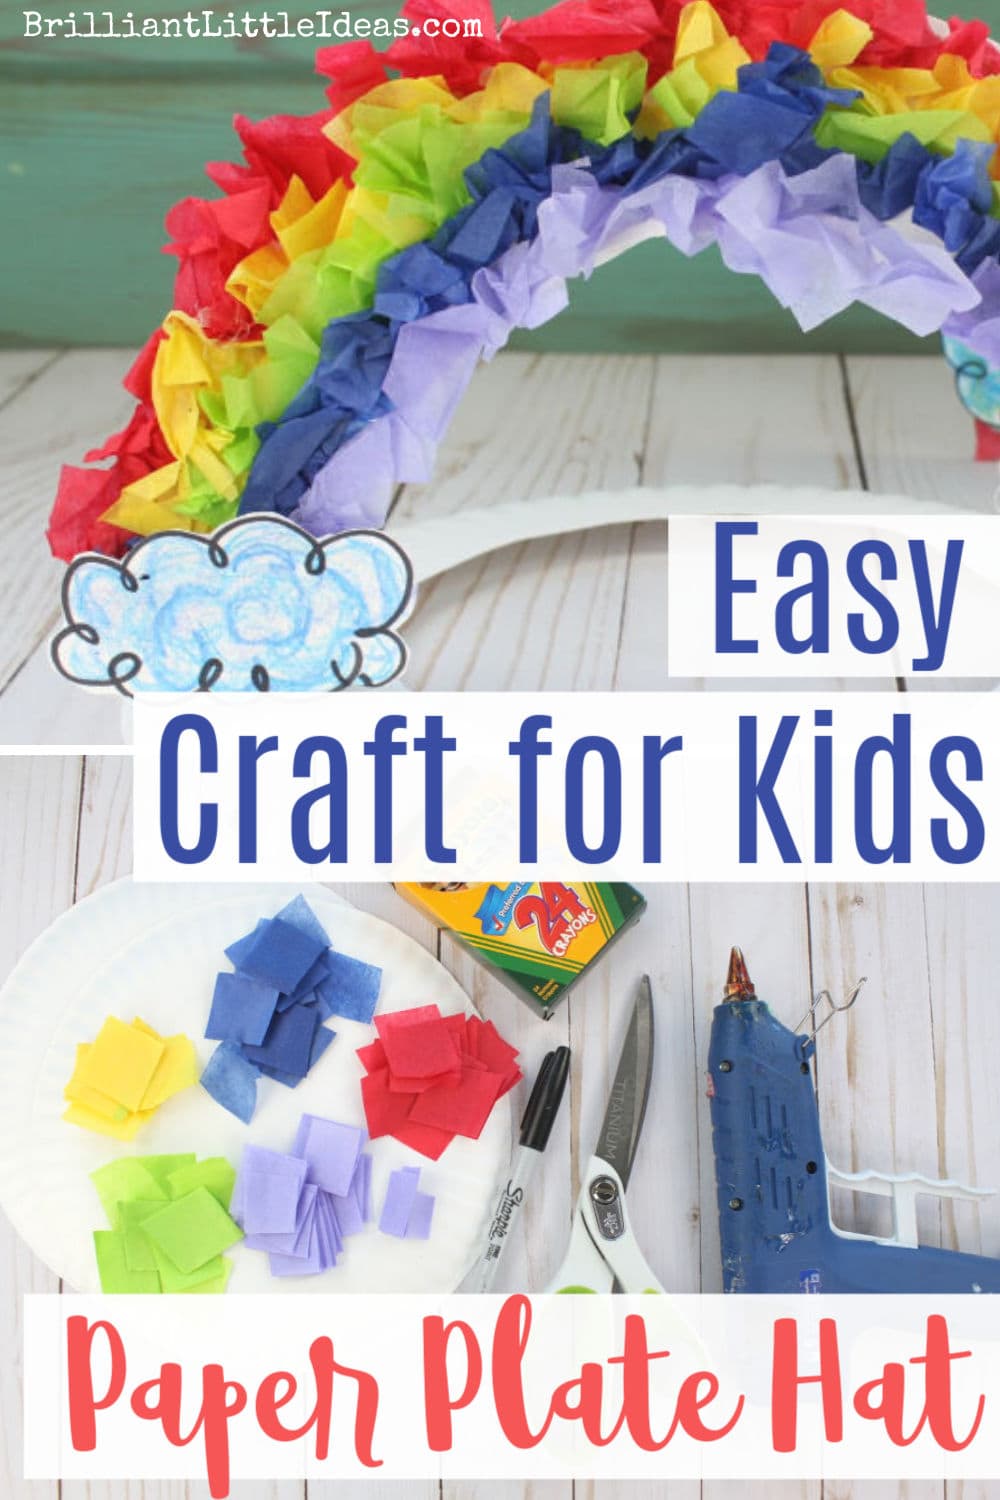
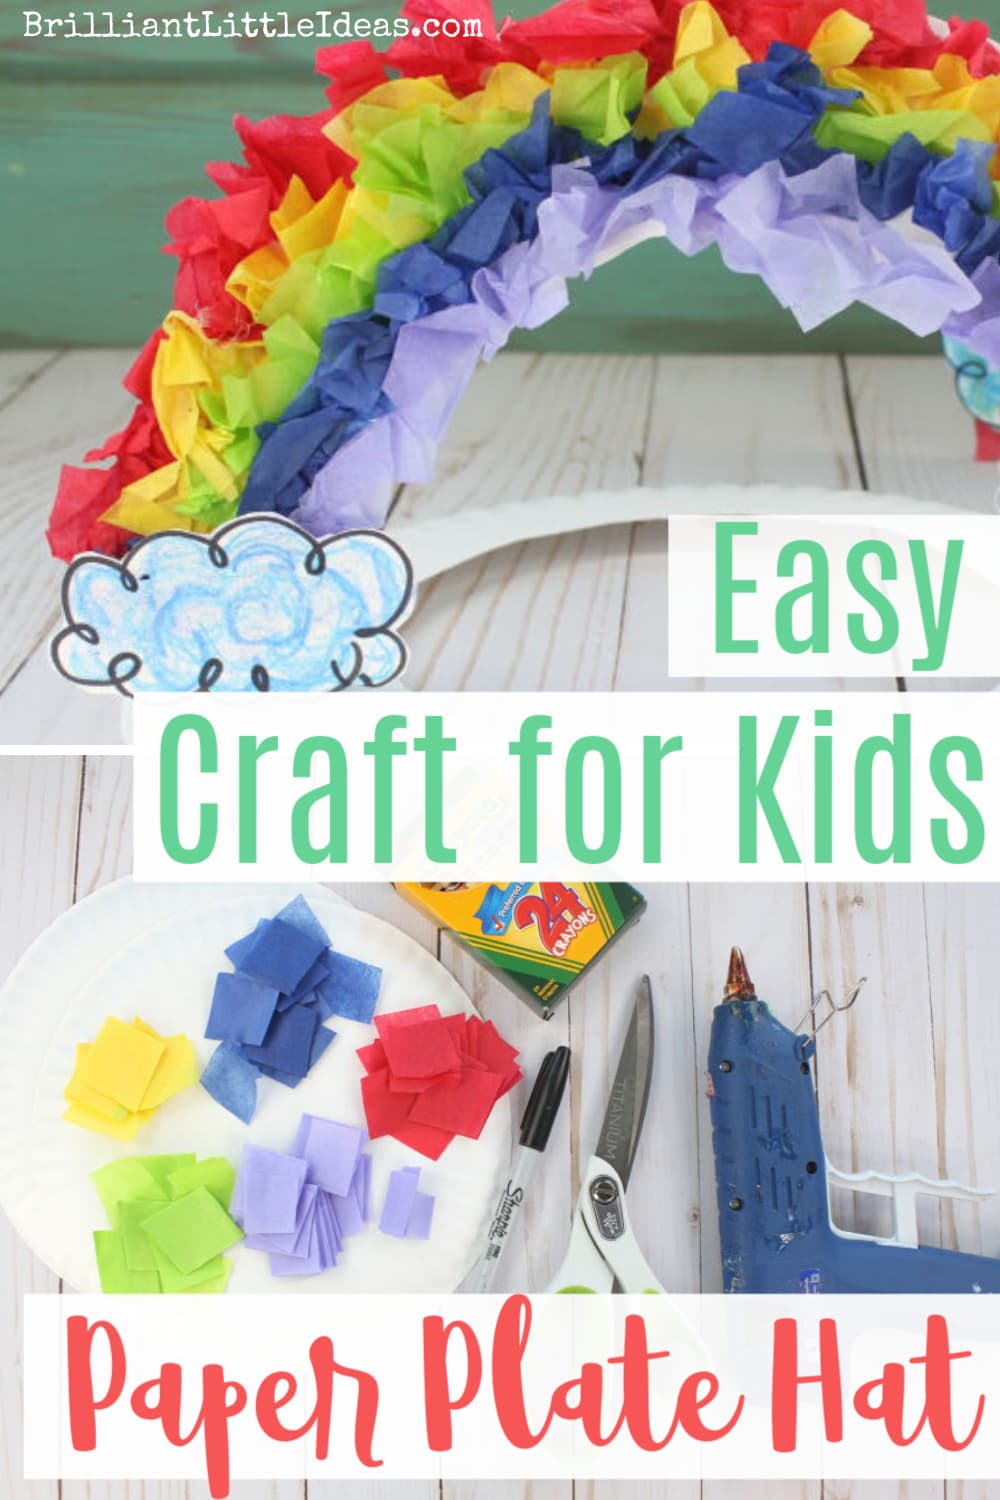
If you have paper plates, tissue paper, glue, and a marker. I have an Easy Paper Plate Hat Craft for your kids!
DIY Rainbow Paper Plate Hat for Kids
[disclosure]
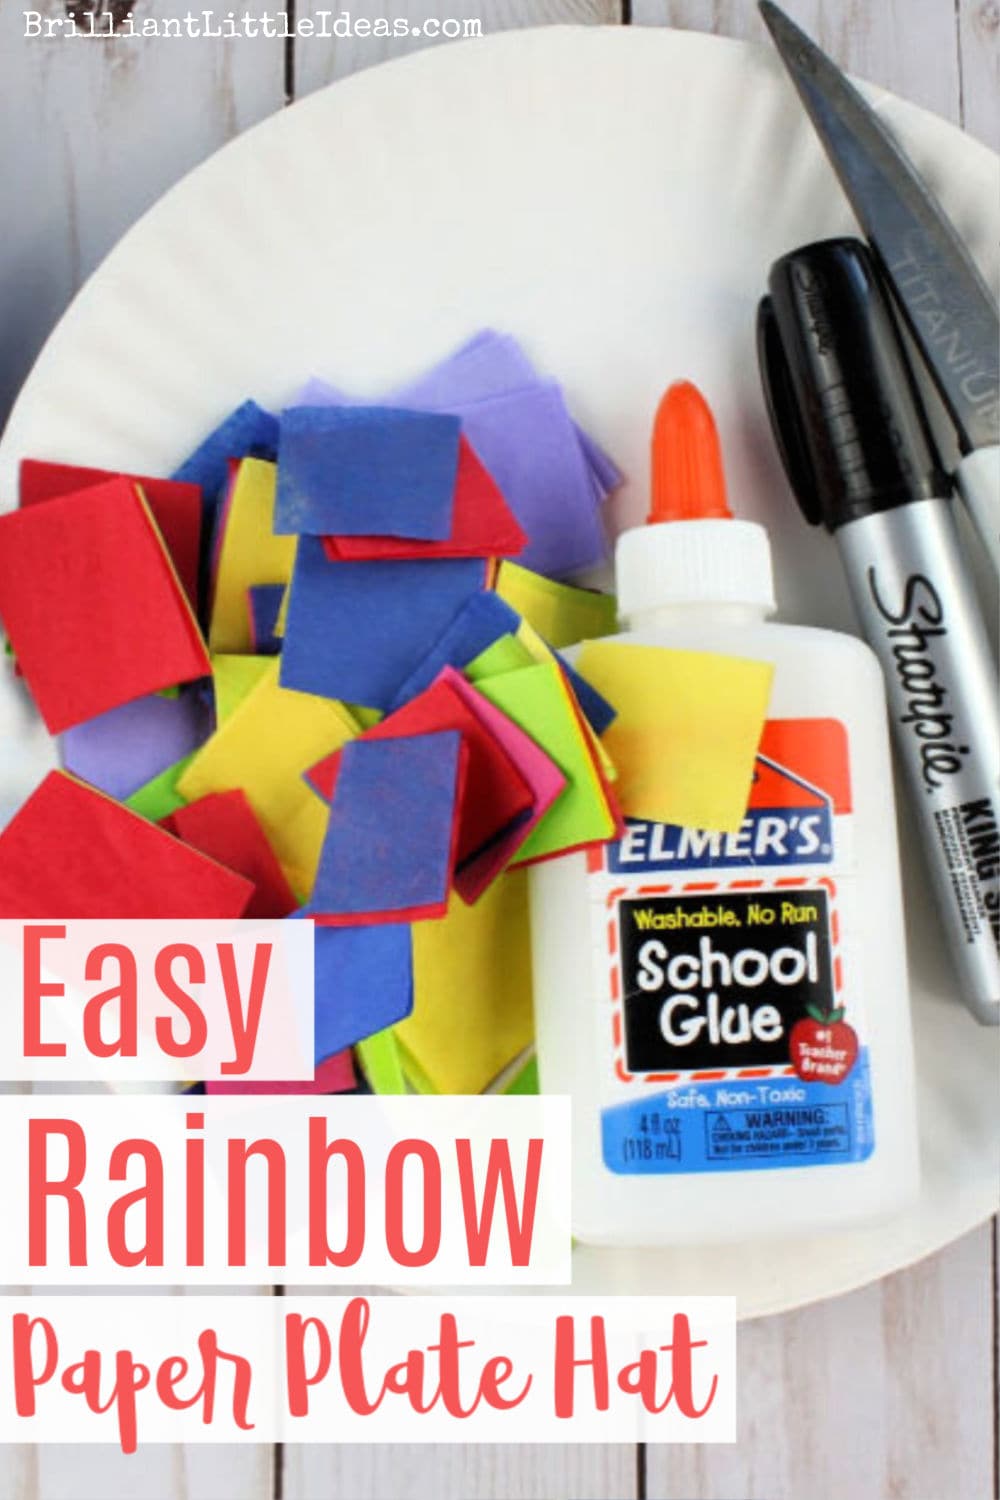
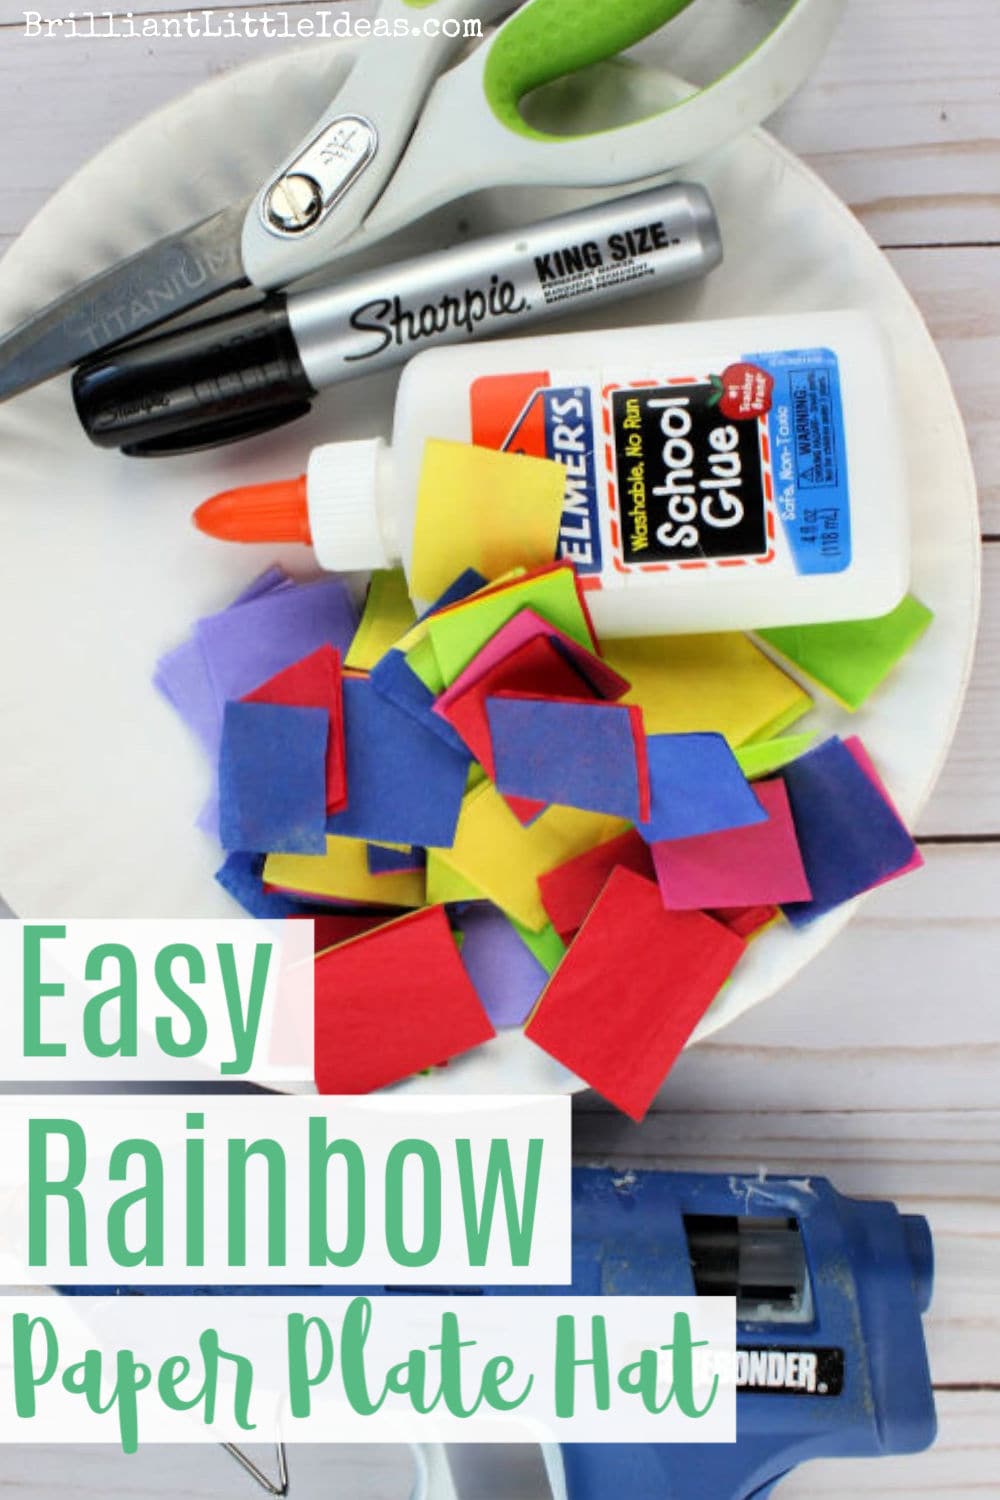
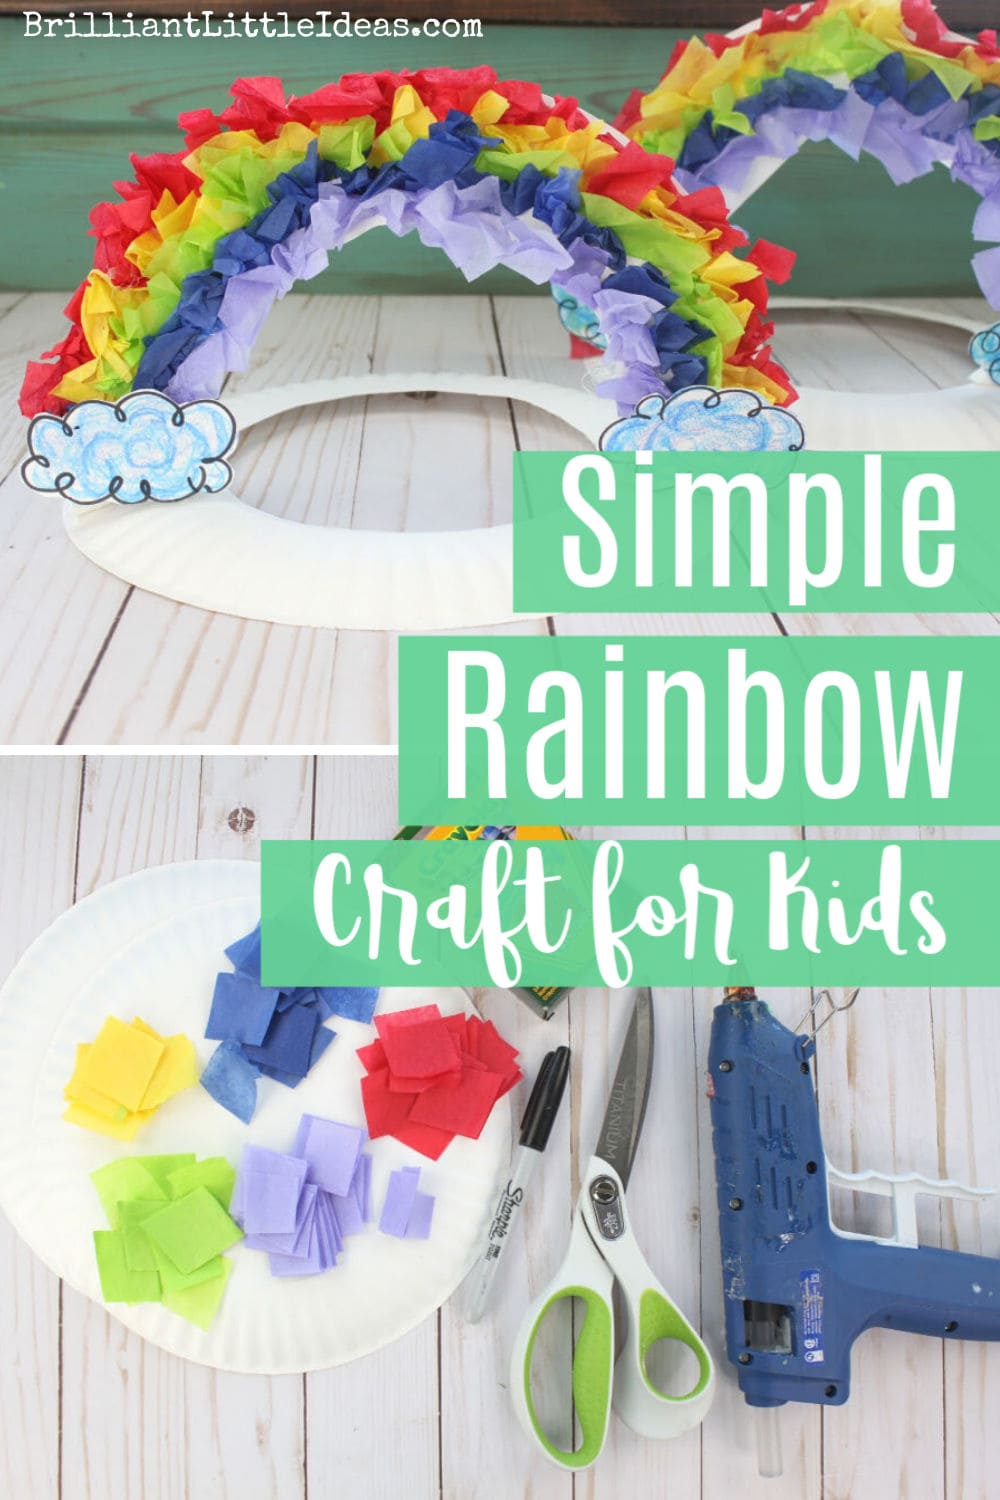
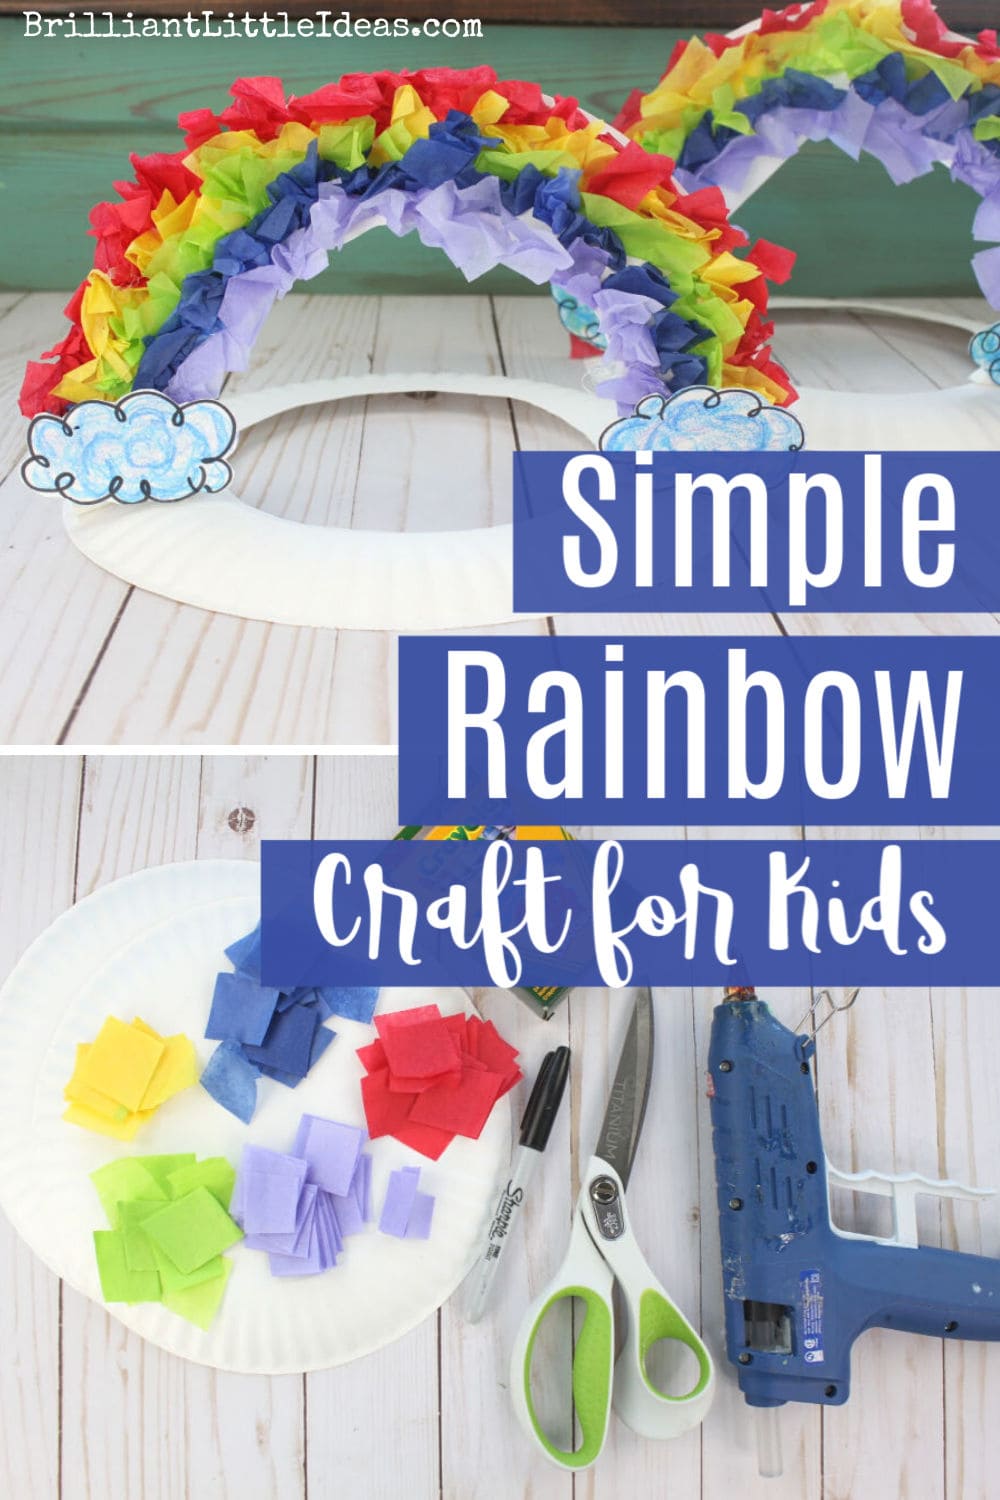
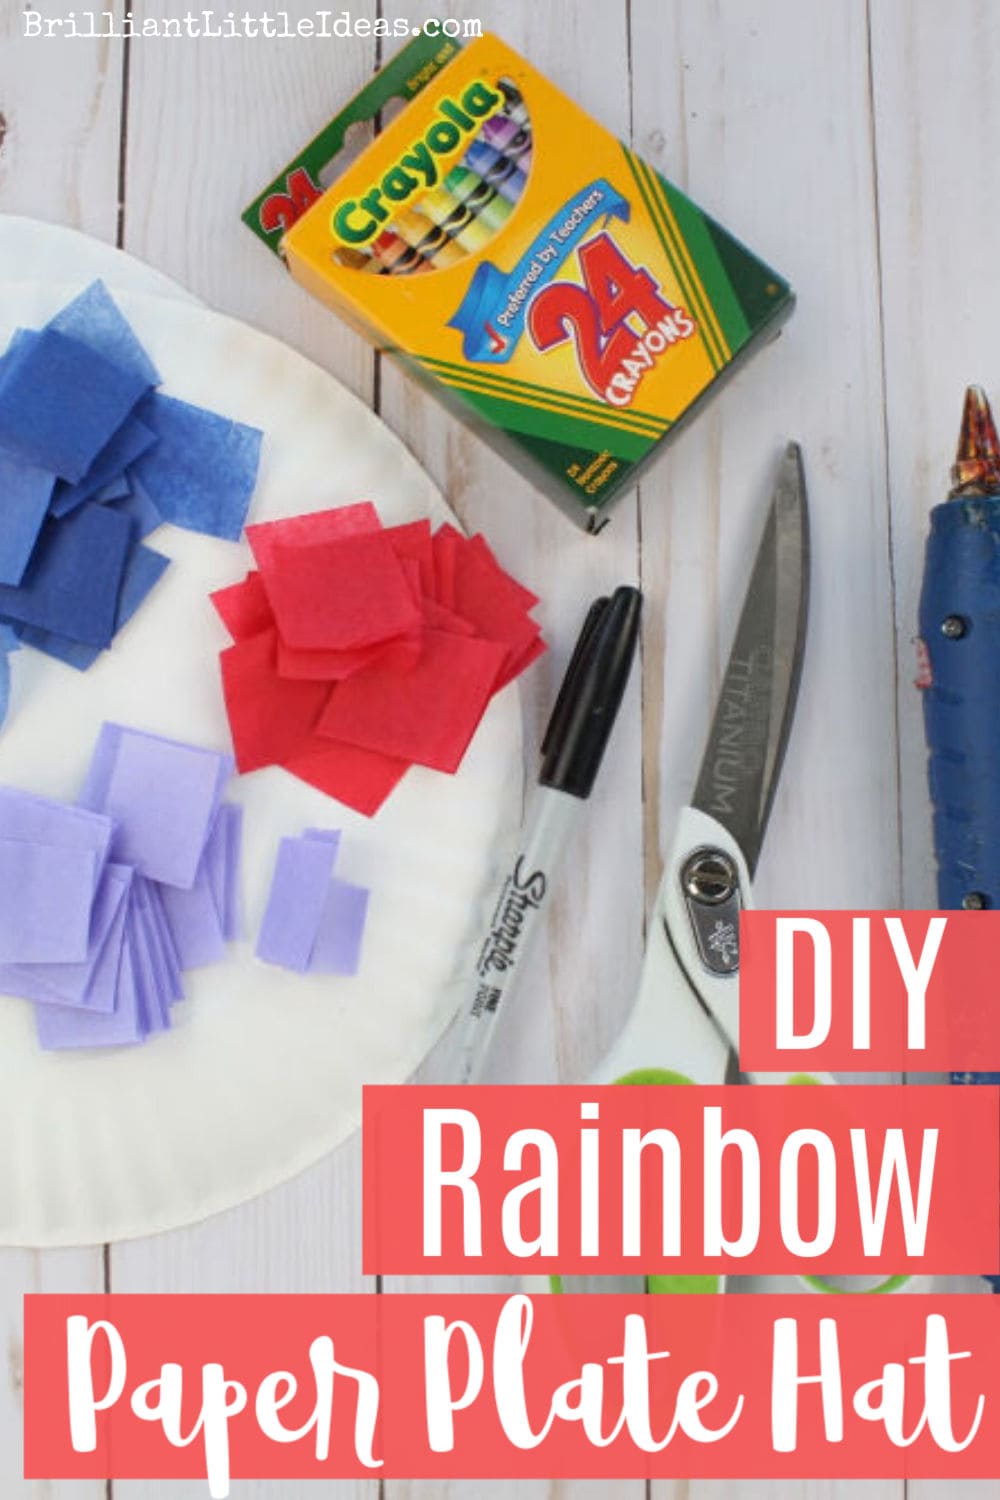
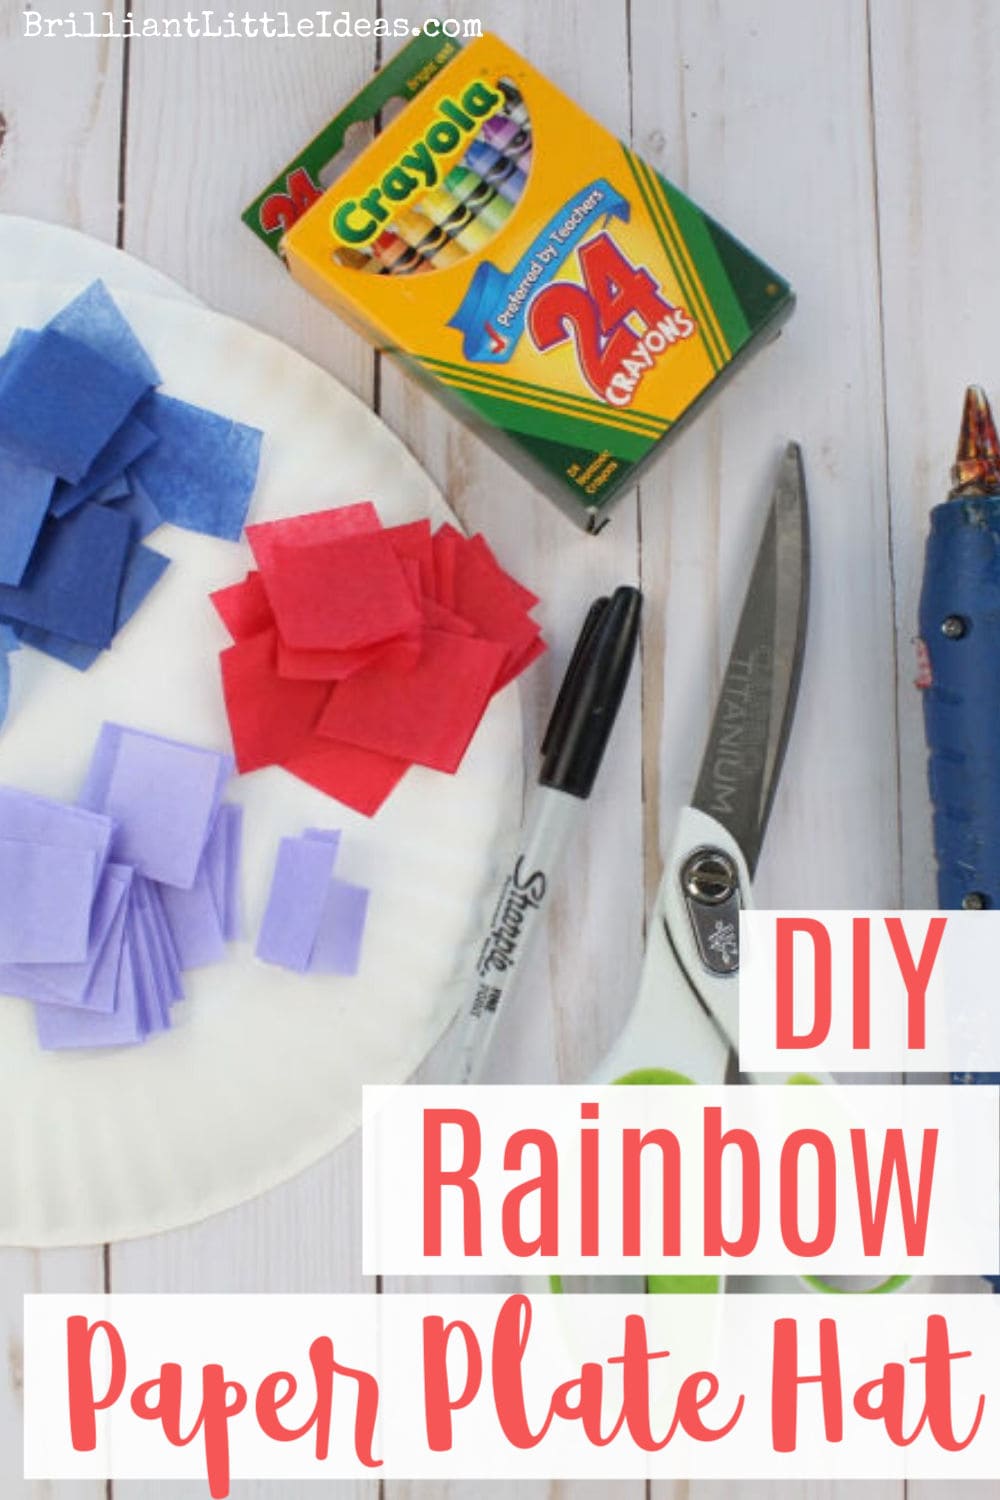
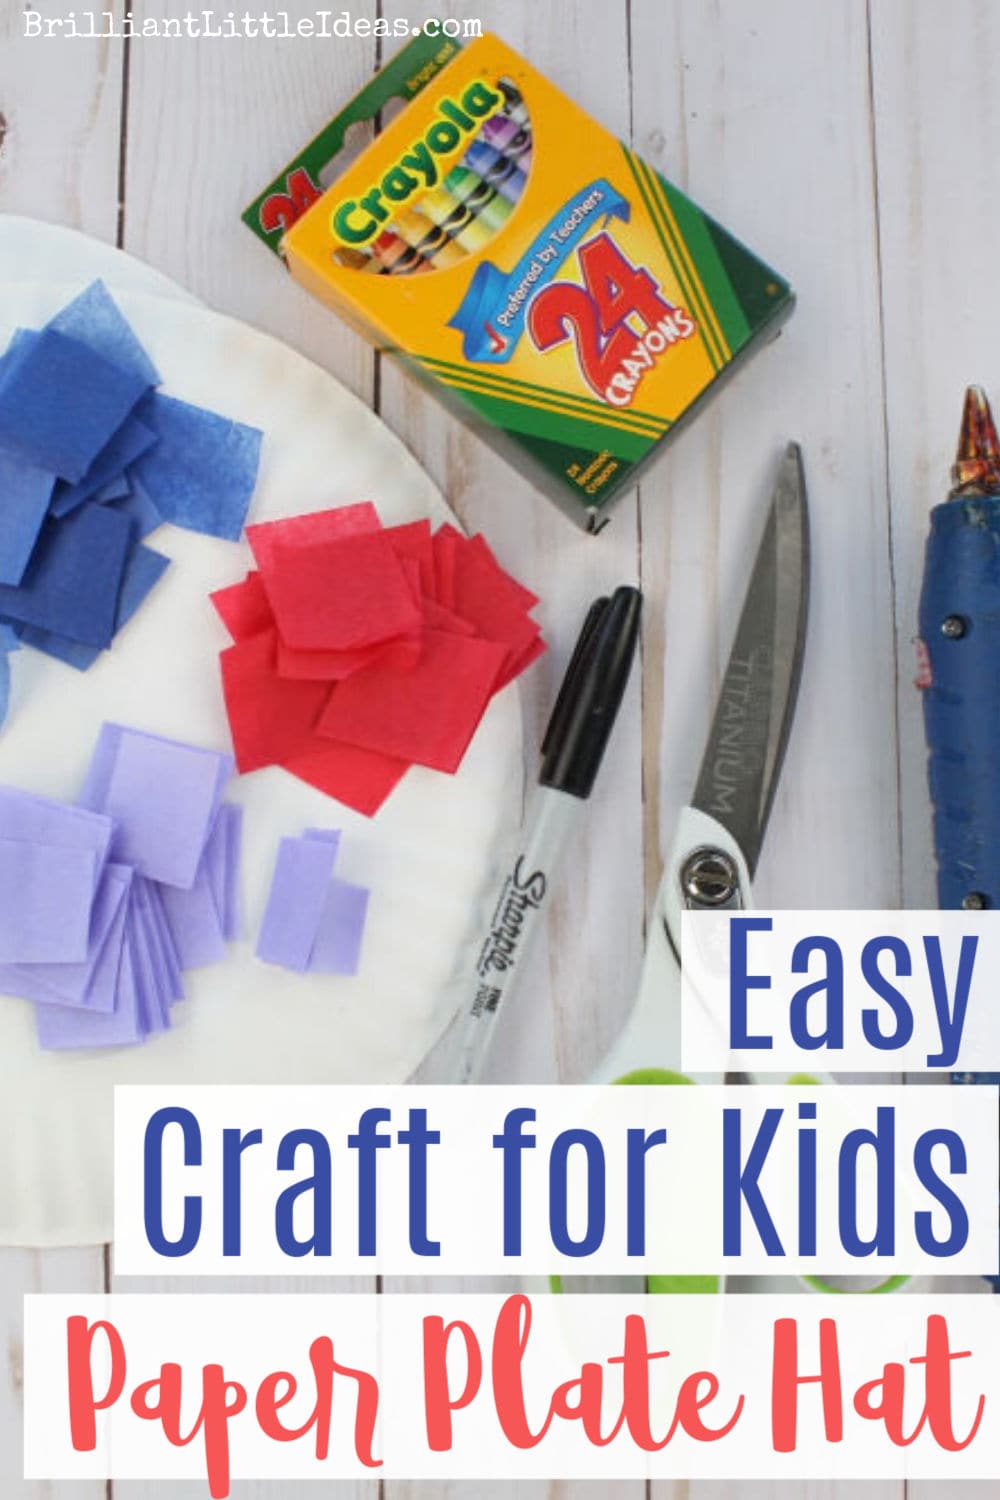
Supplies
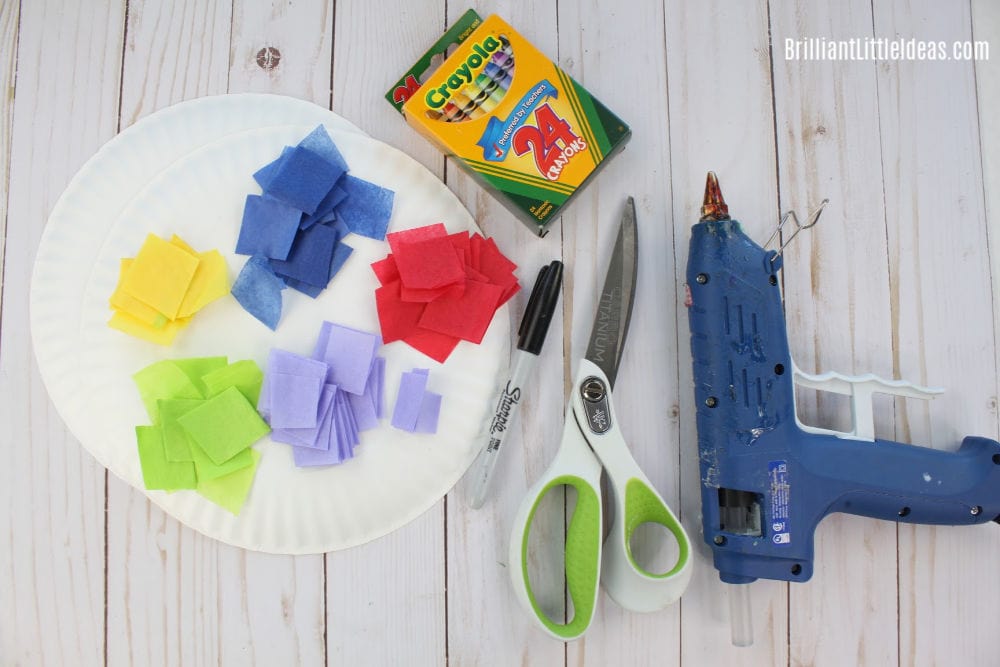
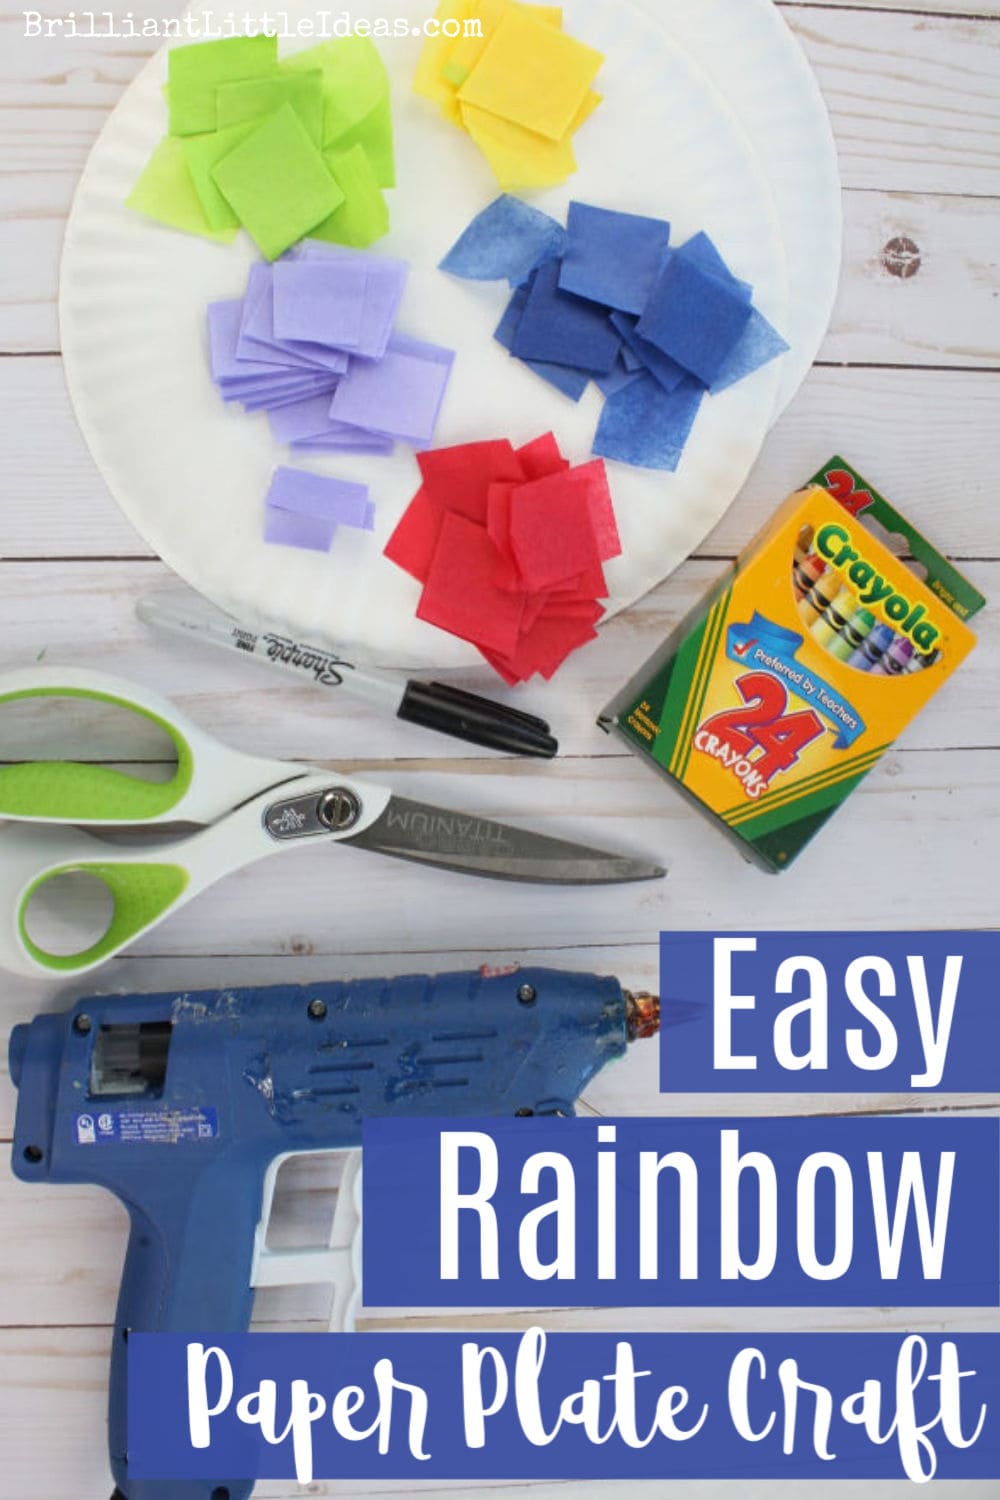
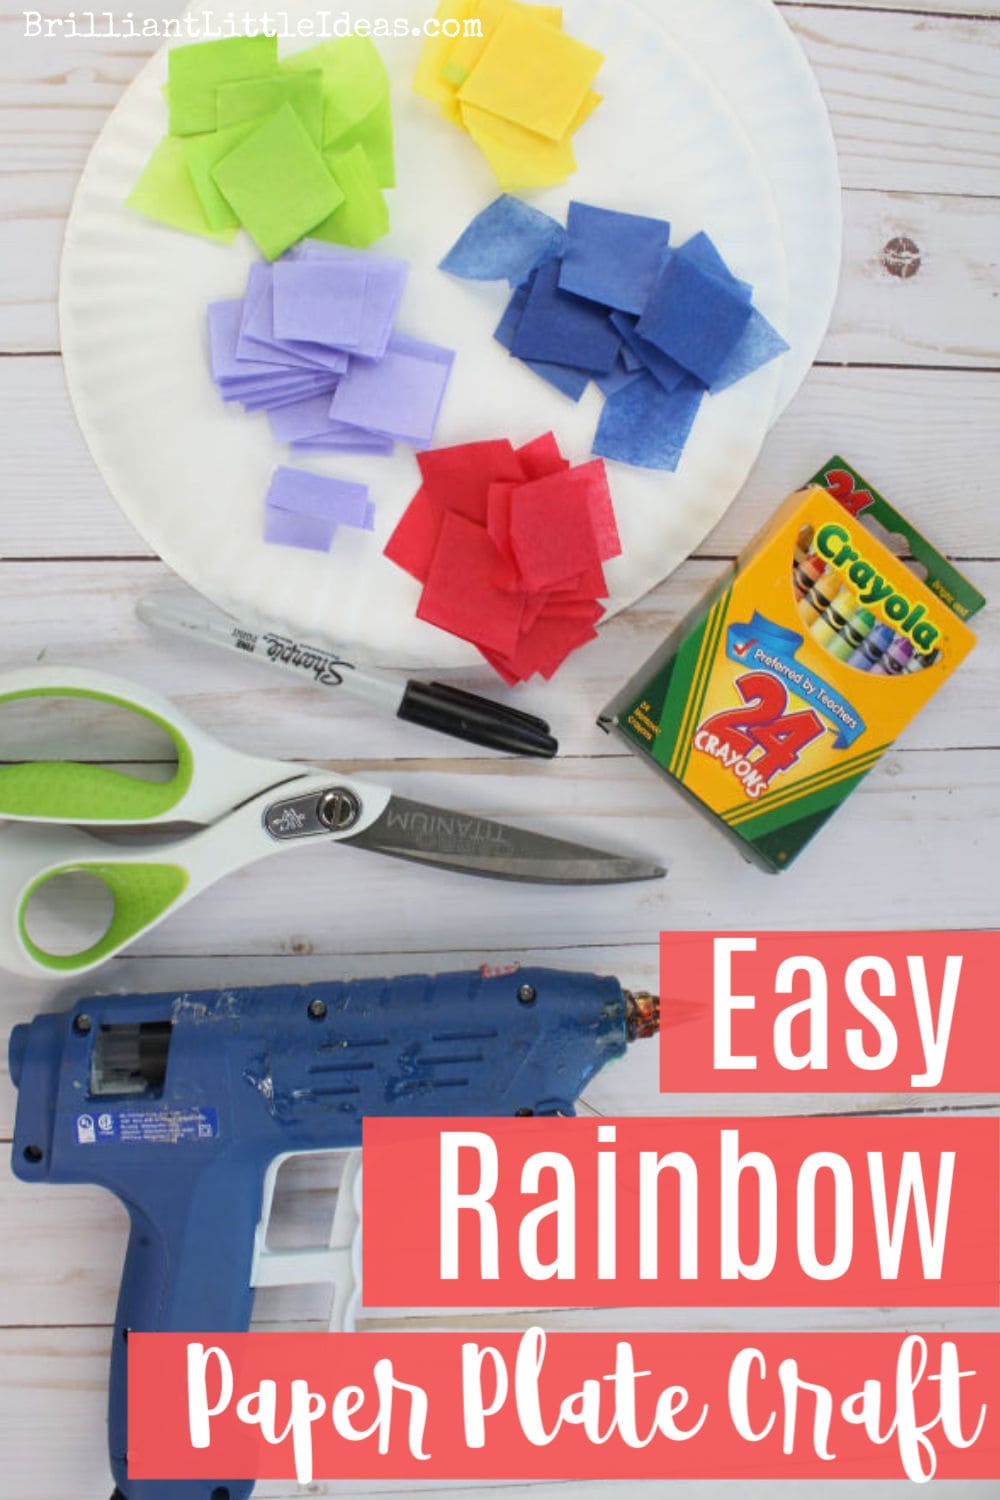
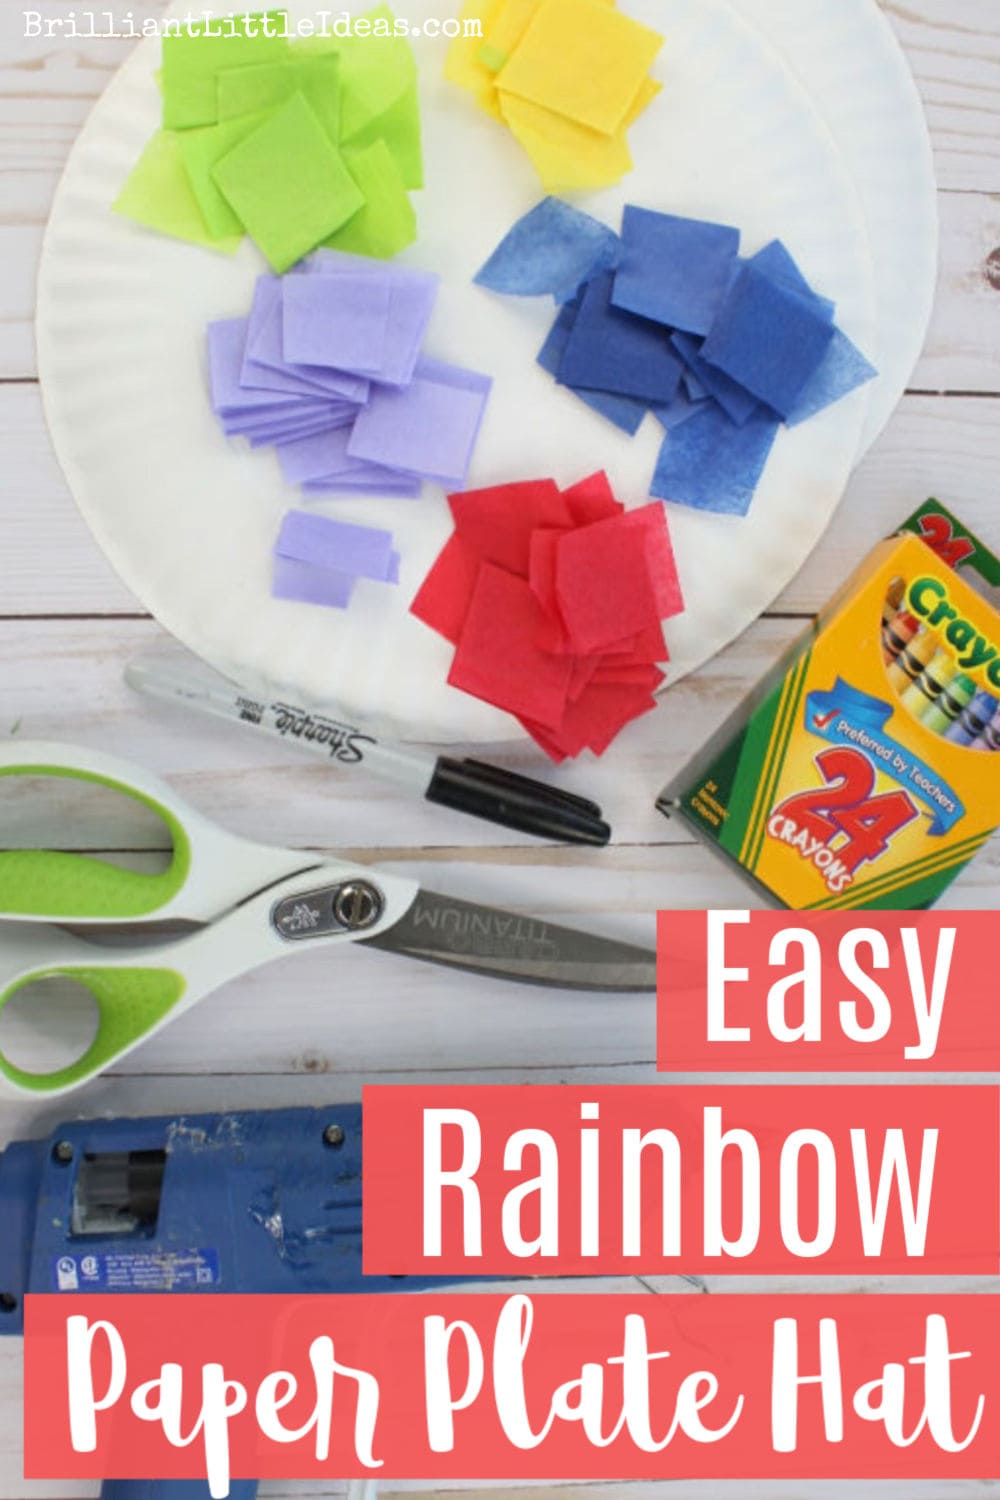
- Glue: Hot Glue Gun (linked) or Elmer’s glue (linked)
- Paper plates (like this)
- Tissue paper (like this but buy it at the Dollar Tree instead)
- or Precut Tissue Paper Squares (like this)
- Scissors (linked)
- Markers (linked)
- Crayons (linked)
DIY Rainbow Paper Plate Hat for Kids -Video
DIY Rainbow Paper Plate Hat for Kids -Pictures
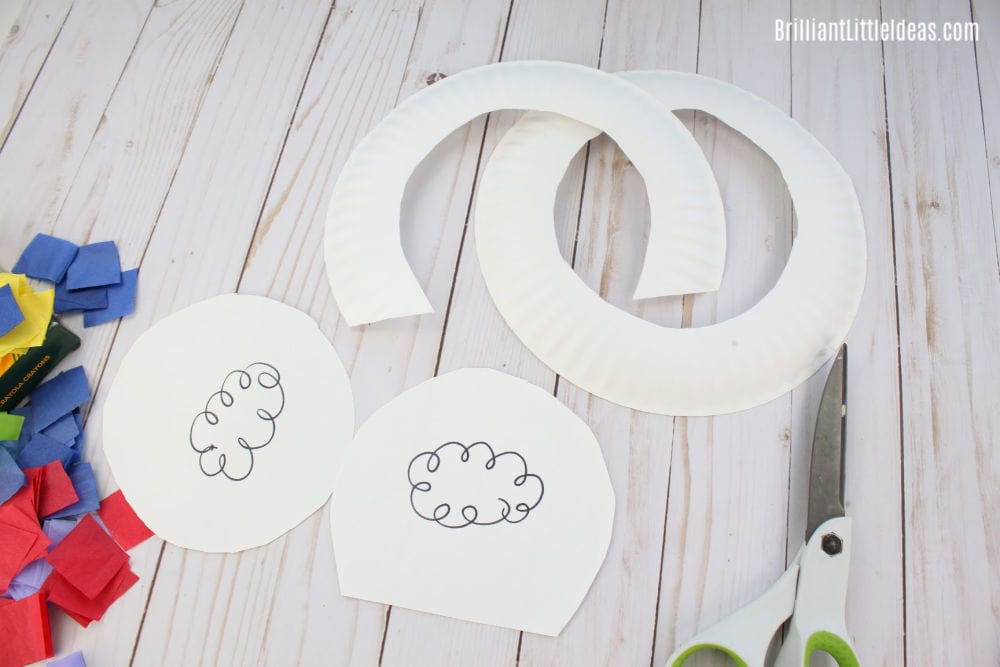
Set out 2 paper plats and draw a cloud in the center of one and a pot of gold in the center of the other. Cut out the center of each plate around the edge but keeping one plate whole. The second plate will need to have the bottom 1/4 cut off. See the pictures below.
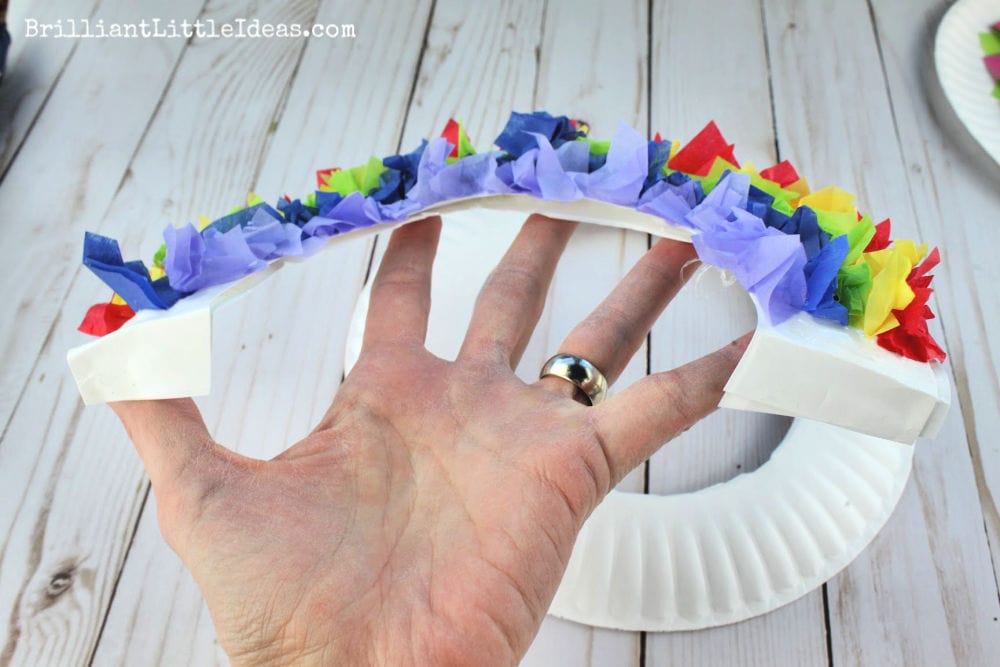
Bend the bottom one inch of the cut paper plate. It’s going to set on the second whole plate creating a rainbow shape.
Cut out 1 inch square tissue paper shapes from the tissue paper like this or you can buy squares that are precut like this.
Layout an old old newspaper or piece of construction paper to protect your table because it could get messy from here on out.
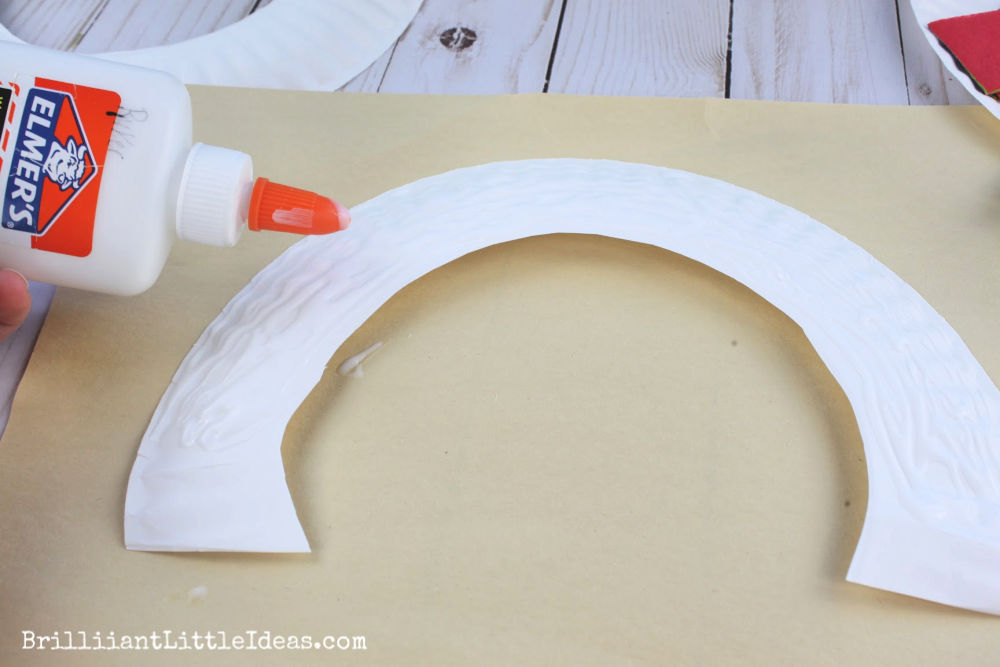
Add a thin layer of glue to the plate going all the way around your rainbow shape. The bottom one inch doesn’t need glue just yet.
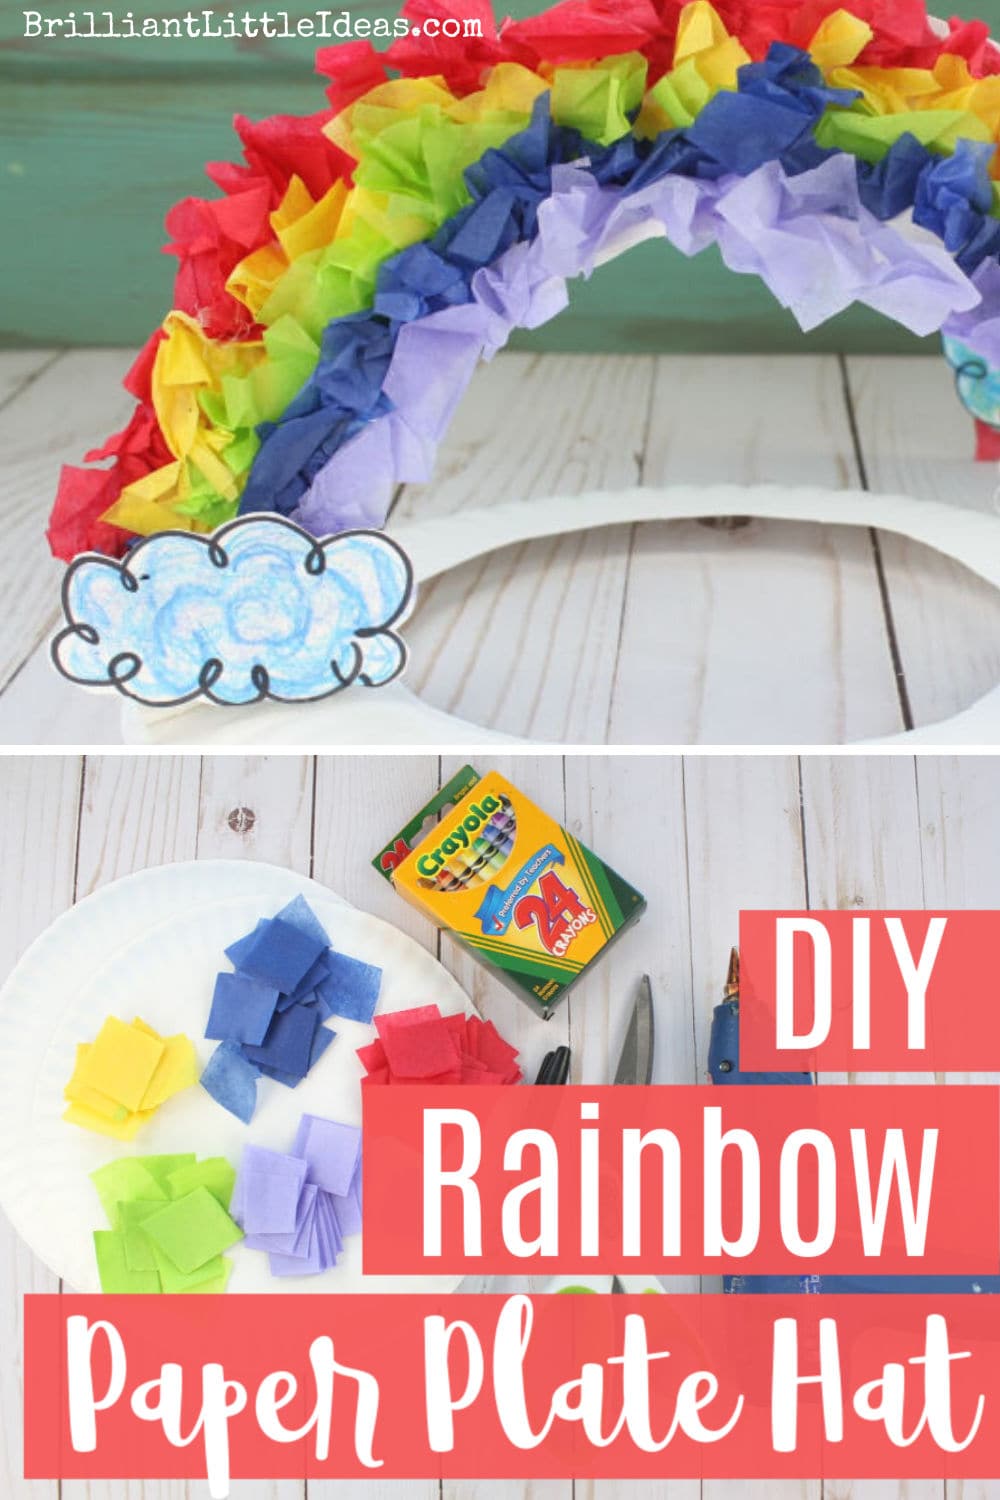
Working quickly pick up one piece of tissue paper, fold it and place it on the glue. Keep going working all the way around with each cool until your finished. Set aside to let it dry.
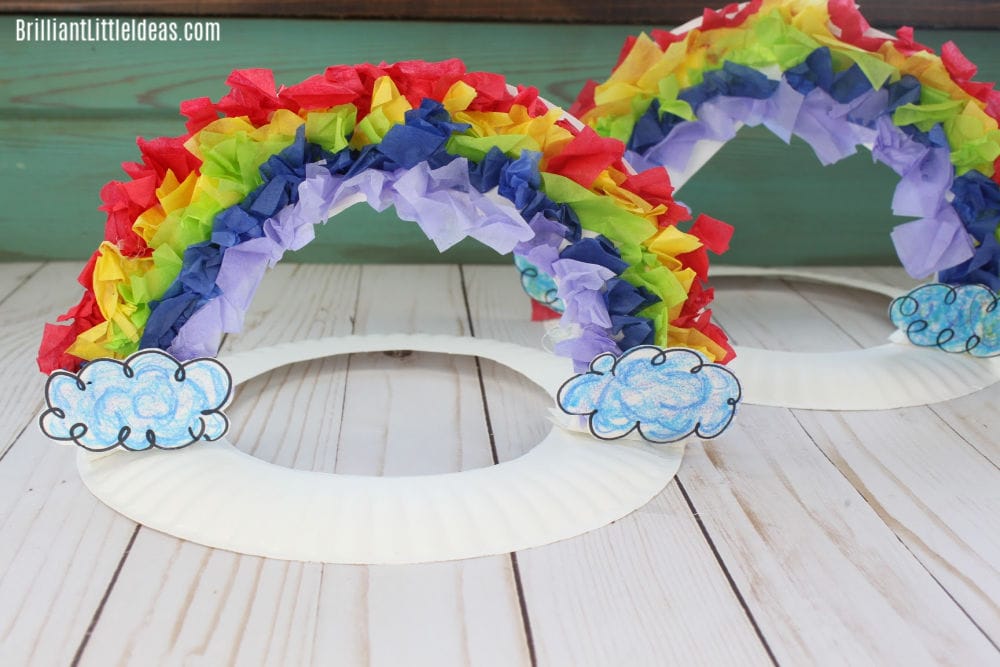
Your rainbow should stiffen when it’s dry and stand up nicely. If not feel free to add a second paper plate behind the rainbow for extra durability. Add hot glue to the bottom one inch pieces and attach it to your second plate. Hold until set. or if your using elmers set something beside it until it’s dry.
Once it’s dry simply glue on your clouds and then you have made your DIY Rainbow Paper Plate Hat for Kids. I hope your kids love it as much as mine did.
