Christmas Balance Ball Puzzle -Recycled Christmas Card Ideas
[disclosure]
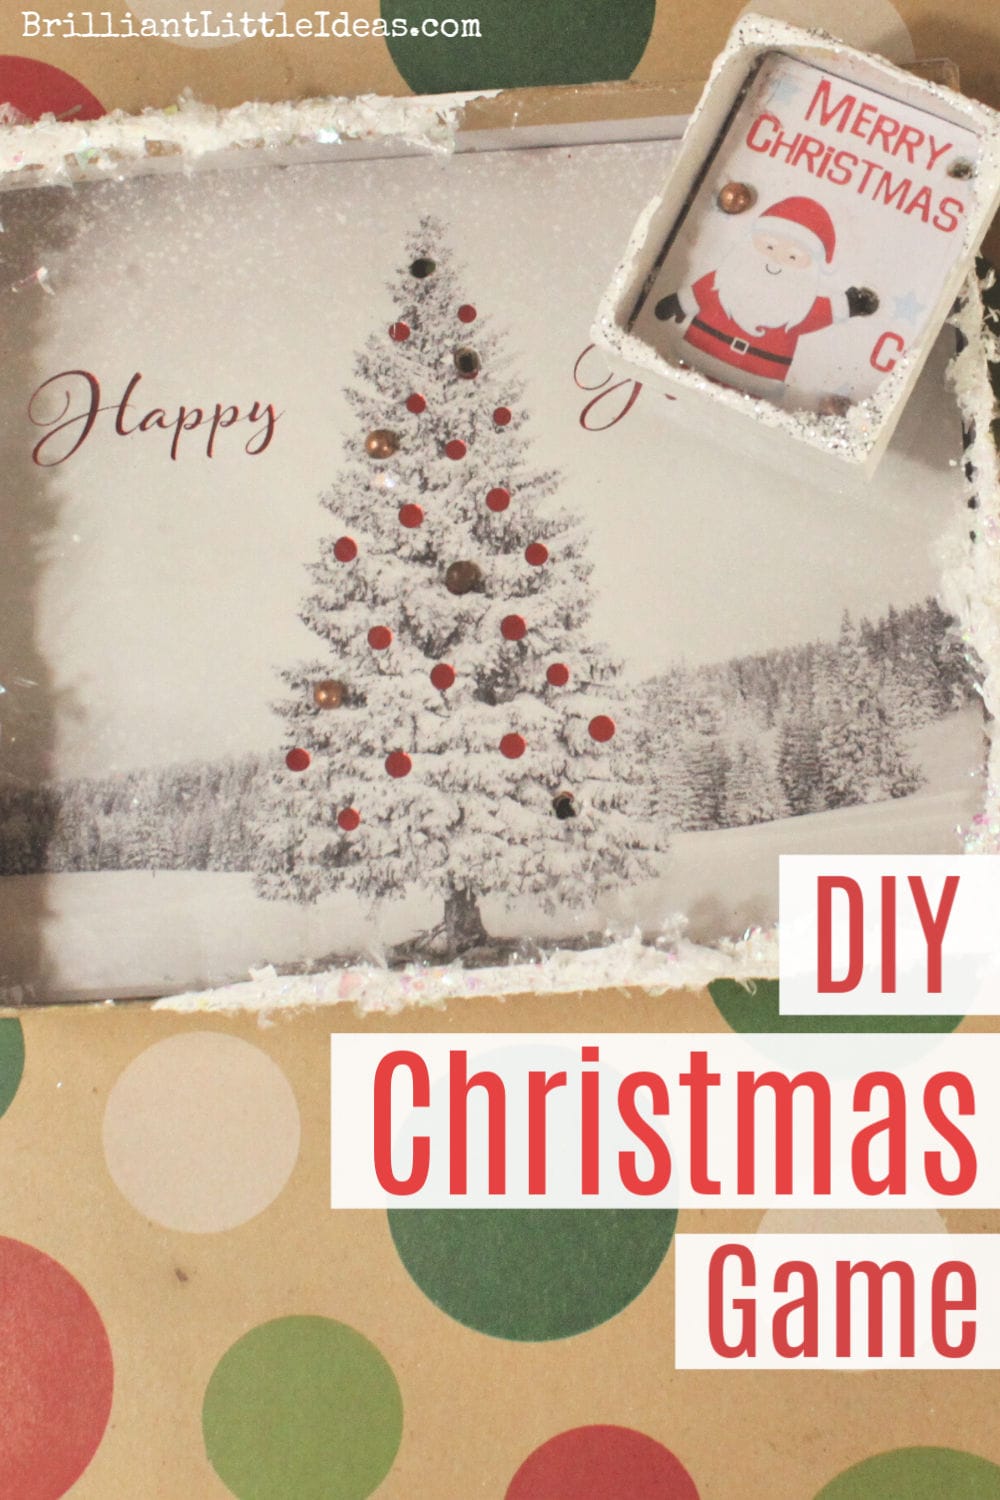
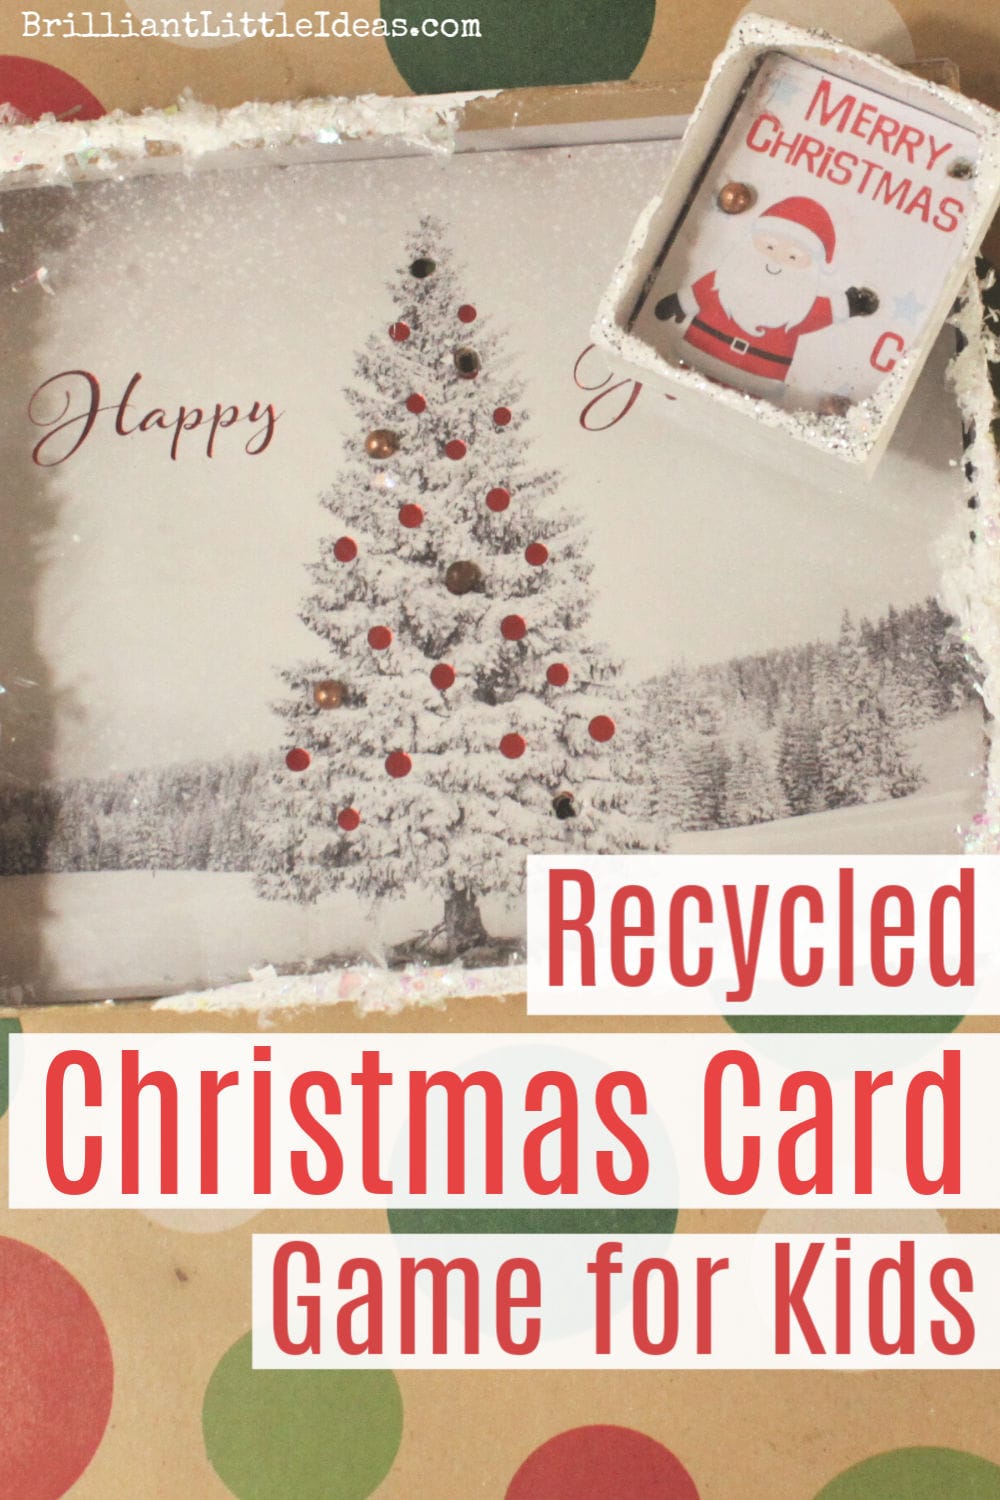
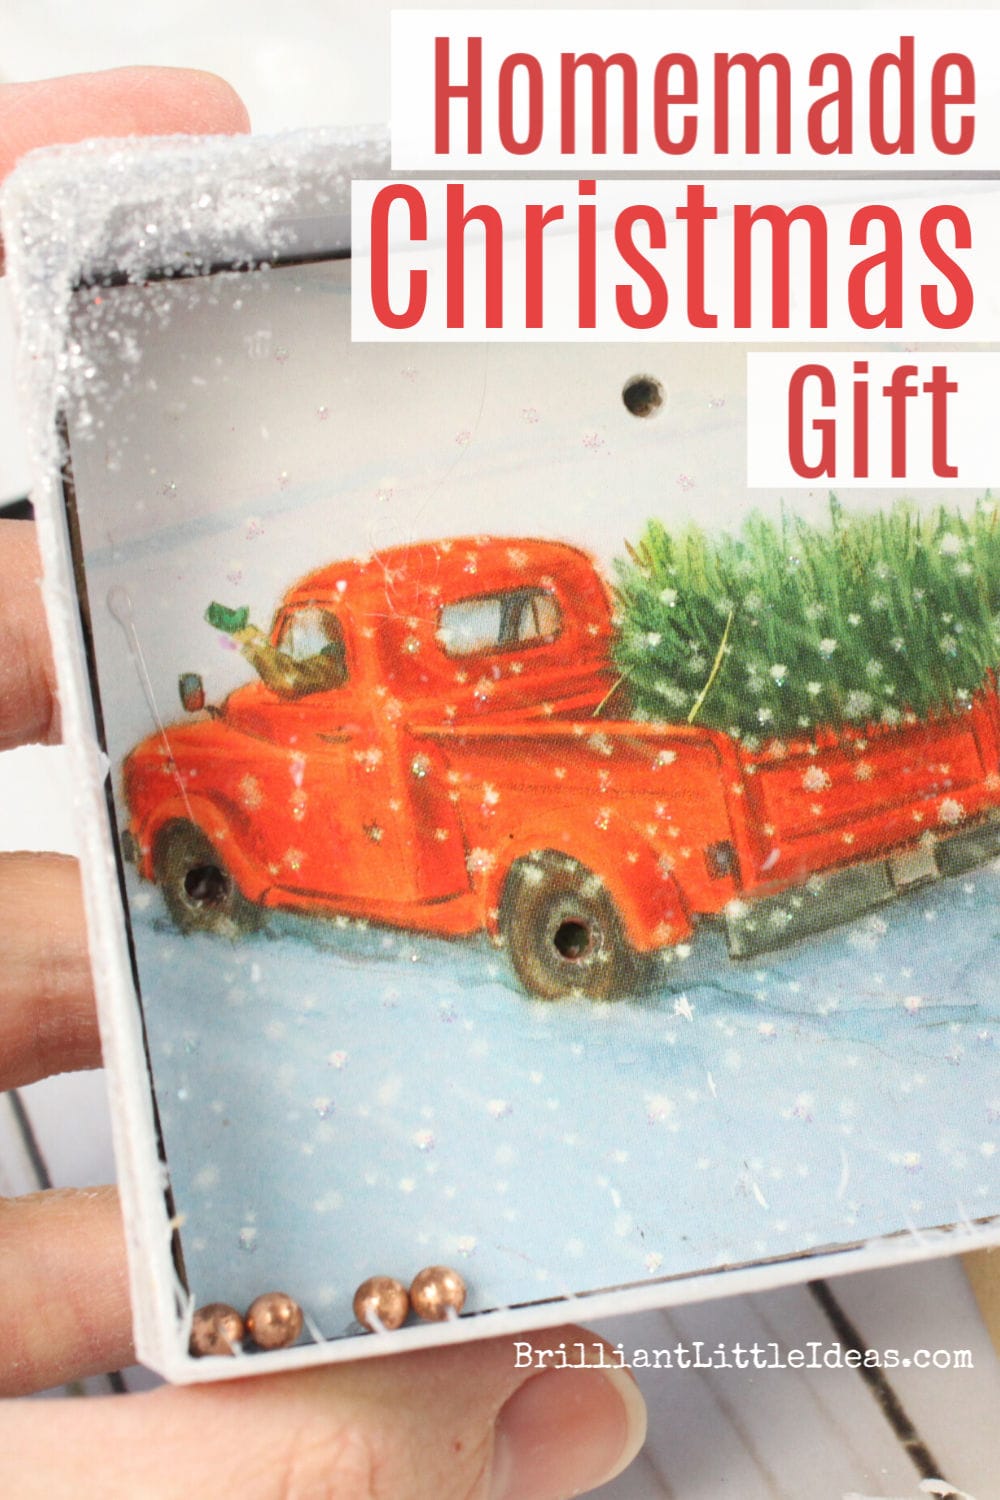
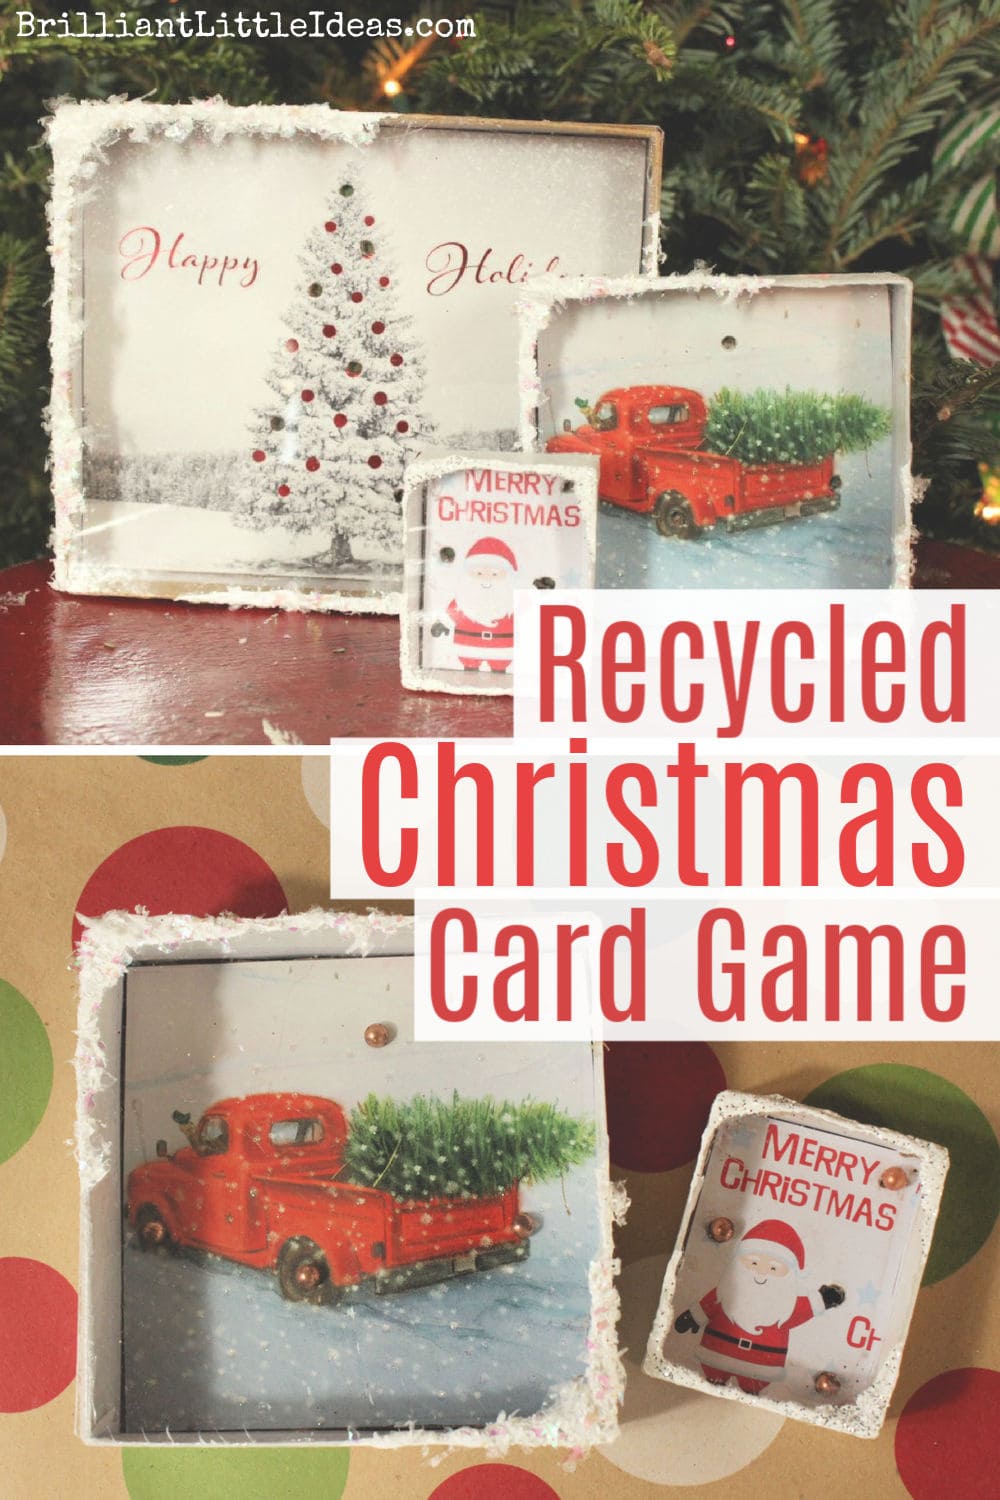
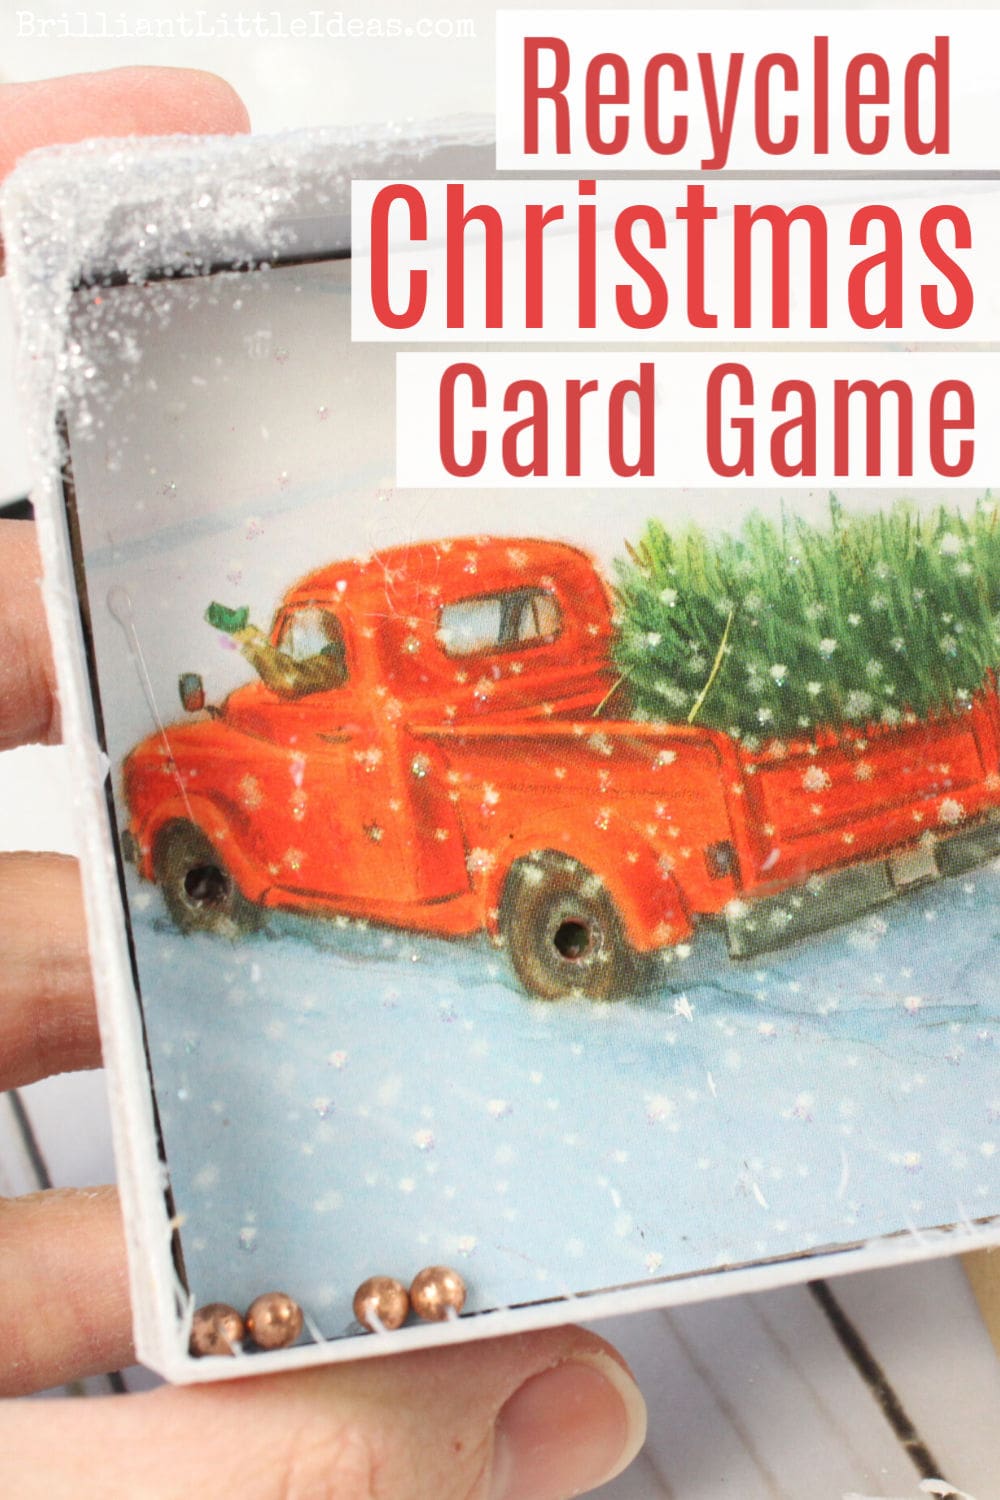
Everyone will love this DIY Christmas gift. It’s a great game for balance & patience, plus you can finally use up and recycle those old Christmas cards.Win, win!
Fun Game for Kids -Recycled Christmas Card Ideas
My Mom has always loved antiques, growing up she had a knack for finding the best vintage toys for us. The one my sister & I spent the most time with was the vintage ball in the hole games. They could be made from pretty much anything and plastic ones they’re still sold today.
I’m going to show you how to not only use up some of those old Christmas cards but to also make your own. You can watch the video below or see the pictures. I also linked the products I used to create these cute Homemade Christmas gifts.
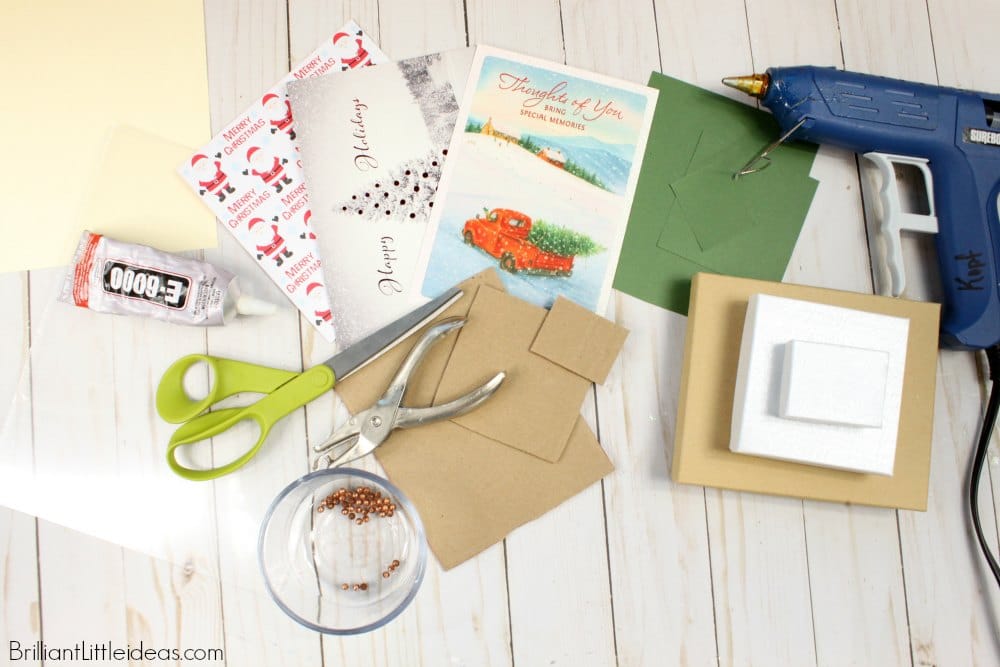
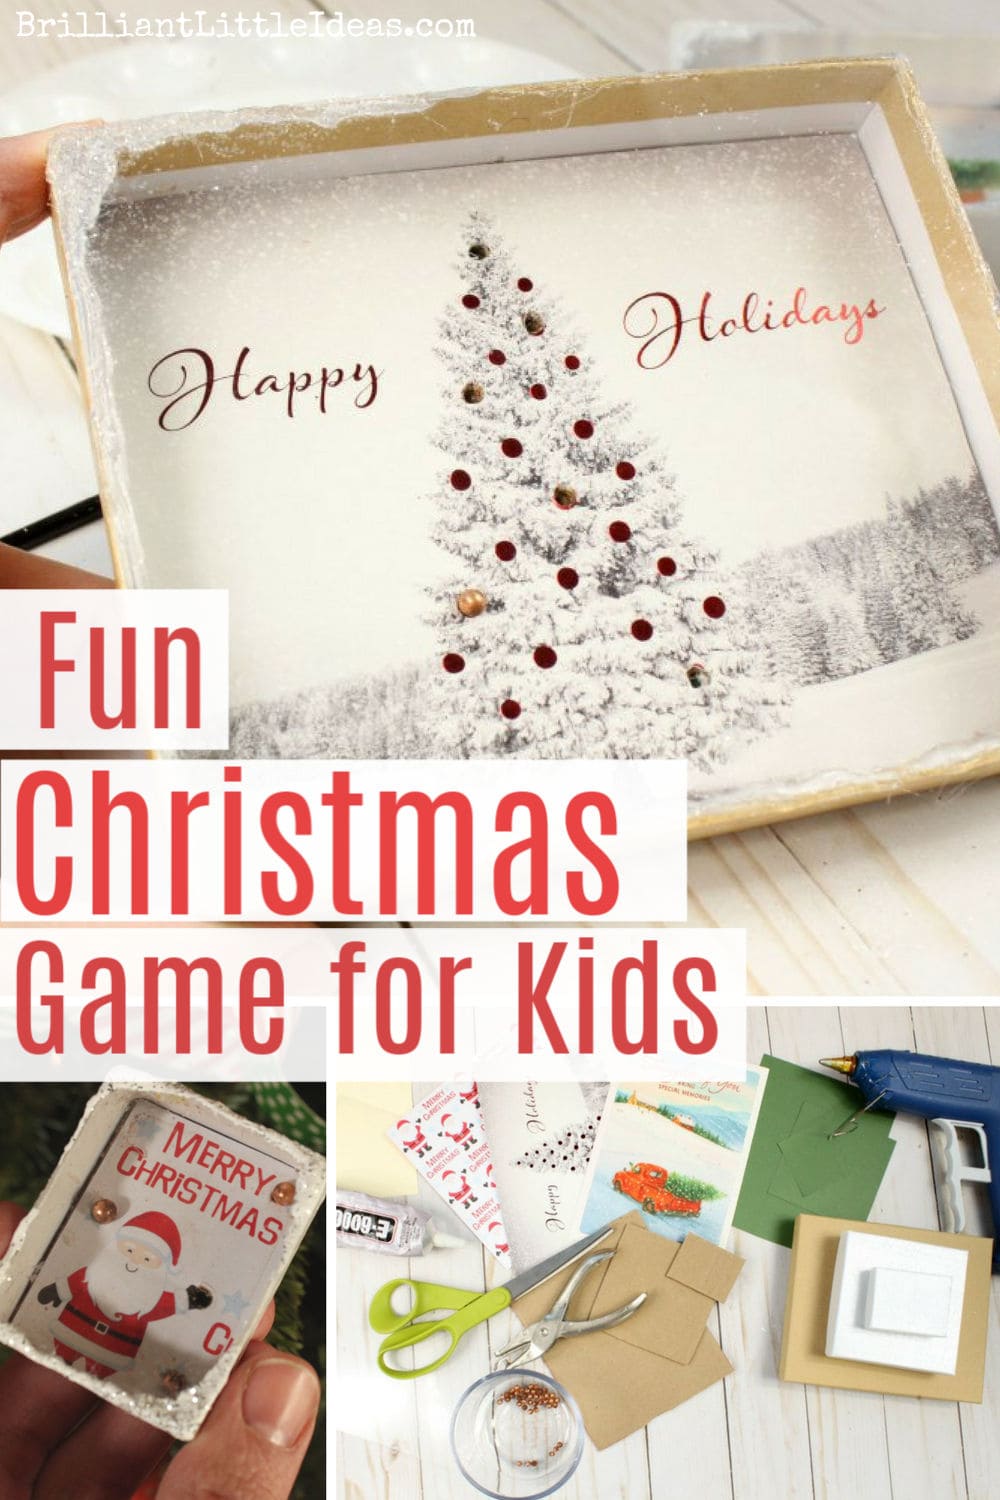
What you will need
- Old Christmas Cards or
- Christmas Scrapbook Paper (like these)
- Scrap thin/normal cardboard ( the edge of a box will work fine)
- Colored Cardstock (like this)
- Jewelry boxes I used these- Small (link), Medium (link), & Large (link)
- E-6000 (linked), Super Glue (my preferred kind -linked), &/or Hot Glue Gun
- Solid brass ball ( to be honest I used BB gun refills they had the best weight for the game)
- Fake Snow otherwise called Artificial Plastic Snow (linked)
- Glitter (lots linked)
- White Paint
- Pencil/Pen & Scissors
- Ice pick or small hole punch (like this)
Fun Game for Kids -Recycled Christmas Card Ideas -Video
Fun Game for Kids -Recycled Christmas Card Ideas -Pictures
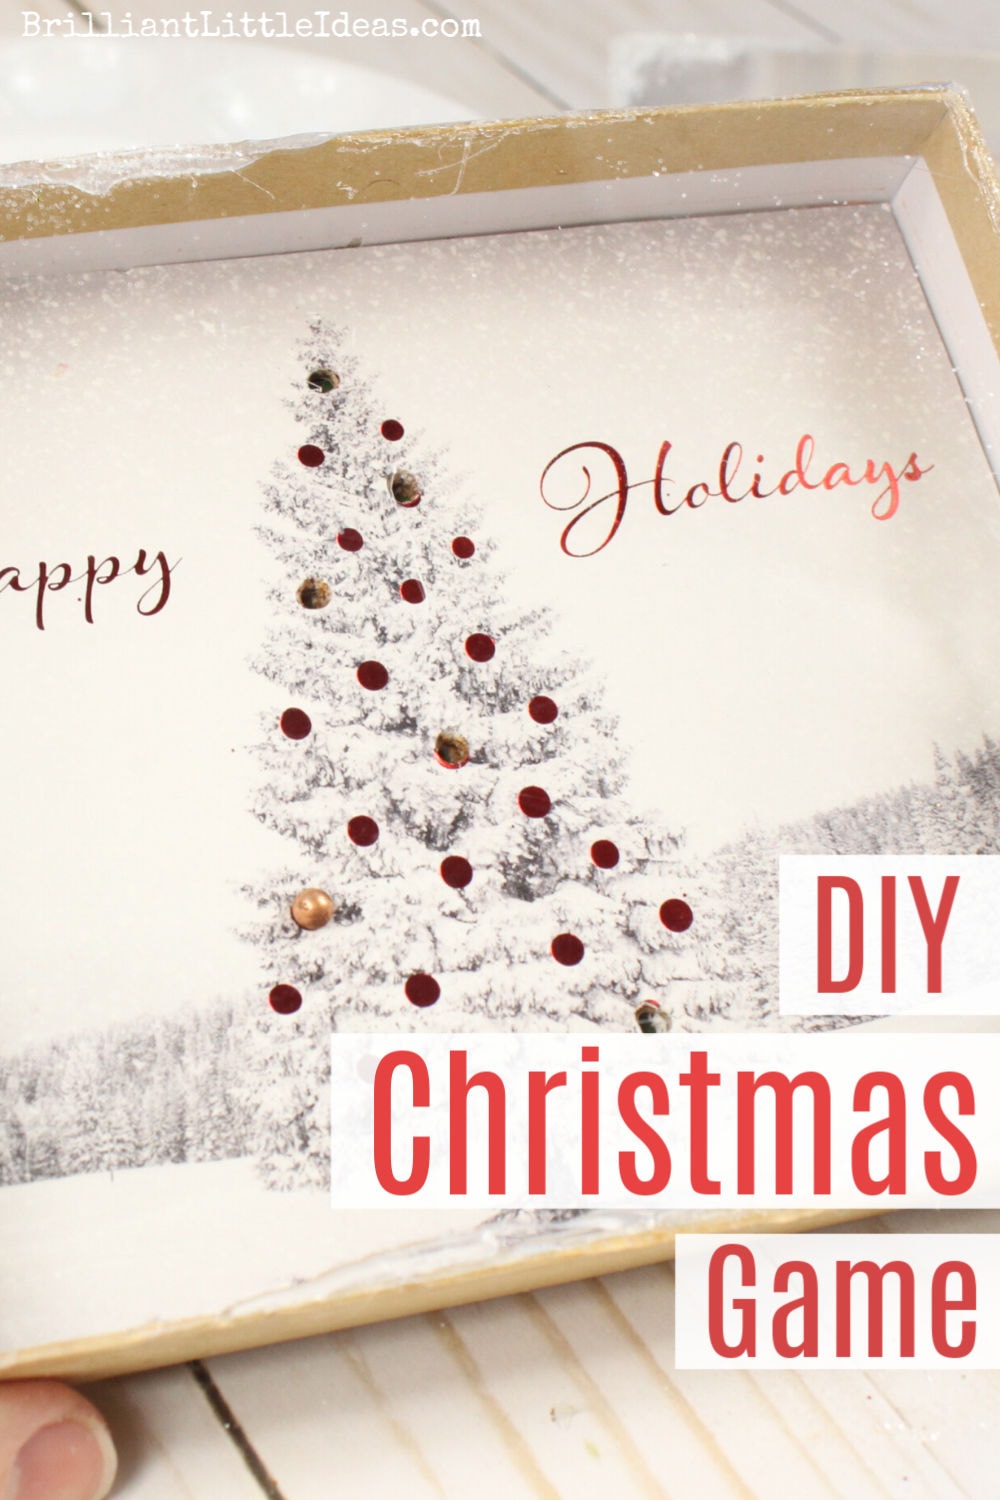
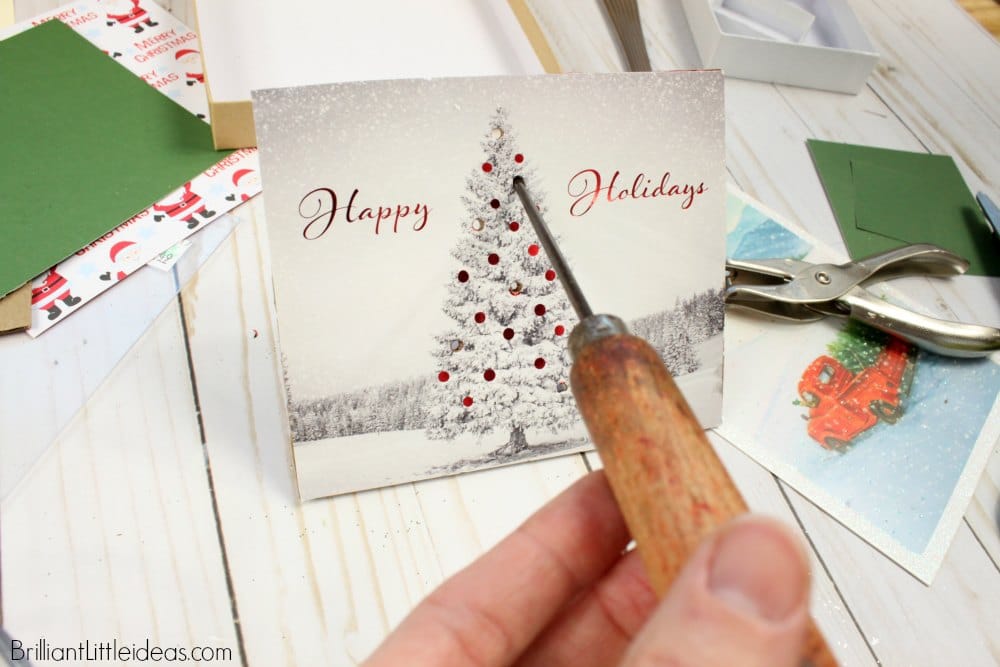
Let’s get started making this game! First, you will need to gather all of your old Christmas cards. Once you have them, go through each one slowly to see if it would make a good game? You’re going to look for any picture that would make sense to have a hole in it. IE: The tree below (pictured) has lots of places because of the ornaments so you could easily place holes in it for the ball to fall into.
Once you have chosen your picture you will need cut to fit it into a jewelry box. Once your picture is trimmed down grab a piece of cardboard and a piece of cardstock. All 3 will be glued together but not yet (see below).

Glue your trimmed Christmas card onto your cardboard using either your hot glue gun, super glue or E-6000.

Note: DO NOT go crazy and punch a bunch of holes. The game just isn’t fun if there’s more than 3, 4 or 5. Keep it simple because that actually makes it hard.
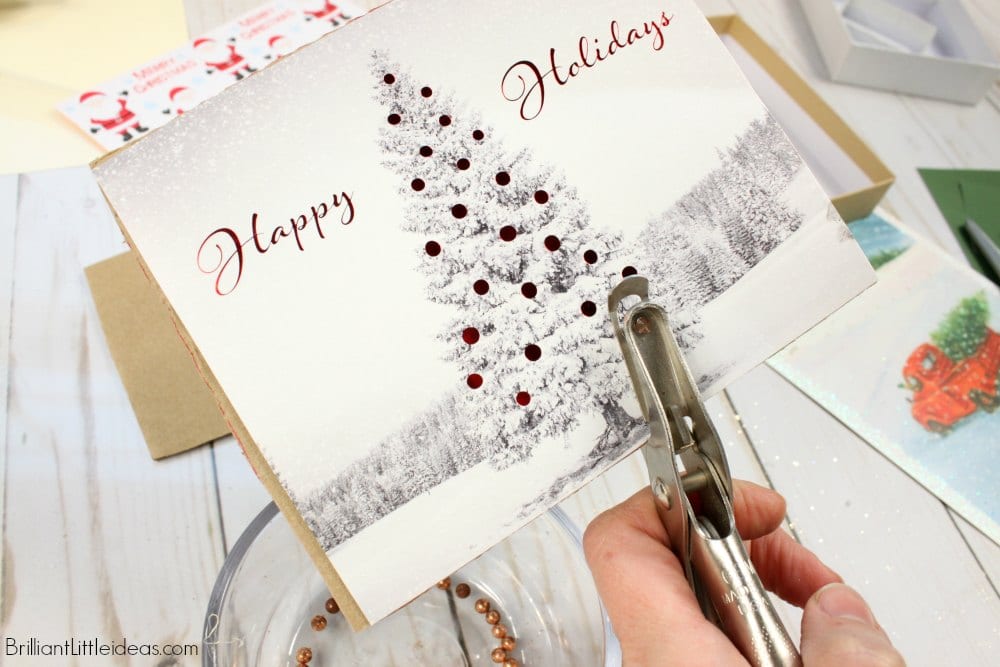
Once the glue is set you can use an ice pick to poke a few holes directly through the ornaments. You can make the hole a little bigger or smaller than your bb (brass ball) or you can use a hole punch if you don’t own an ice pick.
If using a hole punch make sure it’s a very small one (like this) because the regular size is just too large.
Once your holes are punched you can choose a piece of colored cardstock (like this). The color is going to show through to the top and give the game a little more color. I chose green for my last page.
Now to glue, it’s actually easier if you put the glue on the backside of your cardboard then lay the cardstock over to let it dry. Be sure not to cover the holes with glue if you do the game might not work as planned. Glue wise you have a few options you can use your hot glue gun, super glue or E-6000.

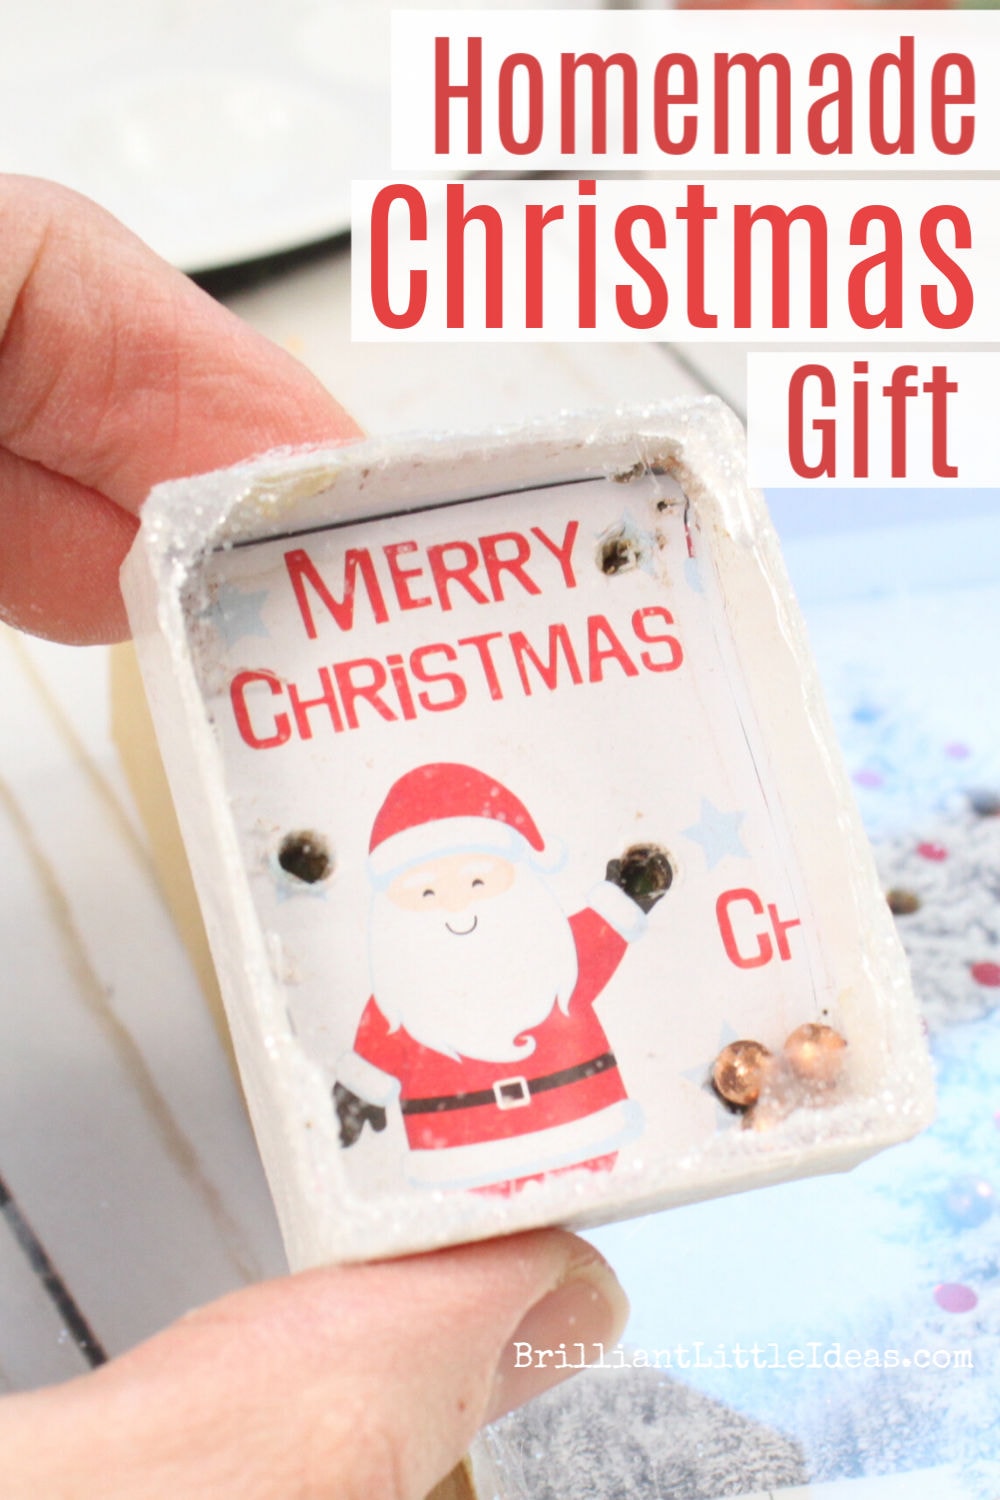
Test the game by placing your layered picture inside and roll a few bb’s in the box balancing back and forth until they reach the missing ornaments. If it works then were on to the next step. If it’s just a little off you may need to widen the holes just a tad.
Once set you can now add glue to the backside of your jewelry box and lay your 3 layer picture inside (Christmas card, cardboard & cardstock). Give it a push for a few minutes to help set your glue and set aside until dry.

Now for the lid. So to make the plexiglass top you will need to trace around the jewelry box using a marker or pen. I went a little outside the box because you can always trim down but you can’t add back.
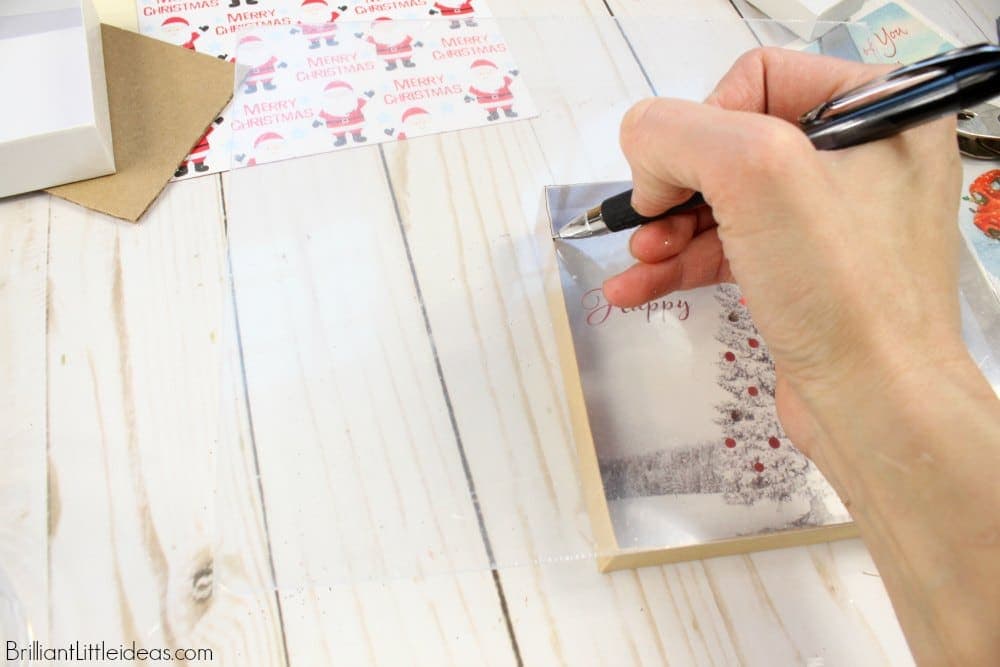
Trim the plexiglass along your traced line being careful cutting to not splinter the plexiglass too much. See the picture below if you want to know what splintering looks like. It’s not too much so I still used it.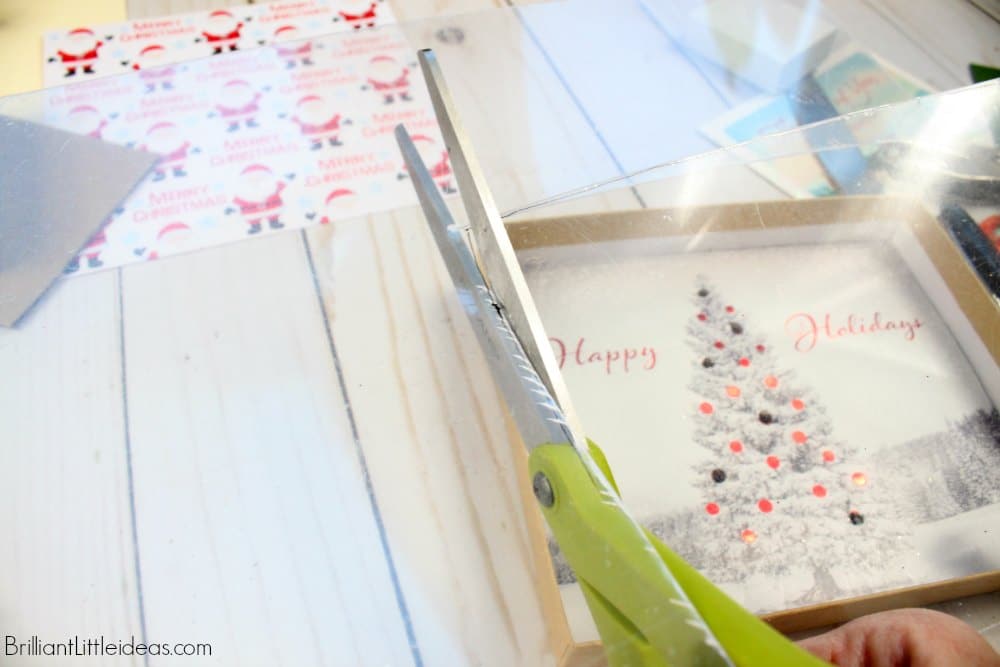
To glue, you can use your hot glue gun, super glue or E-6000. I thought the hot glue gun worked well if you used a small amount just didn’t seem to last that long. E-6000 worked excellently but took an entire day to set so my favorite definitely was super glue for its fast drying and durability.
Test your plexiglass to see if it needs a trim before gluing make sure it fits well with no sharp edges. You could even round the edges just to be safe. Trace the edge of your jewelry box with glue then gently set your plexiglass on top.
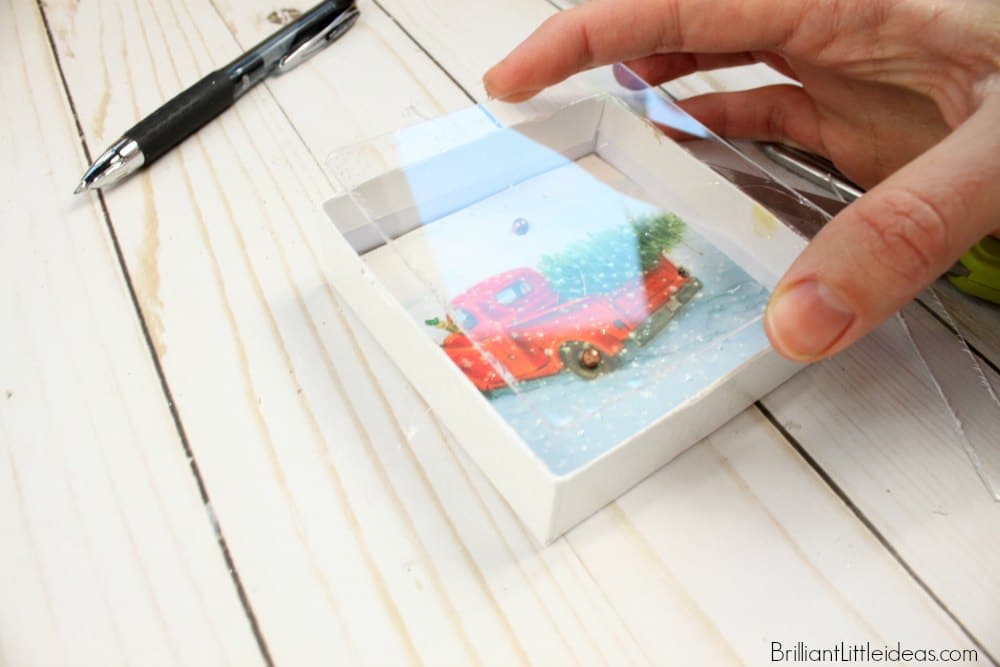
For the truck Christmas card below I hole punched a snowflake, taillight and tire rims. Just choose things that would look cute. Totally up to you!
So now let’s talk about accidentally gluing the bb’s… yeah… oops! If this happens just use a needle and poke a tiny hole through the box to loosen the bb. Seal the hole back with either glue or a little paint. Simple fix!

When your plexiglass is completely set you will need to check it for gaps. You may have a few and that’s fine, I’m going to show you how to fix it.
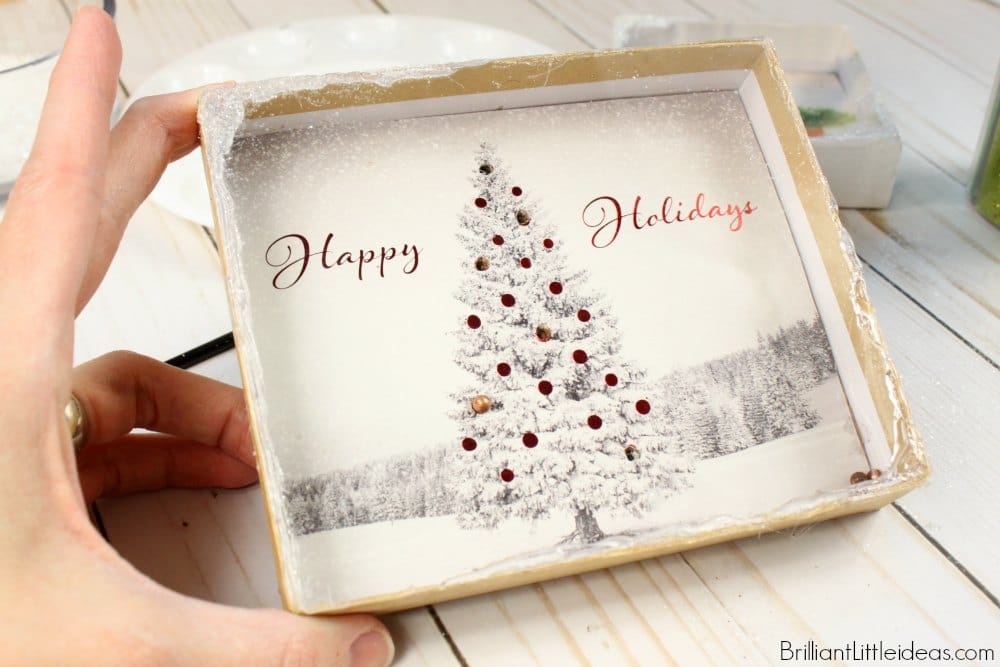
So not only fill in the gaps with some hot glue, but also for the extra festive decoration lets add a little hot glue around opposite corners to look as if snow has gathered on a window (see picture below).
Looks sorta like snow here. Now we’re going to add some paint to the glue.
Just carefully paint around the hardened hot glue.
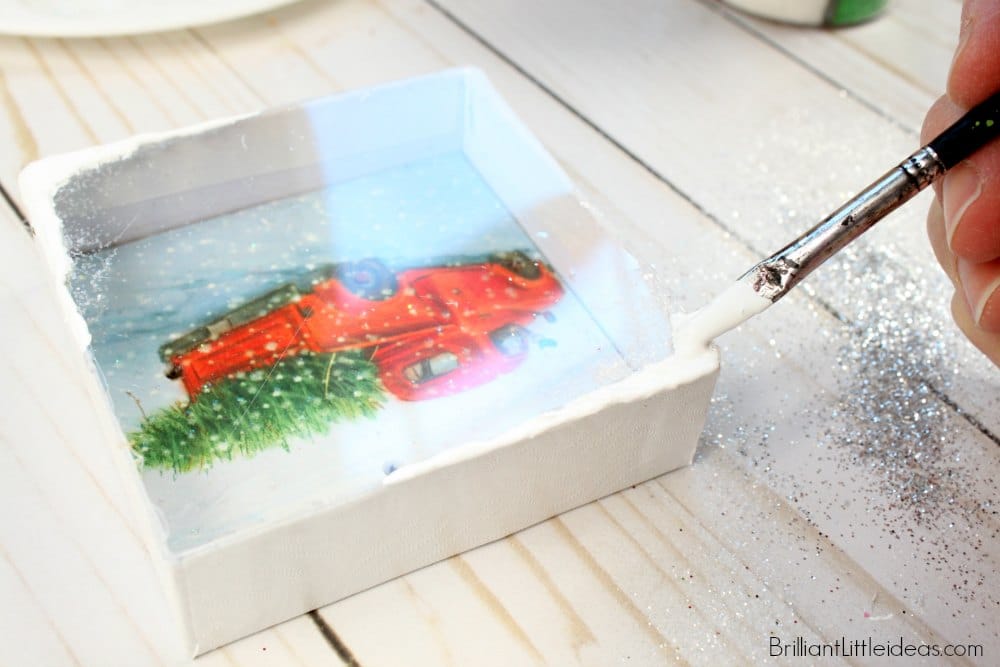
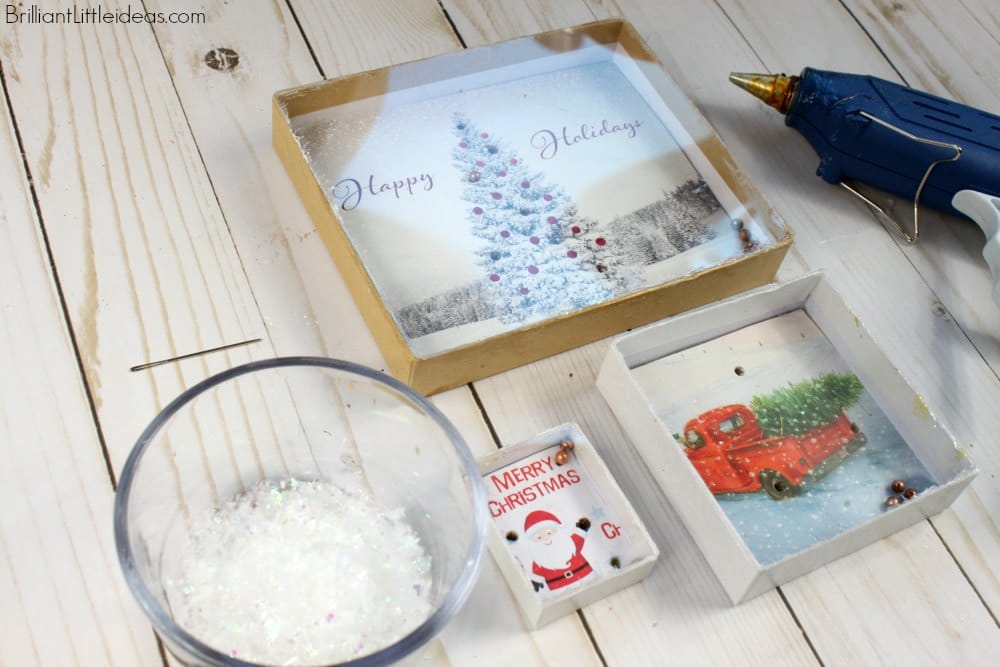
Before the paint hardens add some fake snow and glitter.

So cute! This is a homemade Christmas gift your kids can help with and give to cousins, grandparents, & teachers.
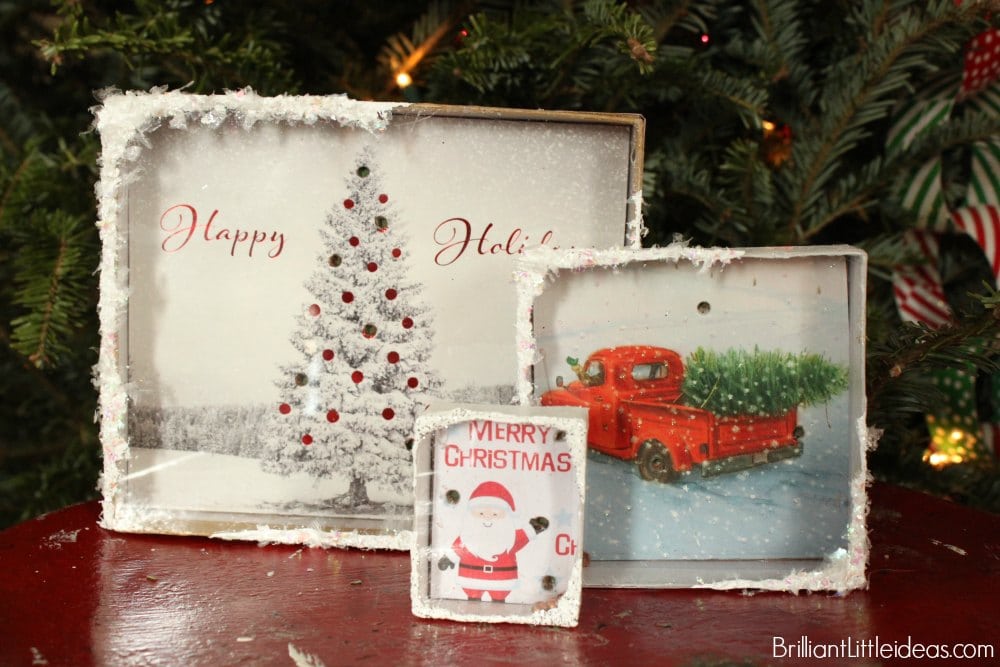
Did you play with this fun game as a kid?