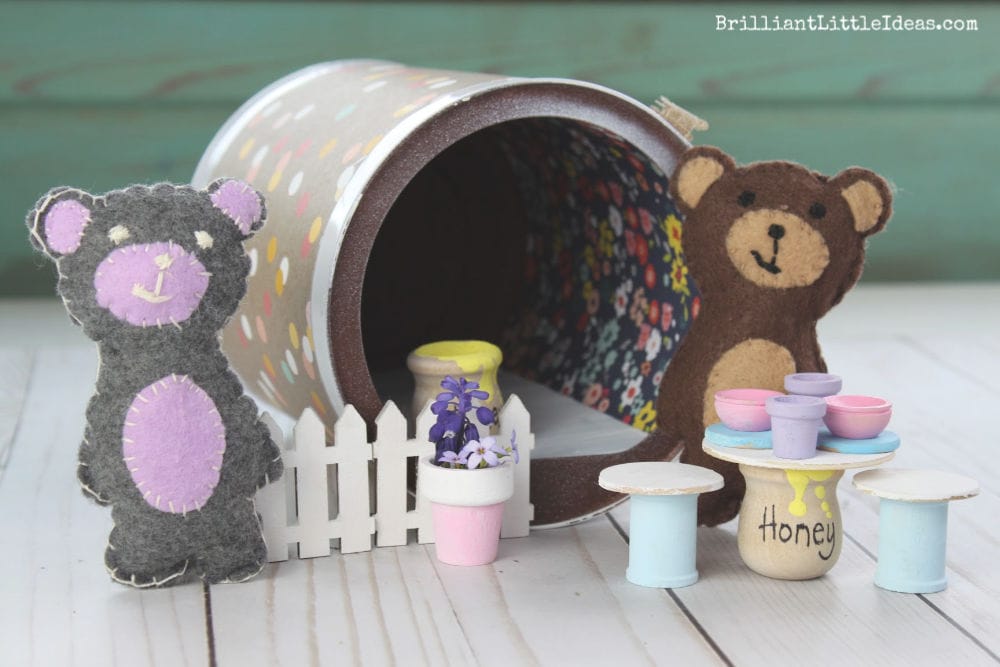
Portable Bear Cave Craft for Kids -Formula Can Idea
[disclosure]
After we made our own Felt Bears the kids decided we needed to make a house for each bear. So began the search for the perfect bear cave.
Portable Bear Cave Craft for Kids
Oh, old formula cans…
I’m so glad to have found a use for them. I seriously have a pile in the back room and thankfully a few have now been transformed into bear caves for kids. Ahh, I say I’ve recycled something. My husband will be so proud.
The kids absolutely loved their DIY Felt bears so much that Ryker even slept with his. It really complimented our Going on a Bear Hunt theme perfectly.
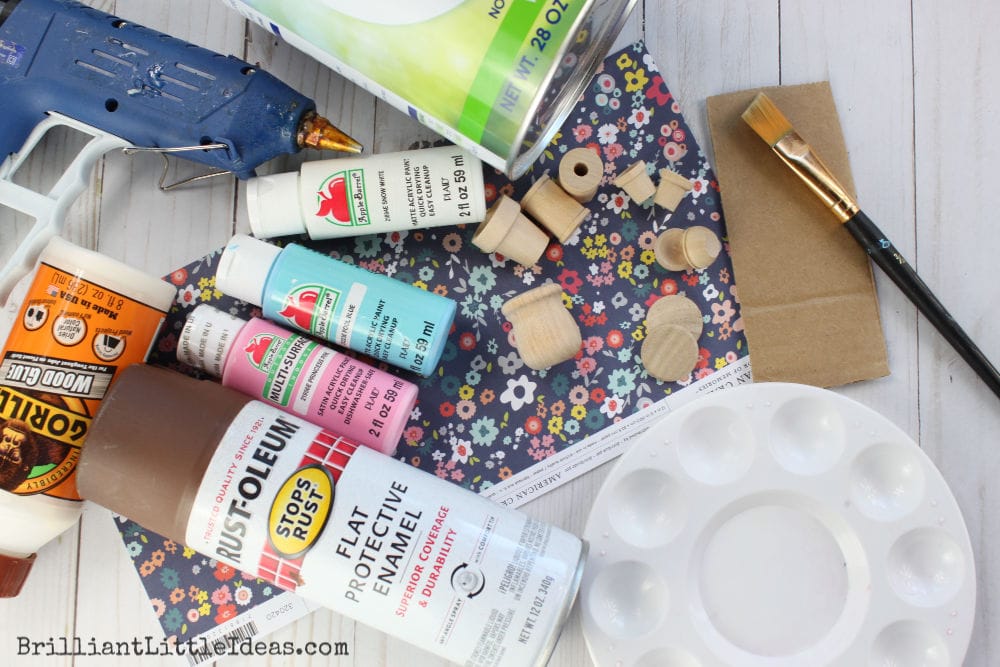
What you will need
- Going on a Bear Hunt book
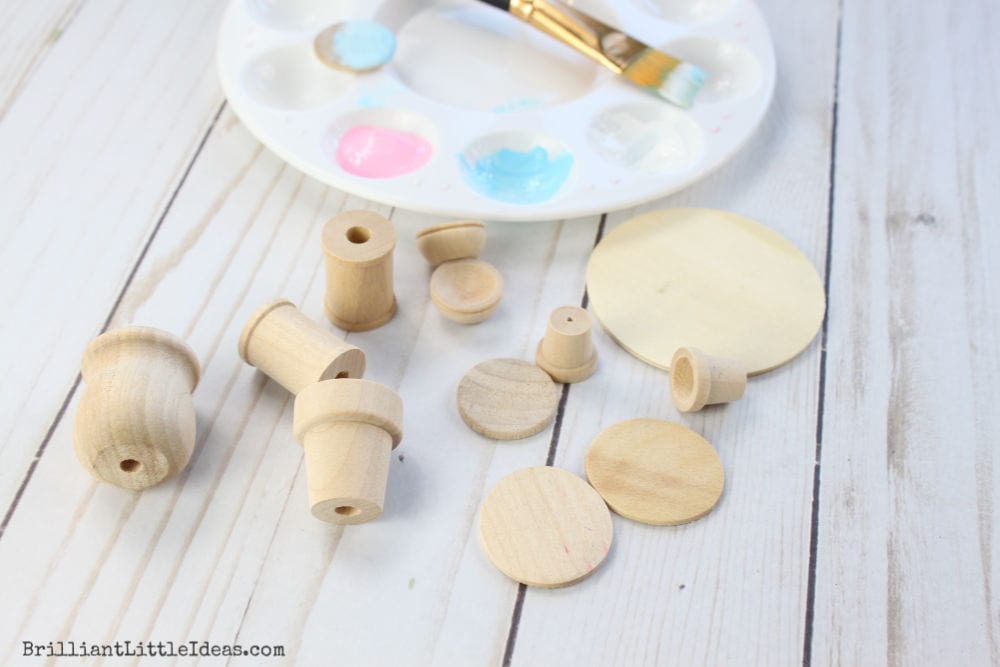
- 1″ Flower Pots
- Micro Flower Pots
- Honey Pots
- Spools (Chair Bottoms)
- Tiny Bowls
- Tiny Plates
- Circles for chair & table tops
- E6000
- Spray paint (any color)
- Gorilla Wood Glue
- A piece of cardboard for the floor
- Ribbon
- Any scrapbook paper
- Scissors
- Fine tip Sharpie
- Paint for wooden things
- Paintbrushes
How to make your own Portable Bear Cave for Kids -Video
How to make your own Portable Bear Cave for Kids -Pictures
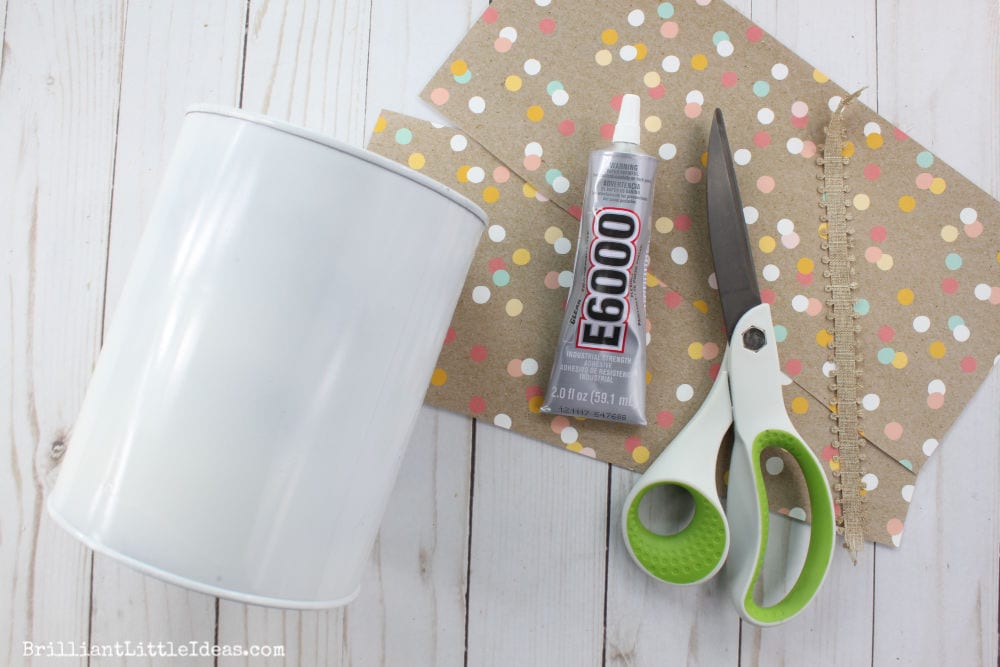
First thing, take off all formula can labels. Then you can take it outside and spray it any color. Please spray paint this can yourself, don’t let your child spray paint it.
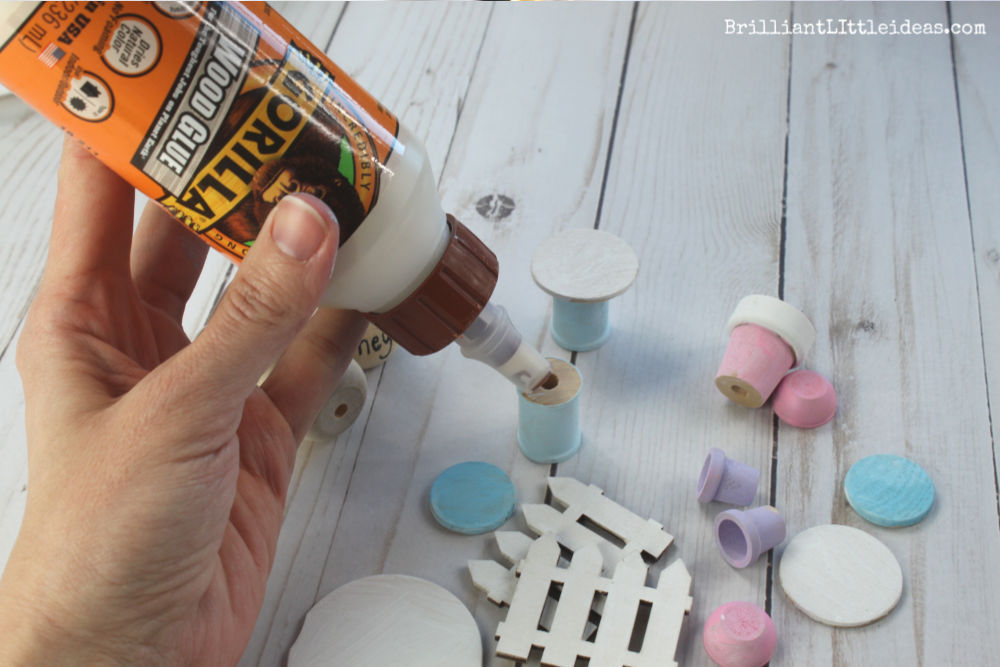
I purchased all of the wooden items from my local Hobby Lobby and linked them all above. Paint them any color you want. It’s totally up to you.
If you want your bear chairs glued together then this Gorilla wood glue is the best.
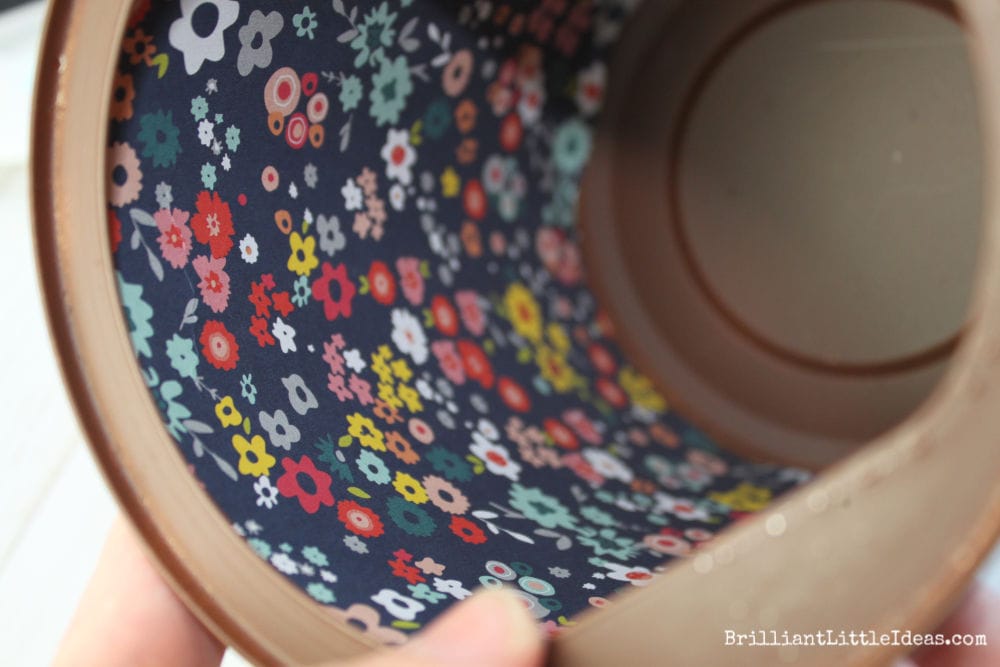
Cut any scrapbook paper you link to fit inside the can. I tried to glue it several ways and E6000 was the only one that worked.
Cut your cardboard to the shape of the base of your formula can. I made my first portable bear cave with a glued in floor and the second was removable. I personally liked the removable option more, but it’s totally up to you.
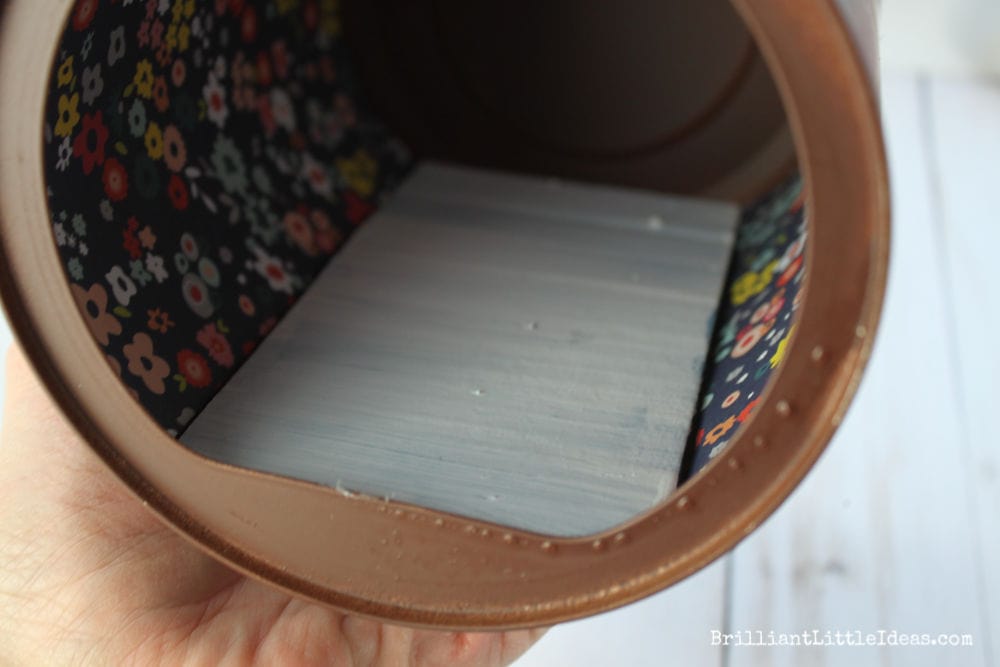
So once the can was complete, we decided it was super ugly. It fix it I spray painted it white and added some cute scrapbook paper to the outside. Again, the only glue that would stick was this E6000.
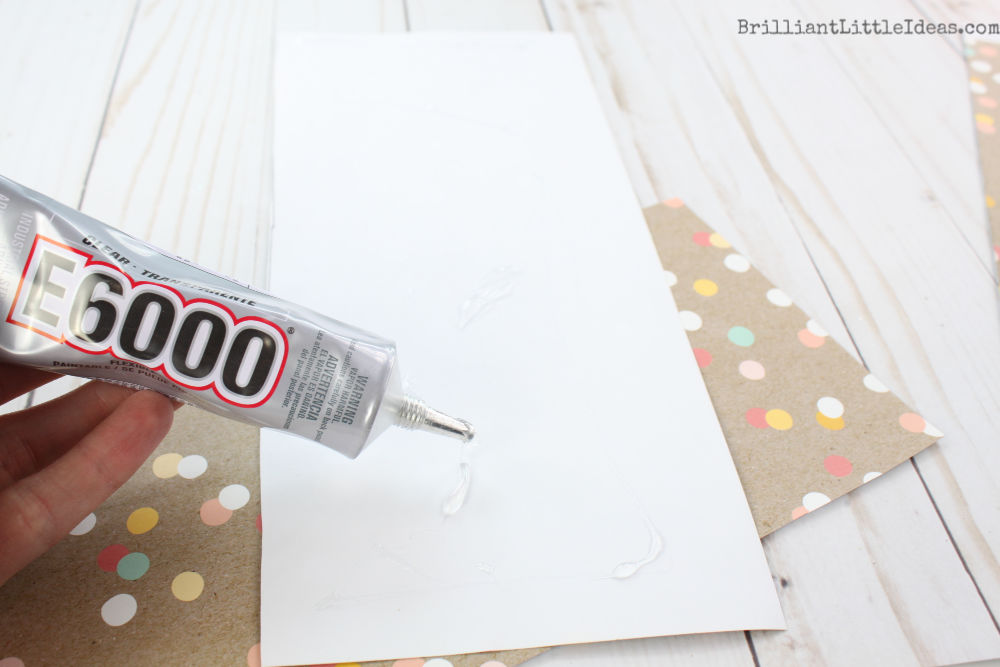
To add your E6000 just drop a few drops then taking a scrap of paper I spread the glue around so the edges and very middle were all covered.
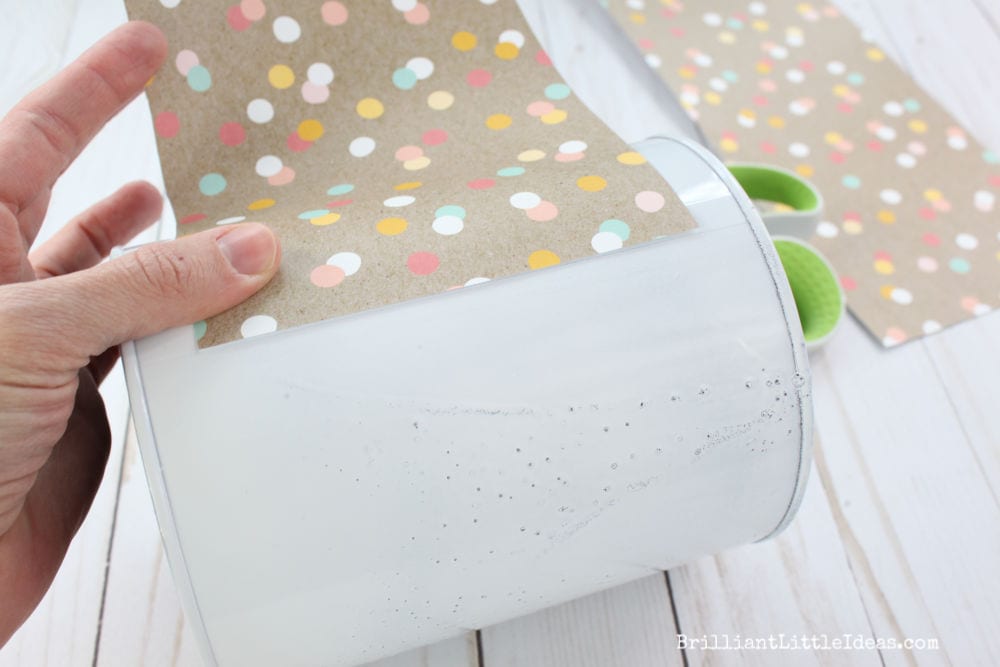
Place the scrapbook paper in the middle and press as you roll. Look at that really awful spray paint job that’s totally covered up now! Score!!
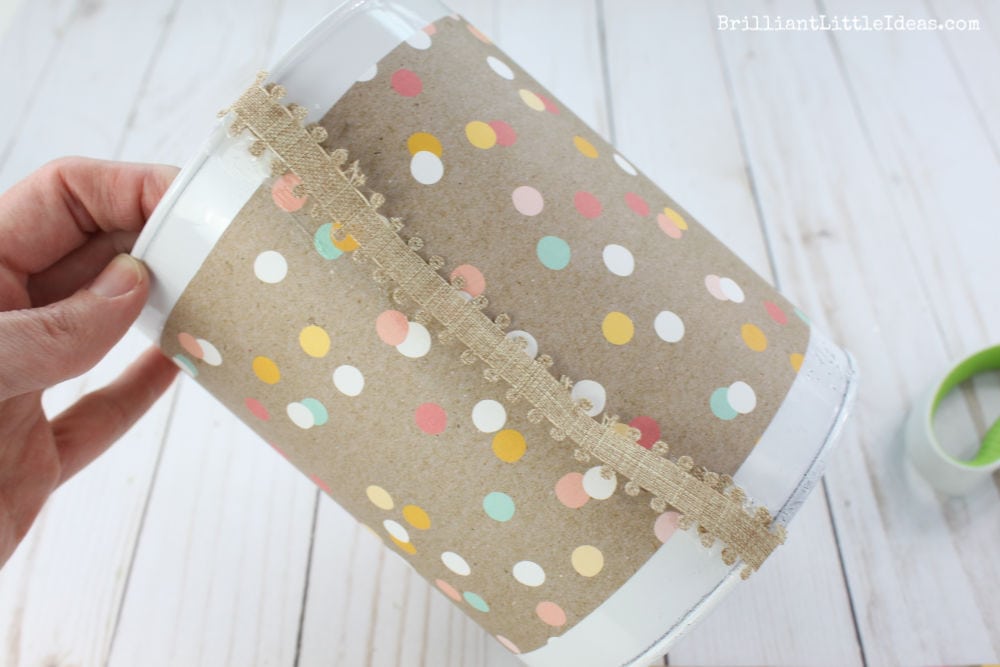
Add a ribbon for your handle and your totally done! Let dry about 24 hours before letting your child play with the can.
Eeek! I love it all so much! Well, most of it. That purple bear has some creepy eyes. Yikes! I bet someone attacks that bear tonight with a sharpie!
Everything fit well in my formula can to make the greatest Portable Bear Cave for Kids ever!
I really feel like I’m standing on a mountain top yelling that. So anytime you see !!! just know that’s what I’m picturing in my head.
