
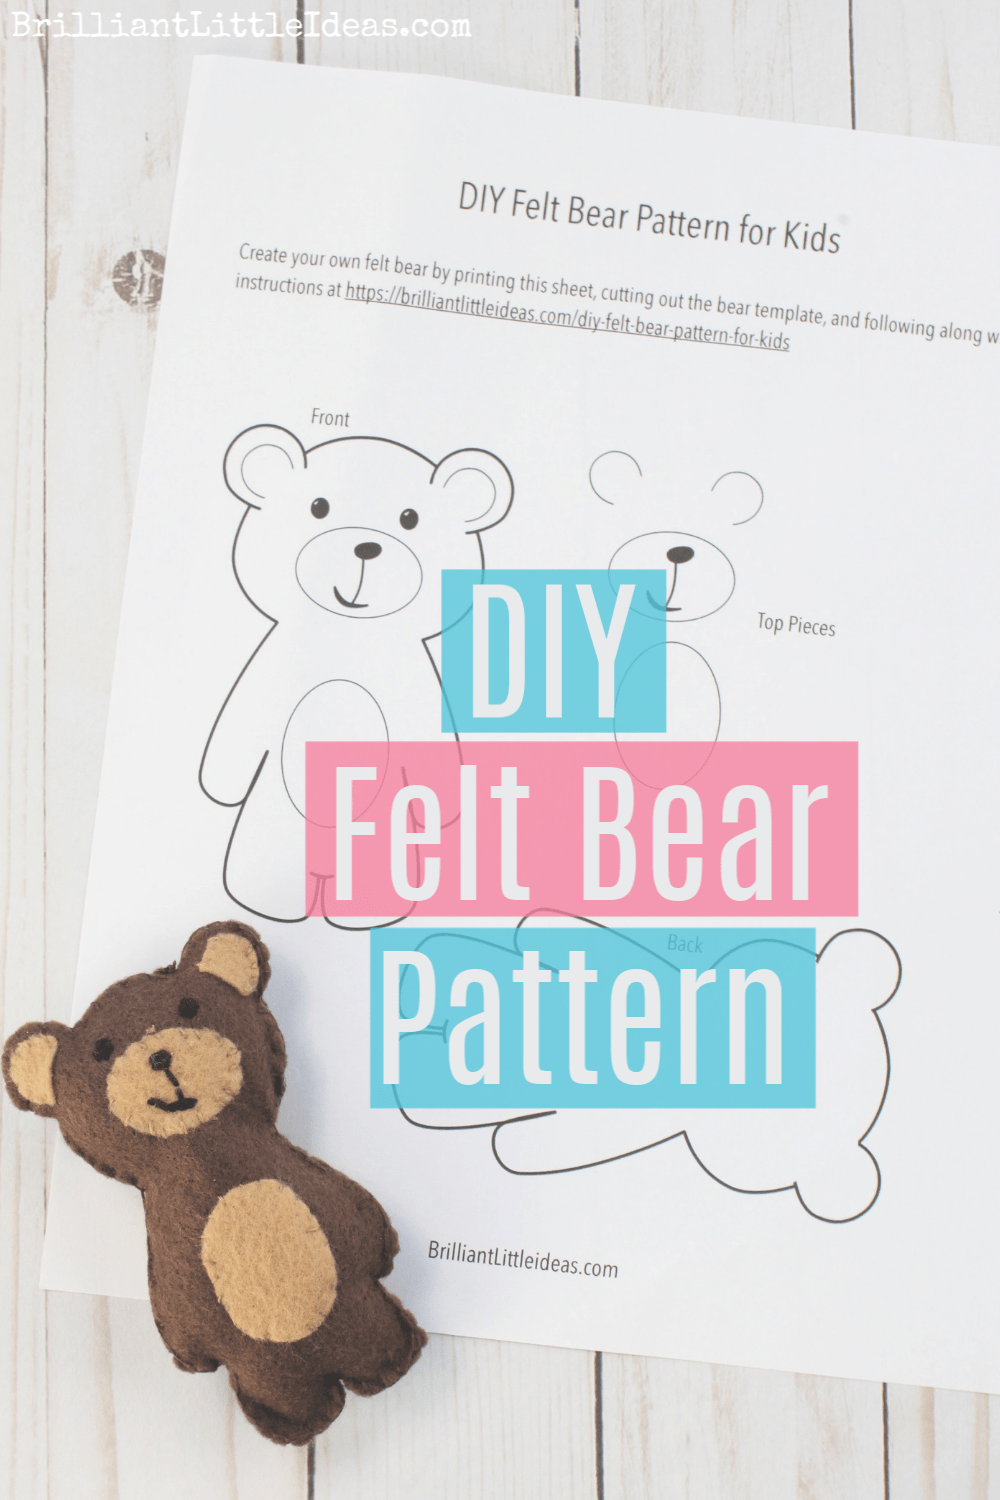
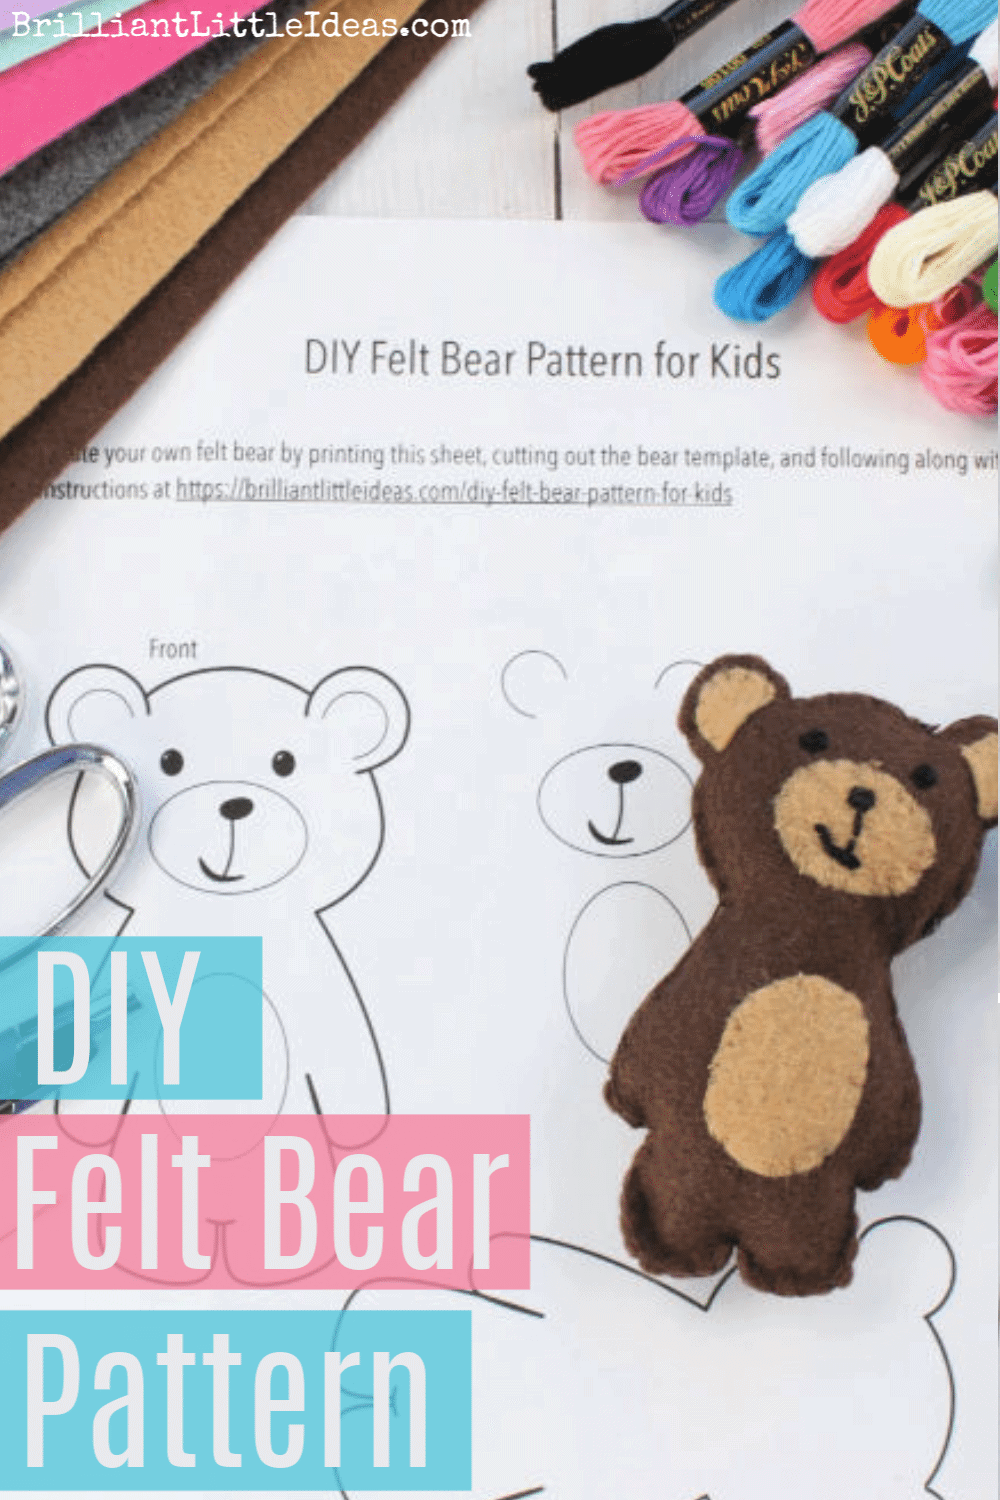
DIY Felt Bear Pattern for Kids
[disclosure]
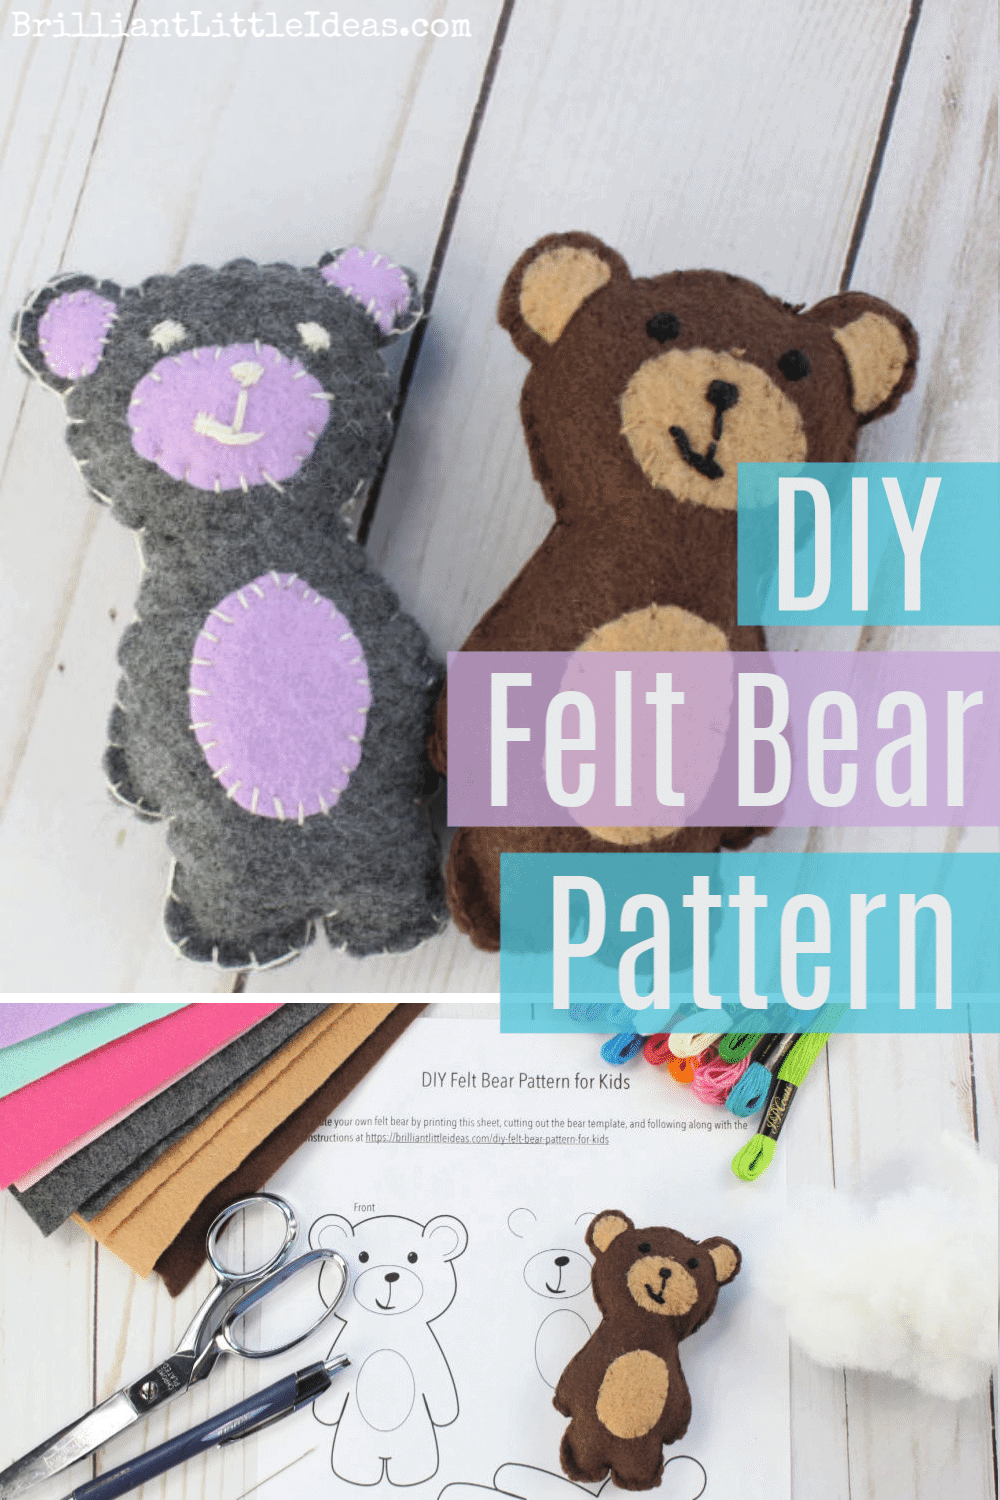
Create your own Felt Bear with this easy printable pattern. You will only need a few items and most you may already have on hand. This goes great with the Going on a Bear Hunt book.

DIY Felt Bear Pattern for Kids
I’ve always wanted to make a felt bear and this last week I did. It took a while from sketch to printable but, it was so worth it. We all loved creating our own felt bear and I think you will too.
This felt bear wouldn’t be complete without a cave. So tomorrows video/post is Bear Cave Craft for Kids (linked).
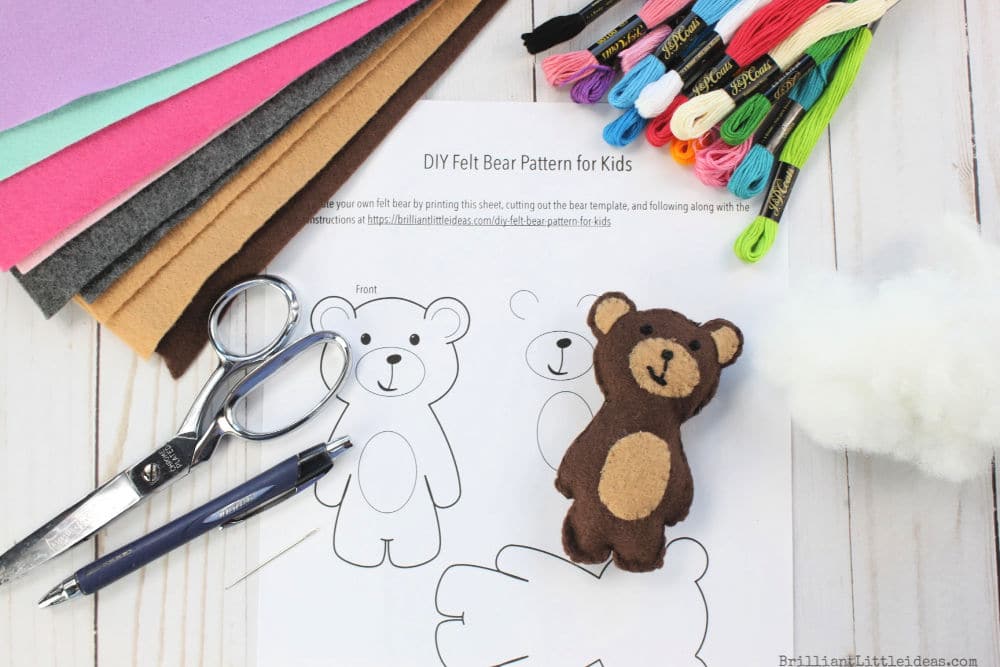
What you will need
- Going on a Bear Hunt book
- Felt
- Embroidery Thread Kit (comes with needles & scissors)
- Good Craft Scissors
- Bear Stuffing
- Bear Pattern Printable
How to make your own DIY Felt Bear Pattern for Kids -Video
How to make your own DIY Felt Bear Pattern for Kids -Pictures
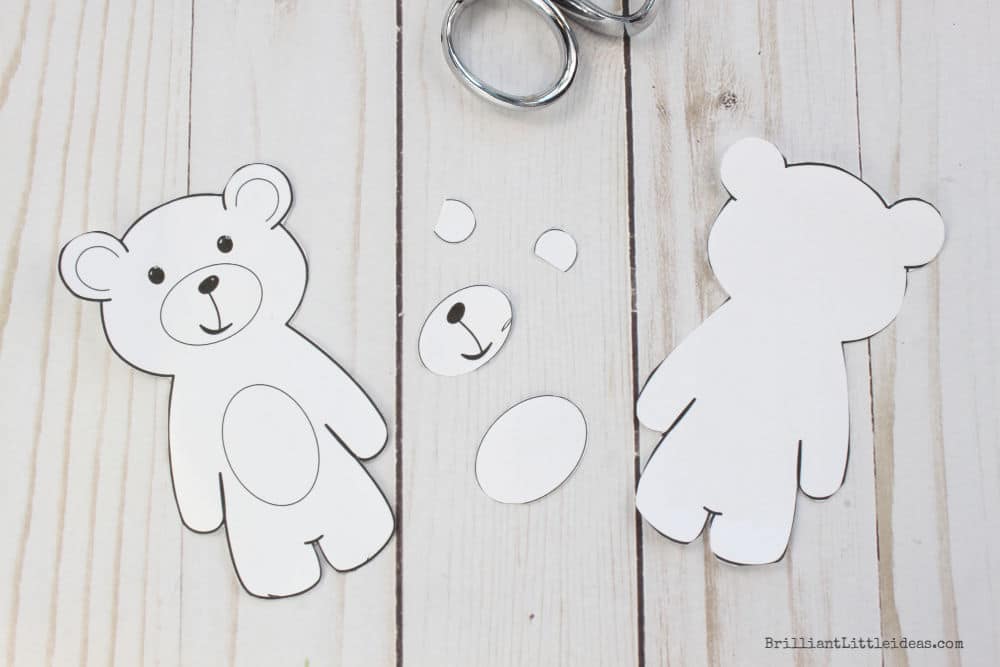
First, print out this pdf and cut out each piece. Try to cut on the lines or close to them.
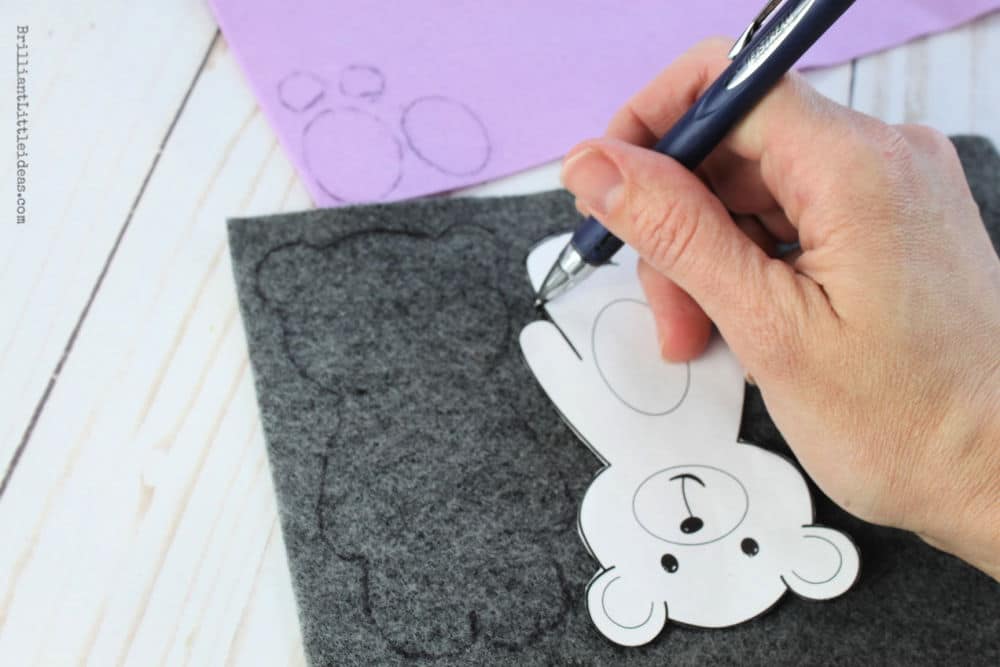
Choose your font colors. You can use as many colors are you or your child wants. Using a pen, pencil, or fine tip marker draw around each piece of the pattern. We only wanted the body to be grey and the face, ear, and tummy, purple.
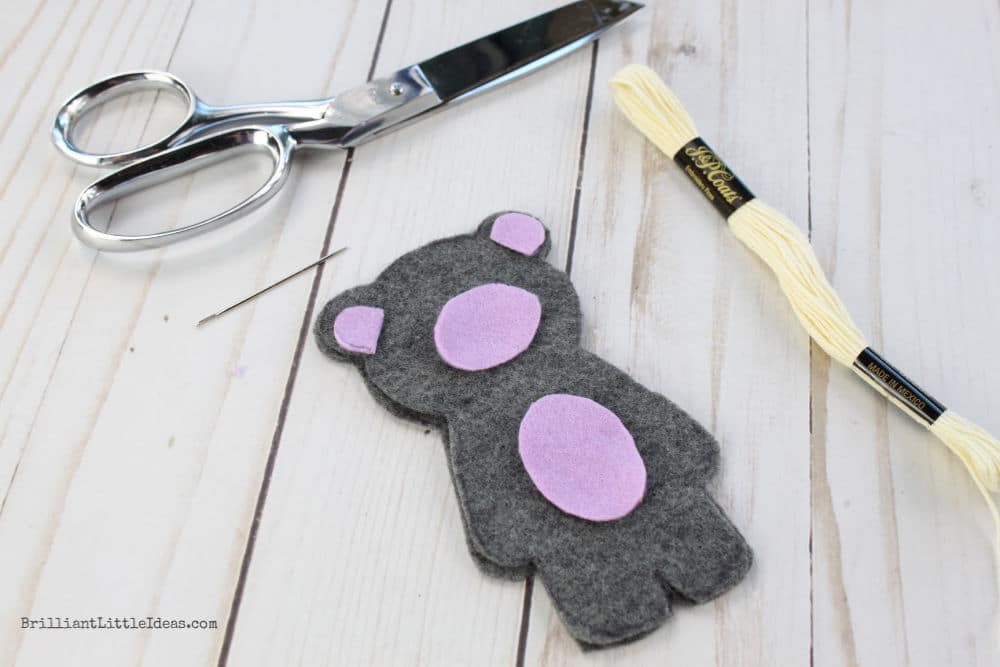
Cut each felt piece out, it’s ok to be a little off. This is a one of a kind bear.
Embroidery thread usually has 6 stands and its a little thick for the bear were creating so split the thread in half so you have 2 strands of 3.
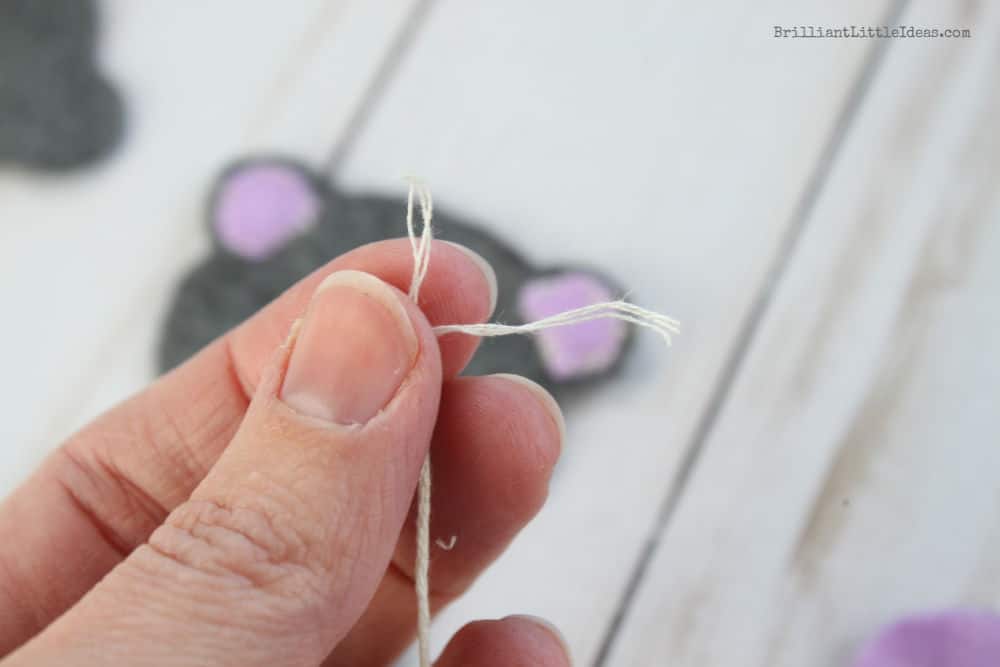
Thread your needle and tie off the end.
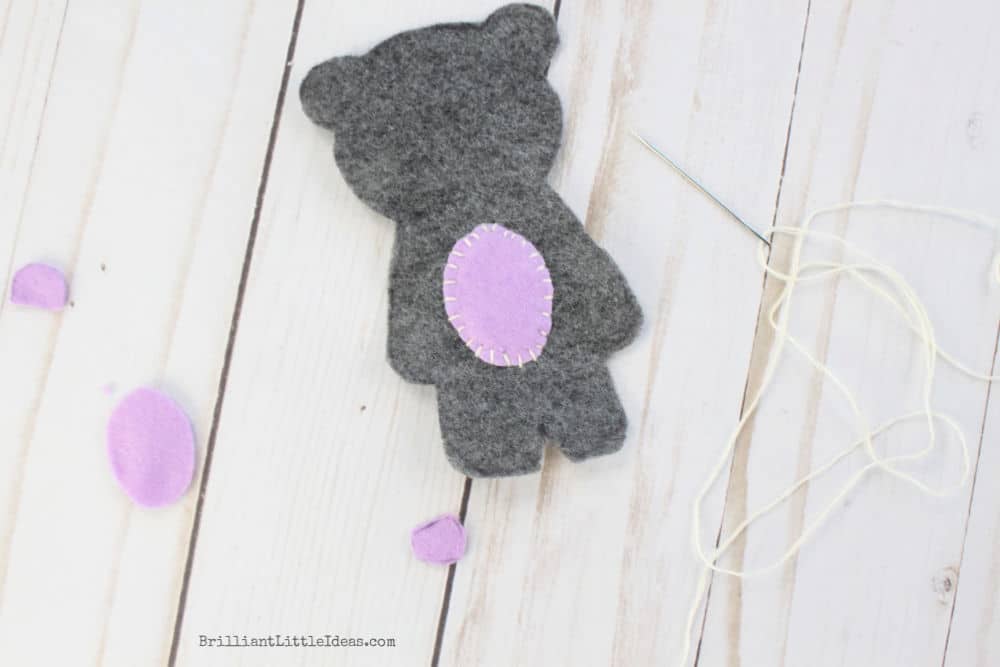
Hold the tummy in place on one side of the felt bear like above. You will need to thread from the back first so the thread knot doesn’t show. Thread in and out until your all the way around your tummy piece. Relax, because it doesn’t have to be perfect.

This is the back of my bear. Not fancy but it held really well.

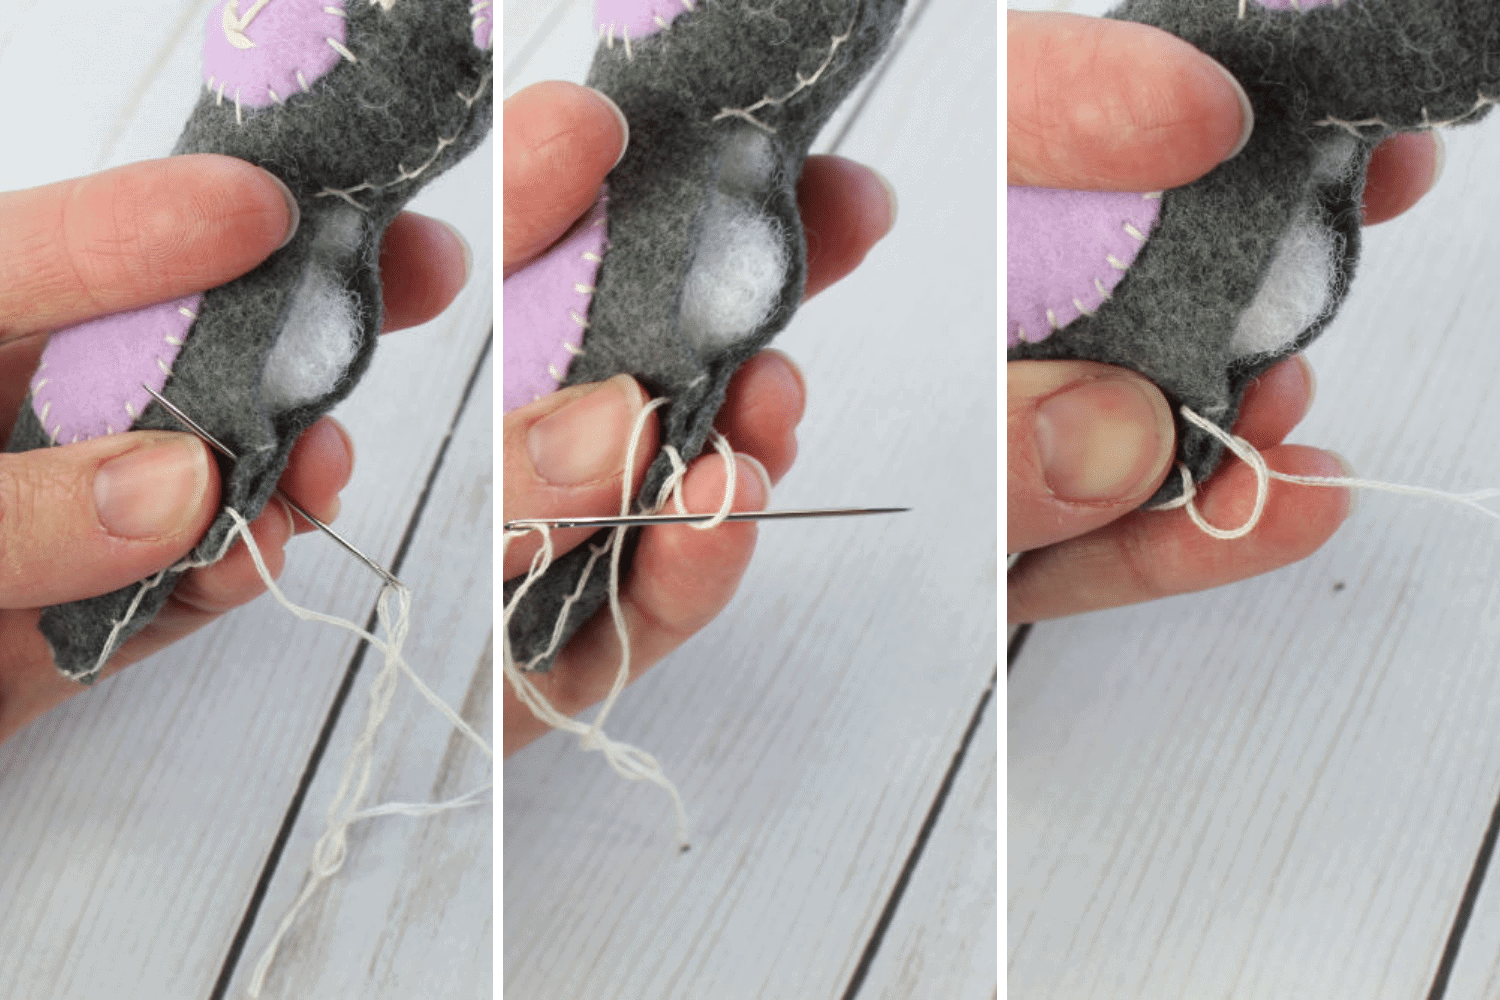
Once you’re finished with the tummy, ears, or mouth you will need to tie it off. I ran the needle back through a small amount of the grey felt but not all the way through. The needle should look like this above. I wrapped the string around the needle 2 or 3 times and held it as I pulled the needle and thread all the way through. Be careful not to let go too early because it will lock too early.
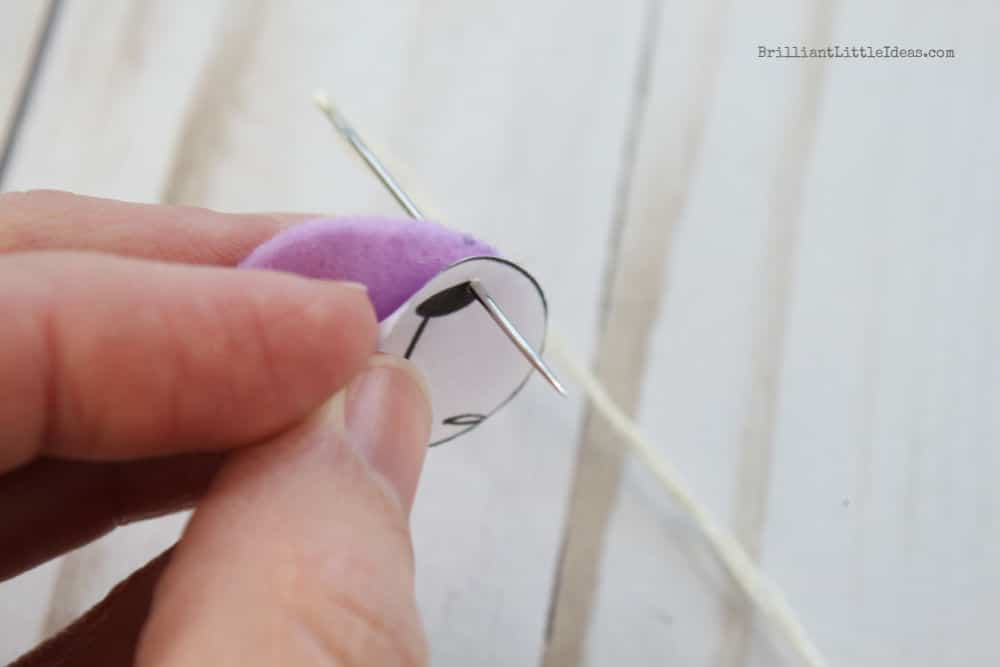
Before you sew your bears face to the body you will need to sew on a nose and mouth. You can use the pattern as a template by placing it over the top of the felt and marking the edge of the bear’s nose.
Keep going in and out until you have enough thread built up that it looks like a nose. Run the thread in a line below and even overlapping to create your bear’s mouth.
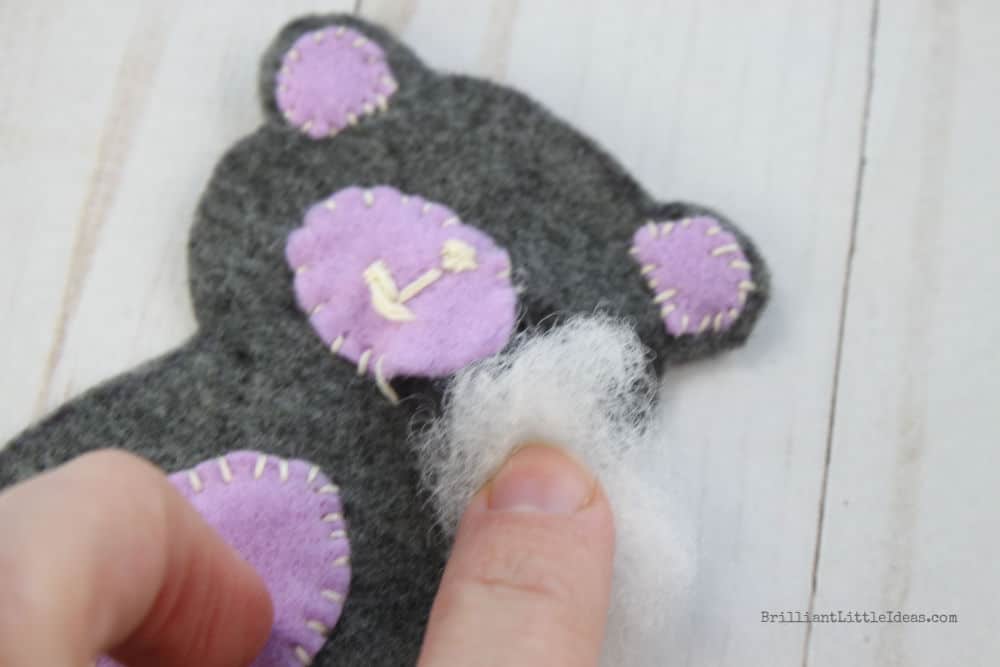
Sew on your bear’s face and when your three quarters finished you can push some stuffing in to give your bear more definition then sew the rest up
We decided to sew the outside of the bear a little different to make it a little cuter. Start from the inside of the bear so the knot doesn’t show then sew front to back but before going back through the felt you need to lace it back through the thread you just sewed pulling it over as you go.
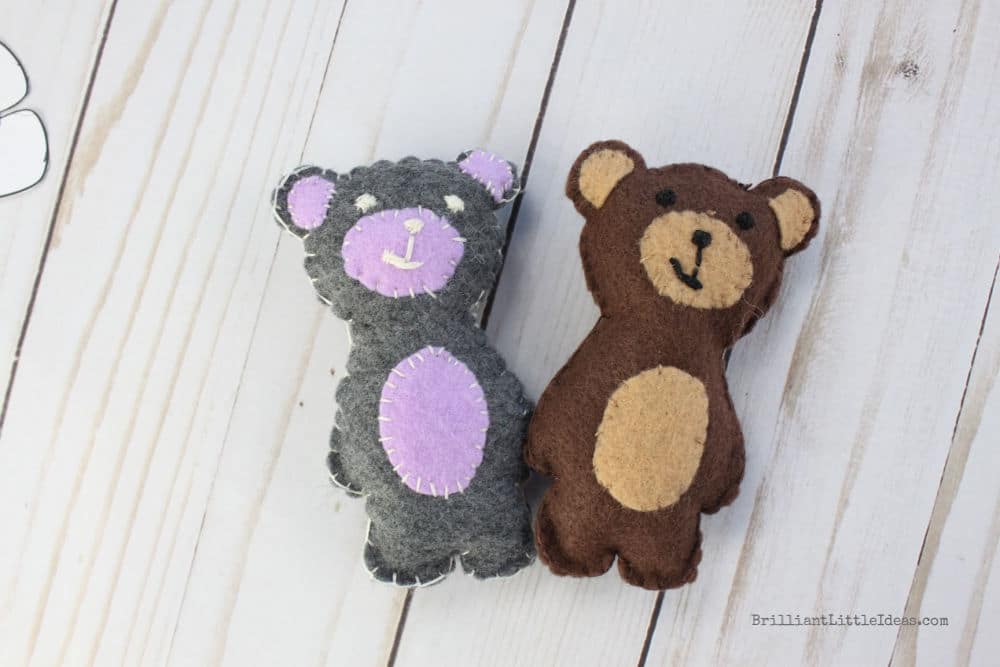
Finished!! Yes! I hope you enjoyed making your own felt bear. I would love to see pictures of your finished bear. Email me or find me on Instagram.
Have you made a felt bear before?

I too an a follower of Jesus. I want to try my hand at the little bears to put with figit blankets for the dementia patients at the nursing home. Prayers for you and your family in these trying times. Jesus is the only answer. Freda
Hey Freda! That’s a great idea.
Is the pattern easily scalable? My 7yo had become interested in learning how to make her own after having a build a bear style kit for Christmas.
Yes, it should be easy to scale.