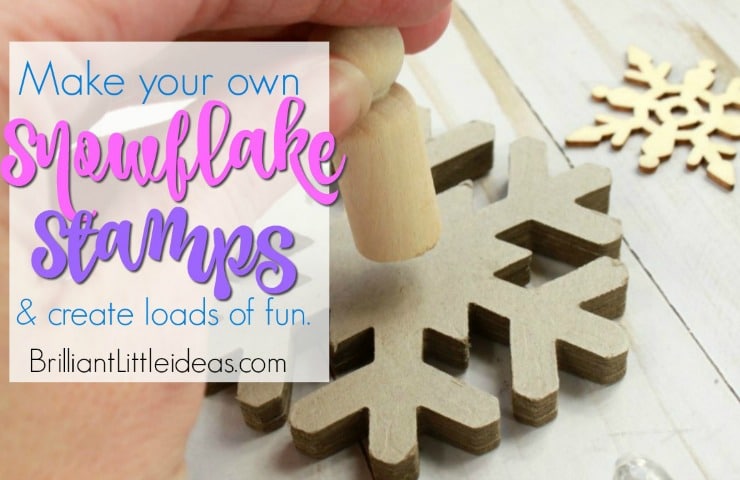
DIY Snowflake Wands
Your kids are going to love this DIY Snowflake Wand. We used ours for pretend play being Snow Queens in a winter wonderland for an afternoon.
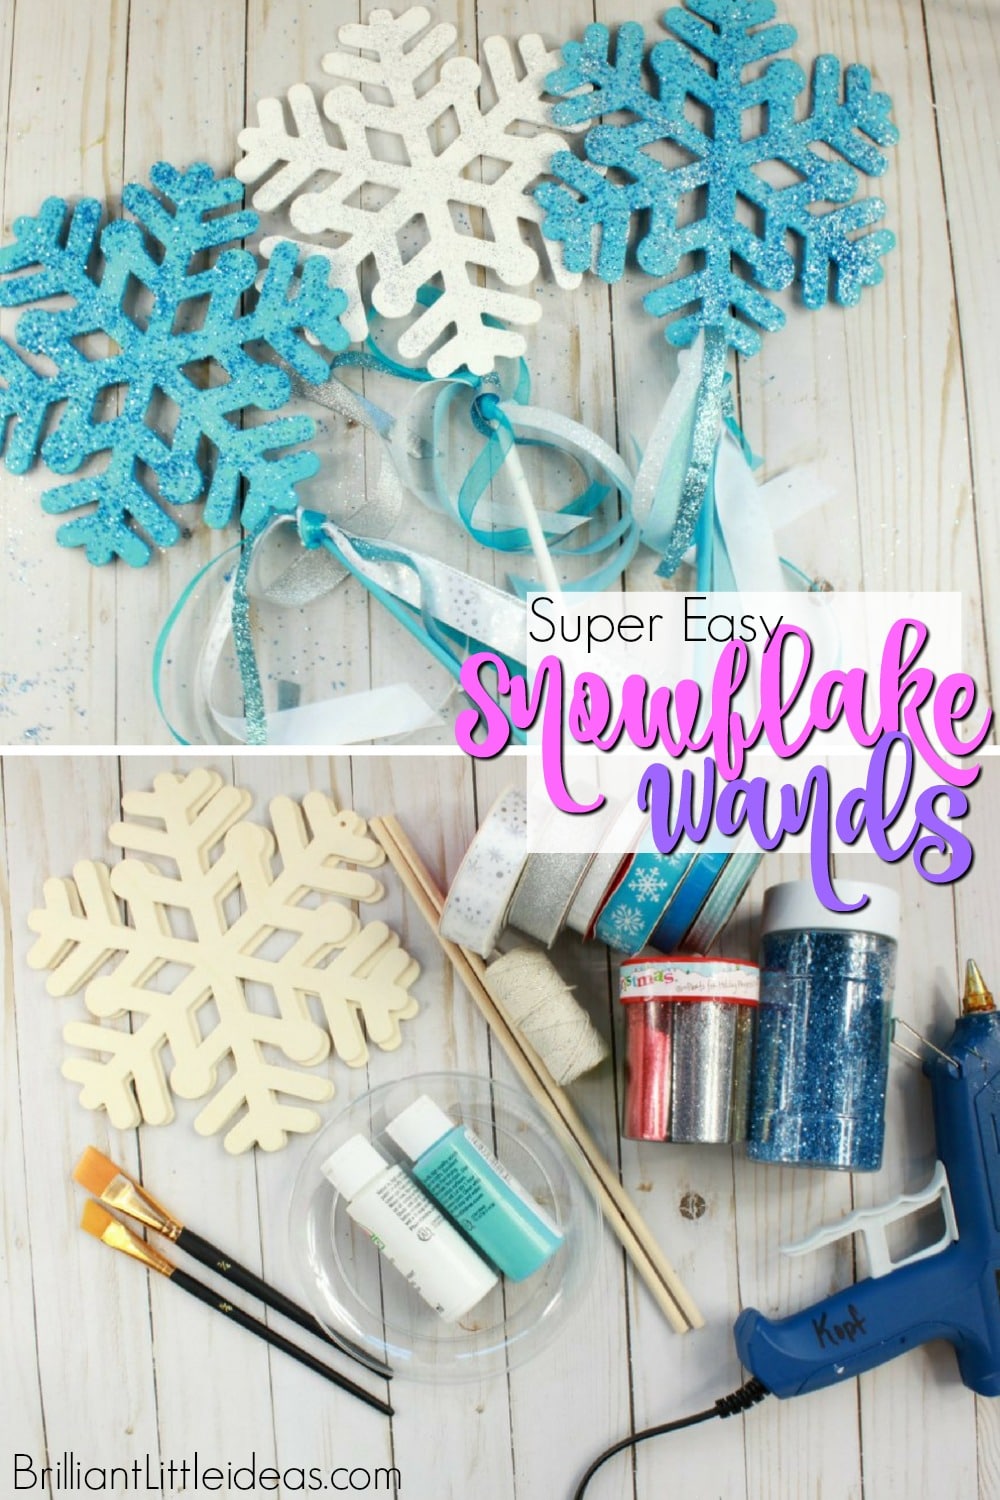
DIY Snowflake Wands
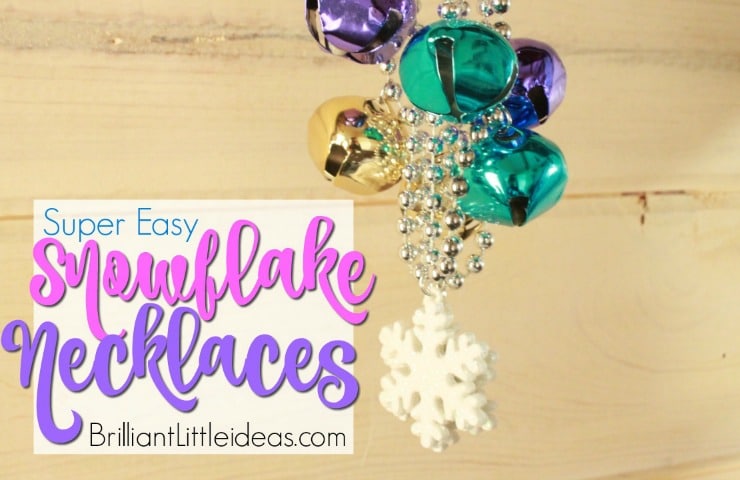
Create your own winter wonderland for your kids to pretend play all day long. If you like this Snowflake Wand you will LOVE our Snowflake Headbands. My twin girls are just as obsessed with Elsa & Anna as my daycare kids were when the movie Frozen first came out. So these Snowflake Wands would be perfect for a theme playtime, winter craft, rainy day activity or even a birthday party. You only need a few things for the magic of a winter imaginative play to come to life.
Keep the day themed and have some fun snow themed cookies and warm their tummies with the Ultimate White Hot Chocolate. This would also work great as a themed slumber party. Oh… the possibilities are just endless.
This post contains affiliate links. If you use these links to buy something we may earn a commission (at no cost to you). Thanks for the support! See our Disclosure page.
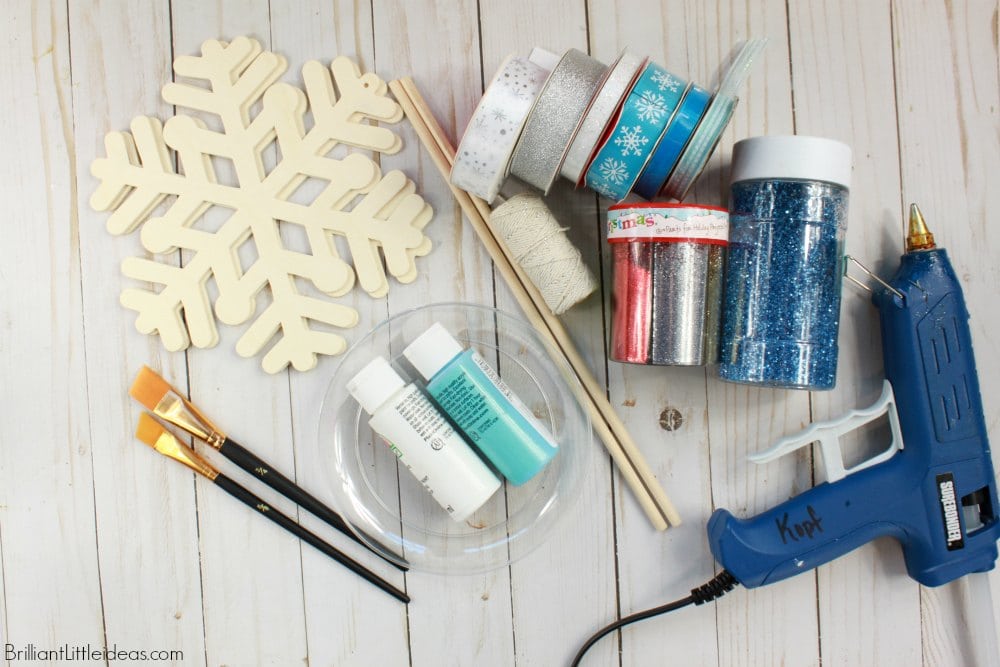
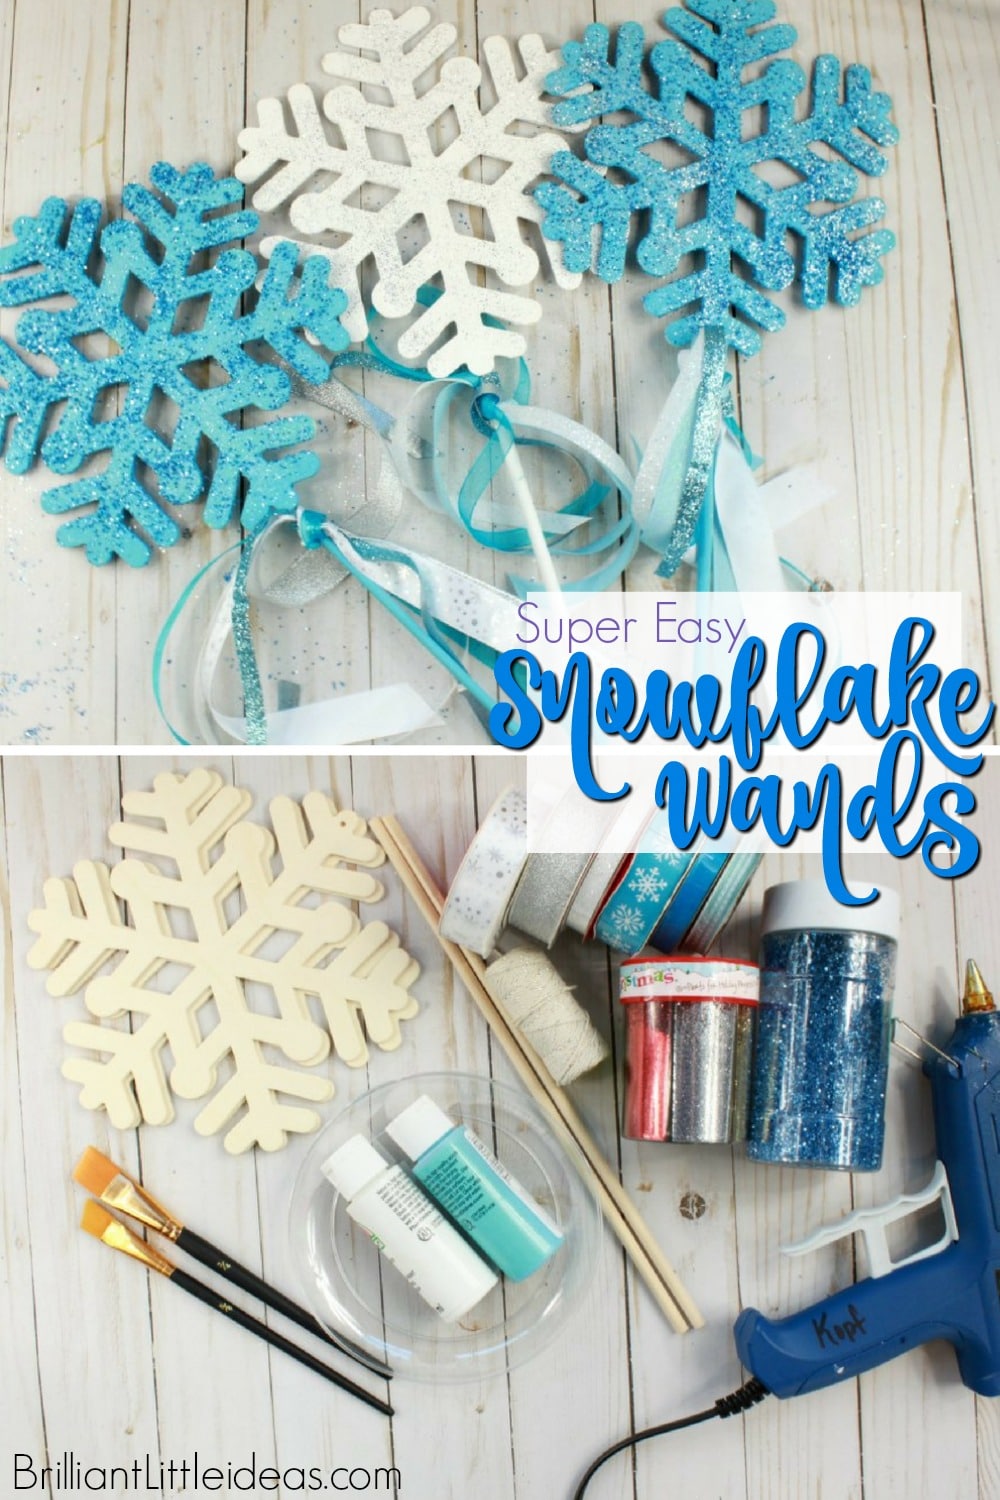
What you will need
- Large wooden snowflakes 3-4 inches (similar to these)
- Dowel rods (like this)
- Paint (I use this kind) & brush
- Ribbon (a varitey here)
- Hot glue gun (not for kids linked here) or
- E6000 (not a kid glue either but linked here)
- Glitter (here is a set)
How to make your DIY Snowflake Wands -Video
How to make your DIY Snowflake Wands -Pictures
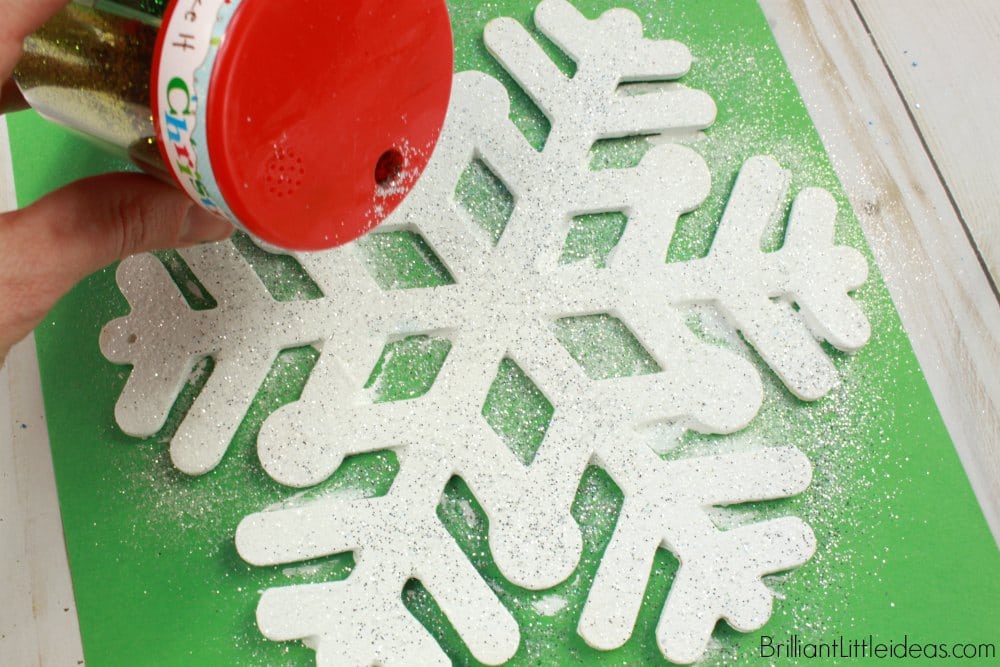
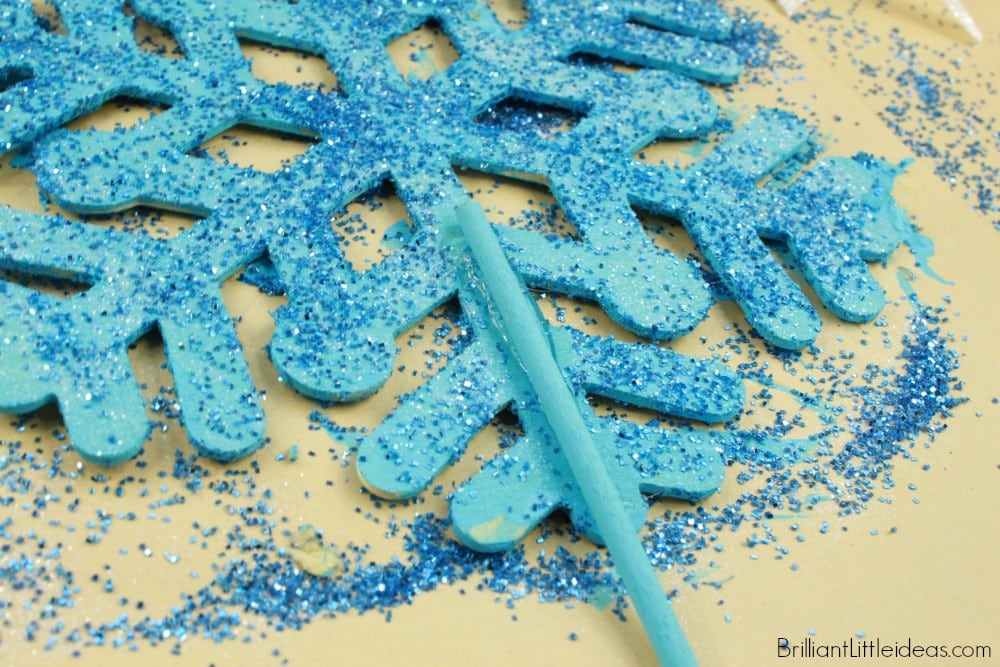
Start by painting one side of your snowflake. Take your time and get the edges and let it dry before you flip it over. Depending on the weather and the time you have to get it done I would say let it the painted side of the snowflake dry for a few hours or even over night.
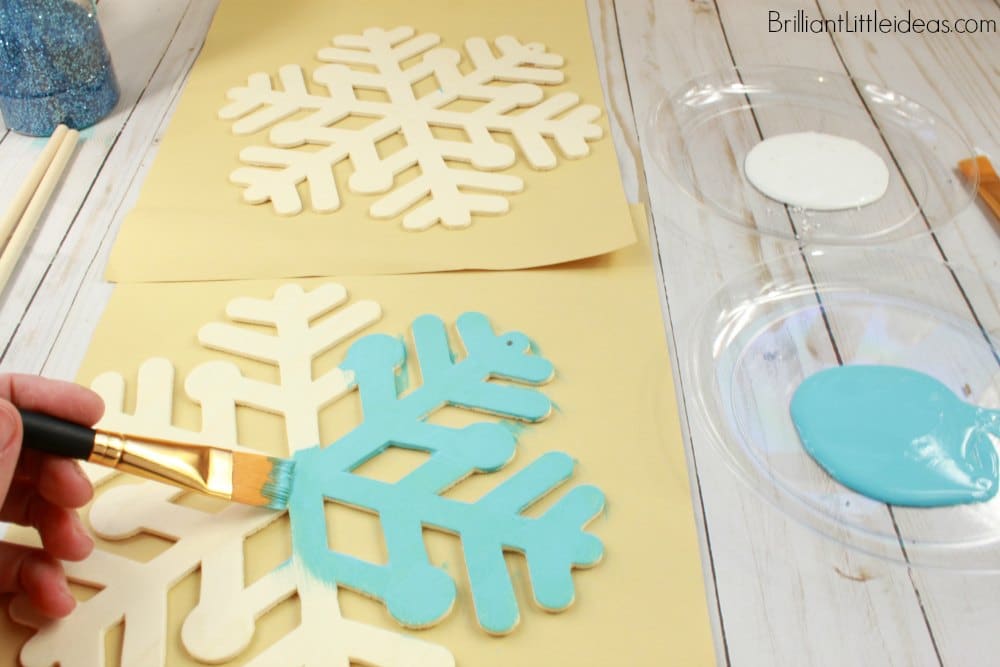
Before the paint is dry glitter your snowflake liberally. You can do this on either just the front or both sides. Just make sure that the paint is dry before flipping the snowflake over.
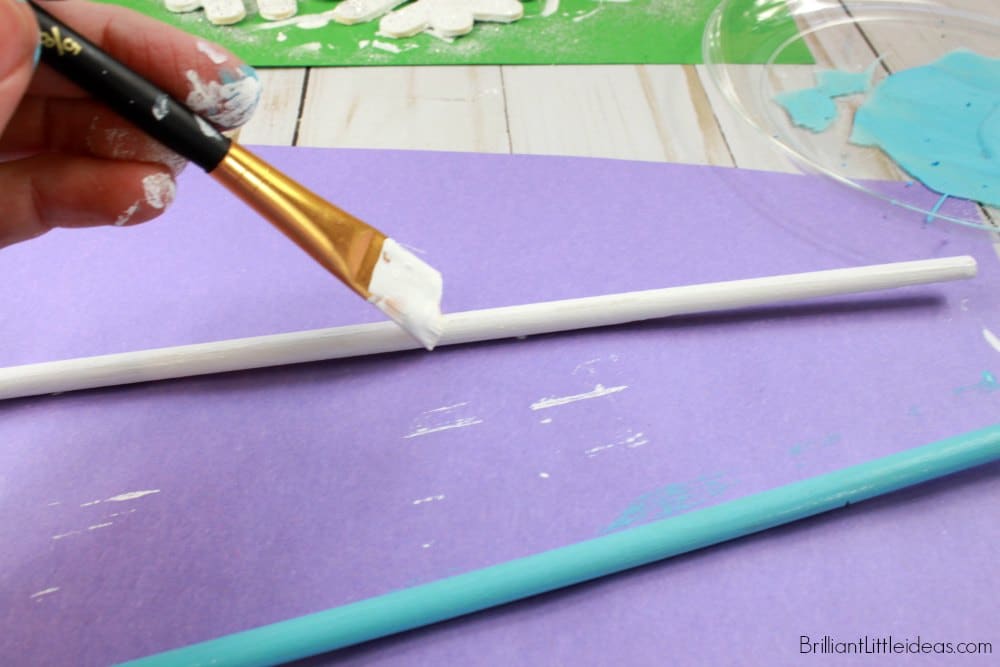
Paint your dowel rod and let dry. You can paint one side and roll it over the same way you painted the snowflake. If you would rather paint the whole top and then the bottom that’s fine too. All you need to do is paint the top half of each dowel then put the dry end into a cup upright so that the bottom half can dry. Once it’s dry flip it and start again on the other side. Dry the same way, wet side out of the cup, dry side down.
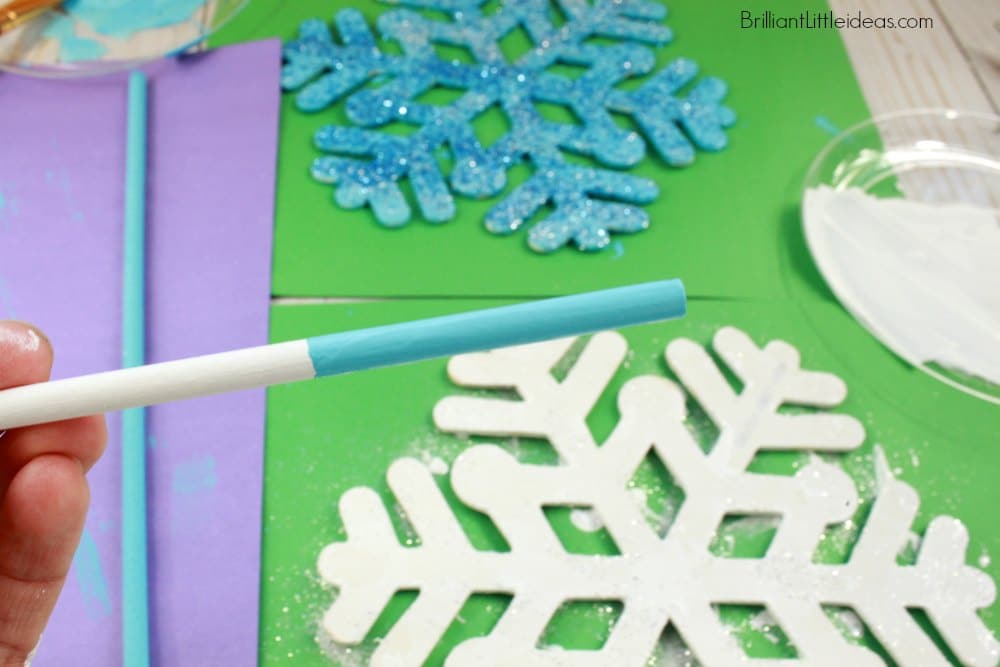
For a little extra touch you can add a different color to the bottom few inches of the wooded dowels so each child knows which one they have. Try pastels or use a ultra fine tip marker to write their names on either the dowel or the ribbon that you will attach later.
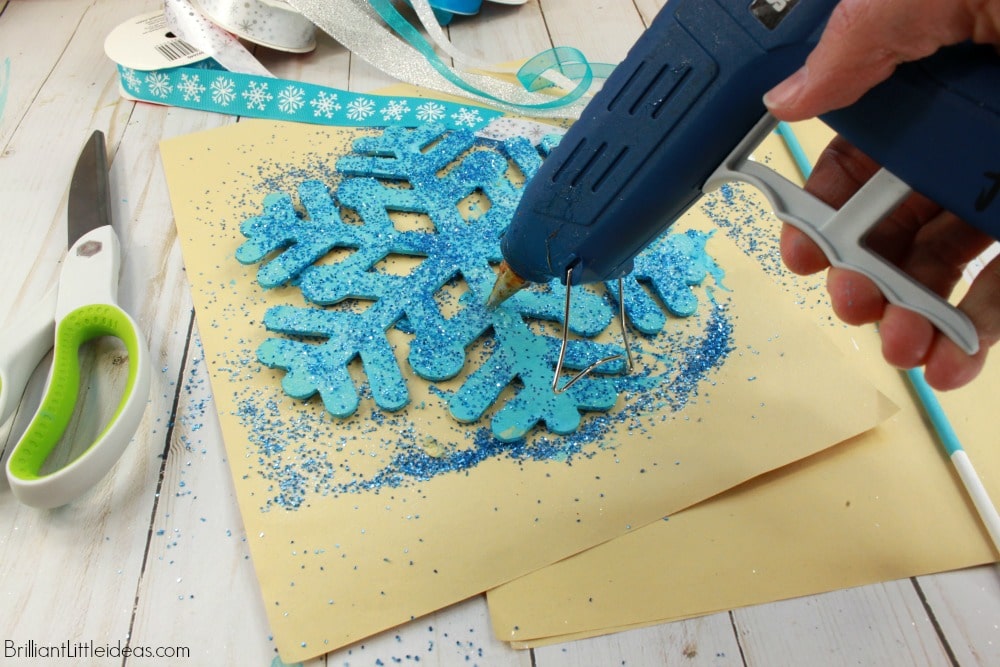
Now glue your dowel rod onto the snowflake.
This is not a stick glue job today.
We need this snowflake wand to hold and hold well.
I used my glue gun for this project but if you are looking for something that never comes apart (bc kids can pick at hot glue) try E6000 it holds tight! One thing you should know… it does take 24 hours to set. E6000 is not a kids glue so be careful with it as well as the hot glue gun.
No matter if you are using hot glue or E6000 you will still need to hold the snowflake and dowel rod together with some pressure until the glue sets. I usually just hold the dowel rod onto the snowflake down until the glue dries. If you are using a foam snowflake I wouldn’t suggest using a hot glue gun. The foam may melt and burn your fingers.
If using E6000 be sure to use a clamp so the dowel stays in place. You could also use something like a book in a pinch.
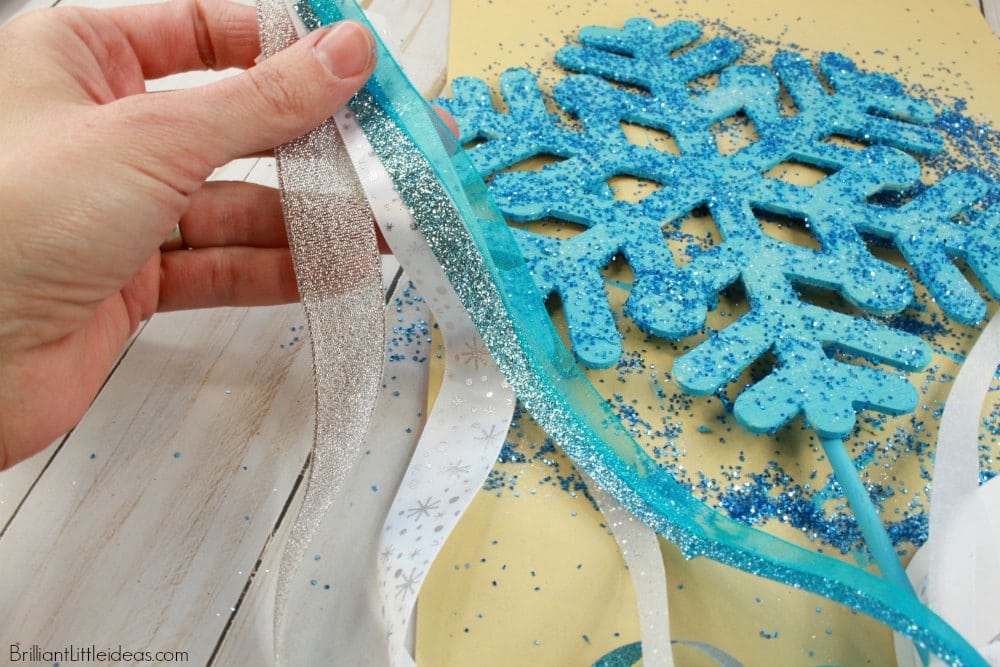
Add as much ribbon as you want, the more the better. Let the kids decide what colors they want. Again you could go with the pastel theme and match a bit of ribbon to the bottom of each painted stick. Remember when I said you could color coordinate the bottom of the wands to each child?
If not don’t worry. Just dip the bottoms of the wands into a pastel shade of paint, wipe off the excess and let it dry. Match a few strands of ribbon accordingly.
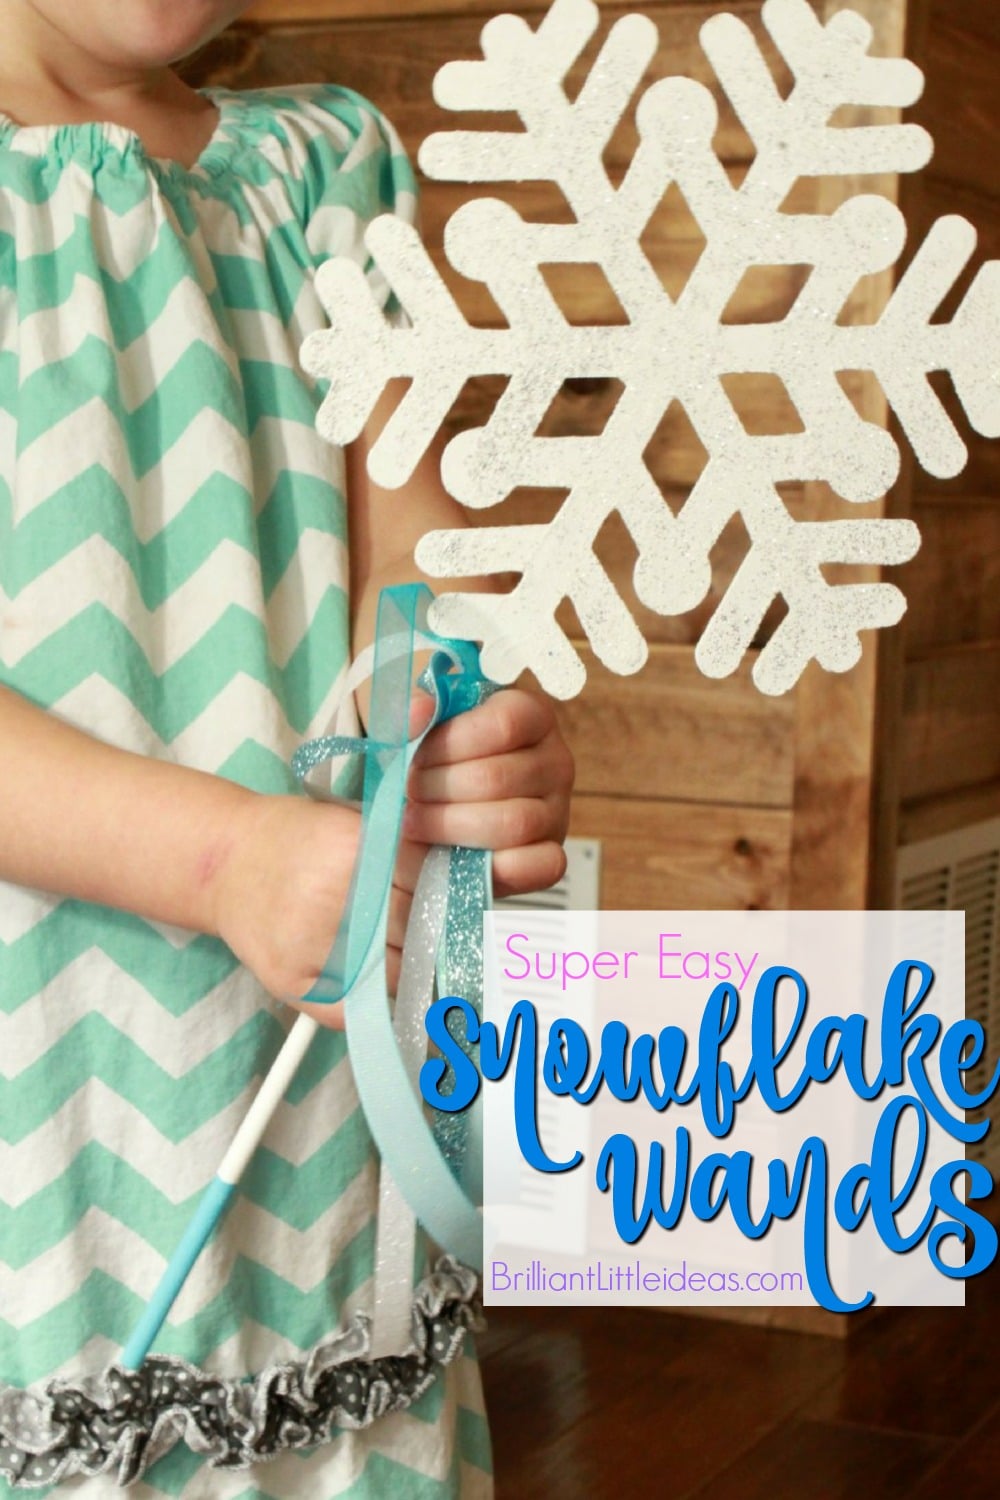
Now let your kids go play! Make sure to sit for a few second or hours and enjoy all the hard work you did and watch their imaginations soar. I however, would make some hot tea and catch up on laundry. Make the most of your few minutes of peace!
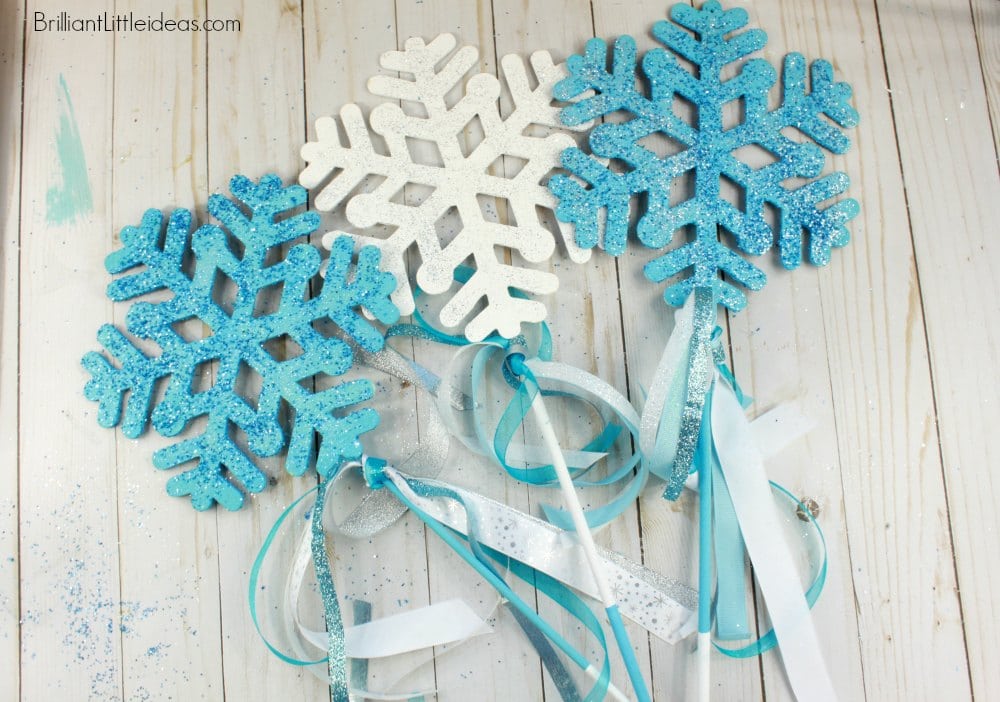
Did you kids like making their Snowflake Wands?


Was wondering what size of snowflakes these are? Also….do you remember where you purchased them? Thank you
Hey Jenny, I updated the supply list but the snowflakes were around 3.5-4 inches. I originally got them at Hobby Lobby but these on Amazon are close (this is an affiliate link). https://amzn.to/3LNxaPq
Thank you so much! Sorry for my late reply! Appreciate your help! Can’t wait to make these with my girls!!