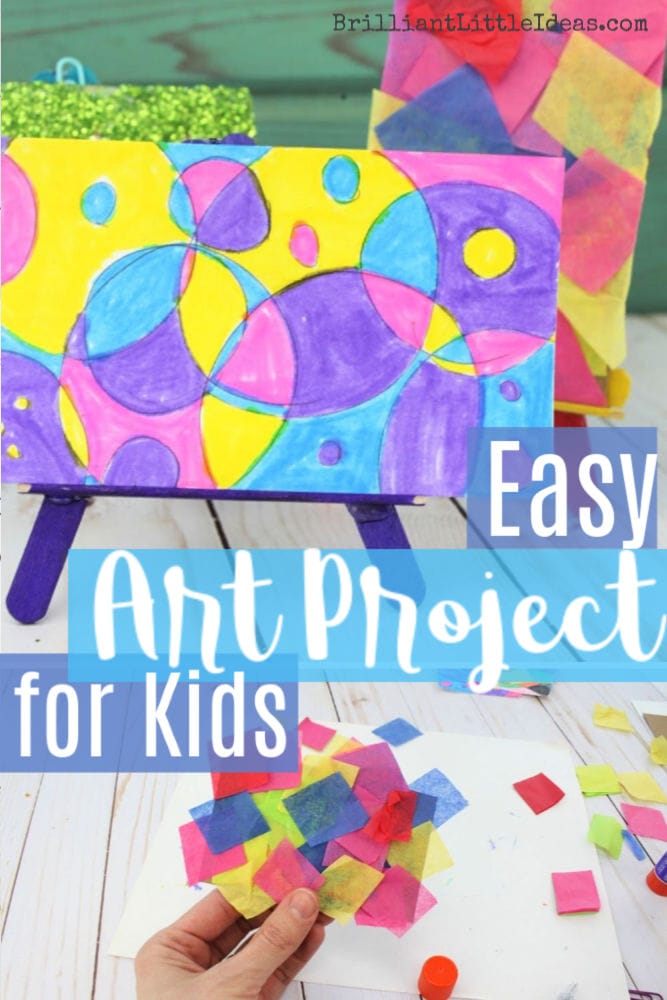
Easy Index Card Art Project Ideas for Kids
Need a quick art project with simple supplies? No problem, I’ve got you covered. Index Card Art is great for kids, teens, and adults! It can be made easy or difficult. Draw a flower like a daisy yellow or white on a flash card and have your younger kids color it. You can also use one index card per month and have your student or kids draw small things that happen that month that they want to remember. Punch a small hole in the corner of each card and put 12 index cards on a ring for the year. Over the years kids can have a whole collection of cards. It makes such a fun keepsake and memory note for them to look back on. Flash cards are not just for math problems in my house, they are for creativity!
If you don’t have flash cards you can use pieces of paper that are thick like cardstock or even cut small rectangles from old cereal boxes. Simple materials can be turned into an easy kindergarten art project and a great way to keep kids busy.
Post Topics
- What can you do with index cards
- Supplies you need to make flash card art
- Easy Index Card Art Project for Kids How to Pictures
- Can an index card be a craft project?
- Looking for more quick index card crafts?
- Glitter and Glue Recycled Art for Kids
- How to display your index card art?
If your kids love the index card art, then grab this Symmetry Coloring Page free printable. It’s a great way to teach kids a second art concept and work on those fine motor skills.
This post contains affiliate links. If you use these links to buy something we may earn a commission (at no cost to you). Thanks for the support! See our Disclosure page.
I love coming up with quick things for kids to do. Give me a room full of kids and ill have them doing a project and semi happy in under 5 minutes. You can’t ever make every kid happy… 🙂
This craft and the Easy Popsicle Art Easel (click here) came from that type of day. Something out of nothing. We didn’t have enough index cards for everyone so figured it out and that’s what I’m going to do for you. You don’t have an index card? No problem! Scroll down and ill help you with that.
What can you do with index cards?
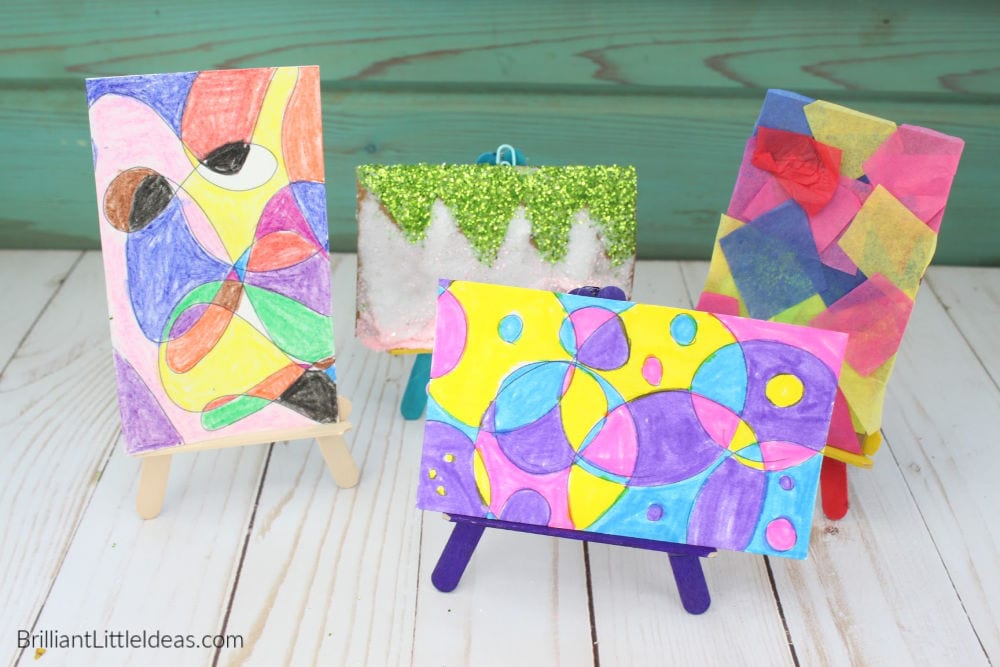
Lots and lots of things. Below you will find 2 different ways to decorate your index card. We will start out with drawing one-of-a-kind art with simple crayons or markers then work to glitter and tissue paper. The options are endless! Once you’re finished you can make a DIY Art Easel to display your creation.
Index cards can be made into a full year month by month on a ring so kids can add tiny drawings or quotes of things that happened throughout each month. They can also be used every single day for a month as a themed drawing. You can do this by drawing one thing on each card and then at the end of the school year looking back on the set you made and then drawing on the flip side. It’s a great exercise to get kid’s creative juices flowing!
Use a different rubber stamp on the edge of each flash card and let the kids take the piece of shape that was stamped and turn it into a whole new picture. Doing a simple exercise like this each day by only using simple ideas and a mall list of materials can spark imagination and send a kid on a whole art journey. So use your imagination and see what ideas you can spark in kids’ minds.
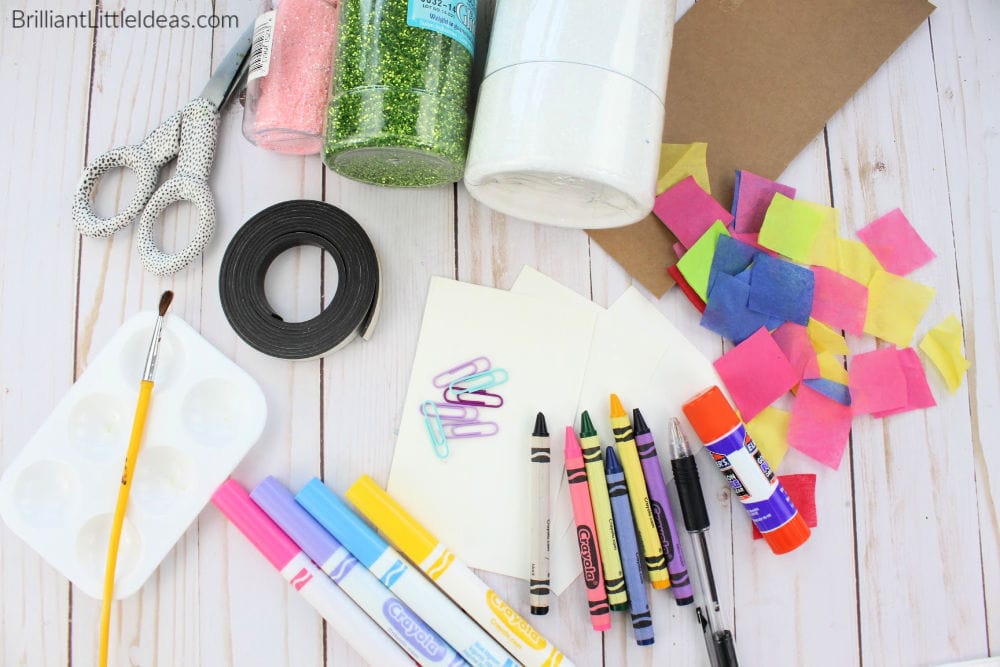
Supplies You Need to Make Flash Card Art
- Paint Pallets & Brushes (linked)
- Markers, Crayons, Pen, Pencil & even colored pencils
- Glue Stick (linked)
- Index Cards or old cereal/cracker boxes
- Scissors (linked)
- Tissue Paper
- Paper Clips (linked)
- Magnets (linked- backing isn’t sticky enough so use a dab of hot glue)
- Hot Glue Gun (linked)
Easy Index Card Art Project for Kids – How to Pictures
To start… I’m going to show you the first project idea.
Go grab your index cards and all the supplies listed above.
No index cards? Grab a thin box like a cereal or cracker box. Any box that is thin will work for this project.
I have pictures for each step. Some of the simple steps are easier if you just do what you feel is best instead of copying exactly what we did here. Ideas such as instead of covering a whole index card in glitter maybe try just the edge or in the middle. It will still be a cool craft when you’re finished even if it’s the first time you have ever tried index card art.
So be sure to grab your construction paper, duct tape, and craft glue for this fun index card project.
If you are still looking for ideas try letting the kids draw one picture for the whole month of March or adding a little color to the edge of each index card to spark some creativity. You can even give the kids one card at the end of each week or give them a daily paper prompt that will keep them busy and something they can look back on later in life.
Can an index card be a craft project?
YES! Below you will find 3 different craft ideas to keep your kids busy and having fun.
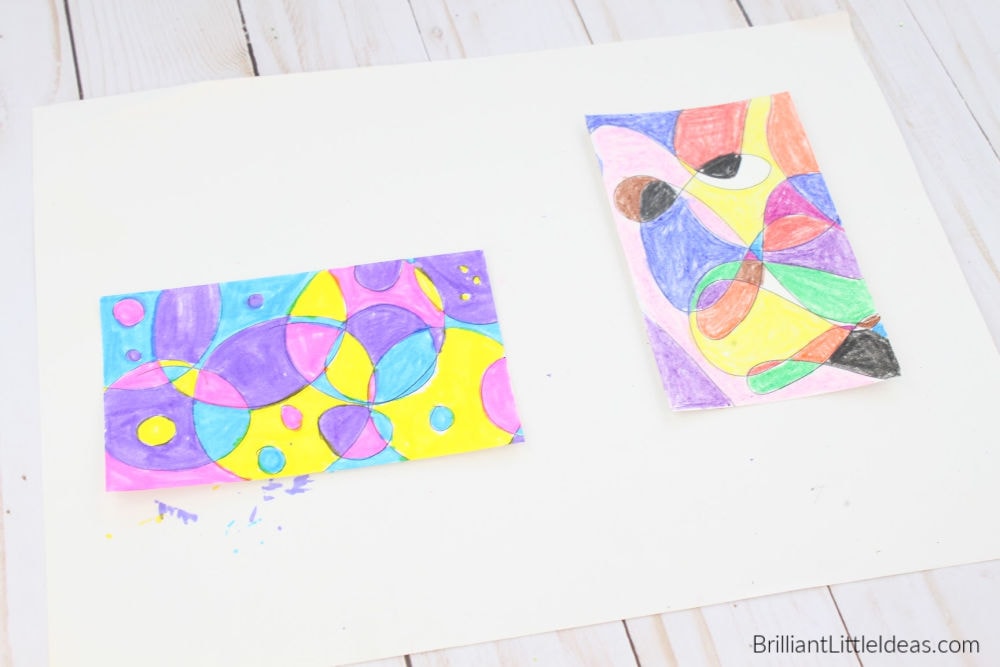
Take an ink pen and start drawing lines, circles, and shapes, or just let your kids scribble. Once you have a few lines drawn we will get started on the fun part… coloring it in!
**The more lines, scribbles, or shapes the harder it will be to color.

Let your kids pick a few or the whole box of markers, colored pencils, or crayons to color their picture. They can even play the game of making no color touch. That seemed to be more fun for the older kids.
If you want your kids to make new friends have them draw something fun on the blank side and have the person next to them add to it. Little hands can make some really fun art and it’s an interesting way to get the kids to know each other a little better.
Looking for more quick index card crafts?
Last year we had a theme and I allowed a lot of time for this art project. This year I’m going to give them just a few different colors and a daily challenge to make a small index card art in under 5 minutes. In past years the kids have had a day challenge to make different shapes out of each flash card, mini photo albums using the lined side as the pattern to fill in color for each picture. It made a cute theme. Each kid made a hole punch in the edges and we attached a picture in the middle so the little photo albums would say together and each picture had a pretty design. Another good idea what to have premade task card where the kids would draw out an idea and race to make their best art before the buzzer rang.
Have your kids cut shapes into the index card and then a small slit a half inch into one side. Take a second piece and cut a small half-inch slit into that too. The goal is to build a tall tower over time. This is a great progression craft for the summer months of June and July.
If you have not tried the icad challenge then this is definitely the time to start. ICAD stands for index card a day challenge and it can be made a into any theme, shape, size, or idea that you have had in previous years. This is a very versatile challenge that can be made for any age group. So make it up each day as you go along or have a plan from the beginning but make sure that each person makes their own tiny art for 61 days.
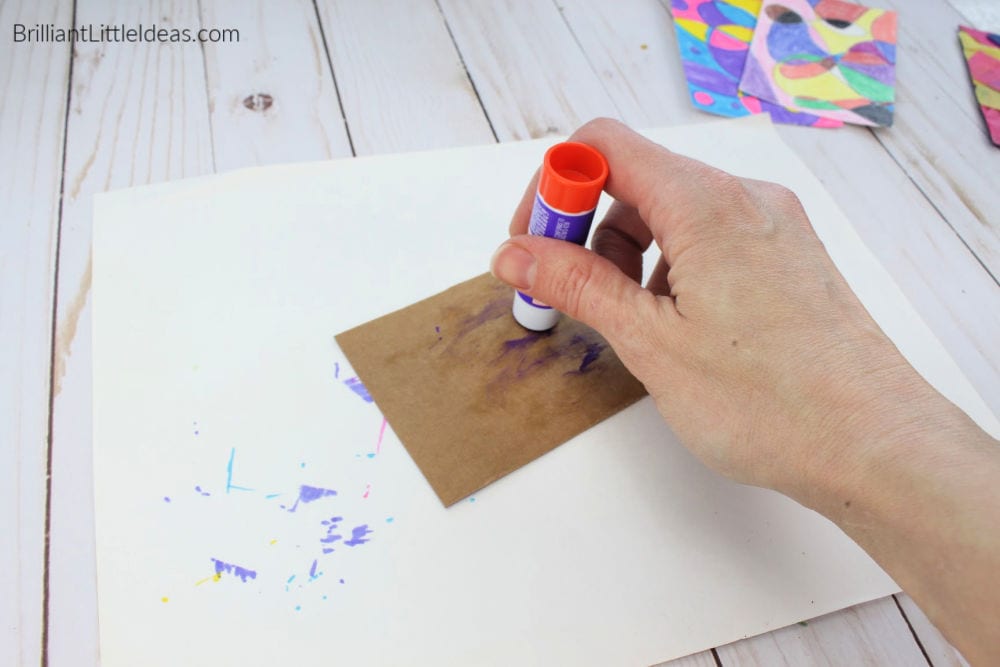
For the next index card craft, you’re going to need an index card stick glue, and tissue paper cut into squares. No index cards? Grab a thin box like a cereal or cracker box. Any box that is thin will work for this project.
Start out by covering the index card with glue.
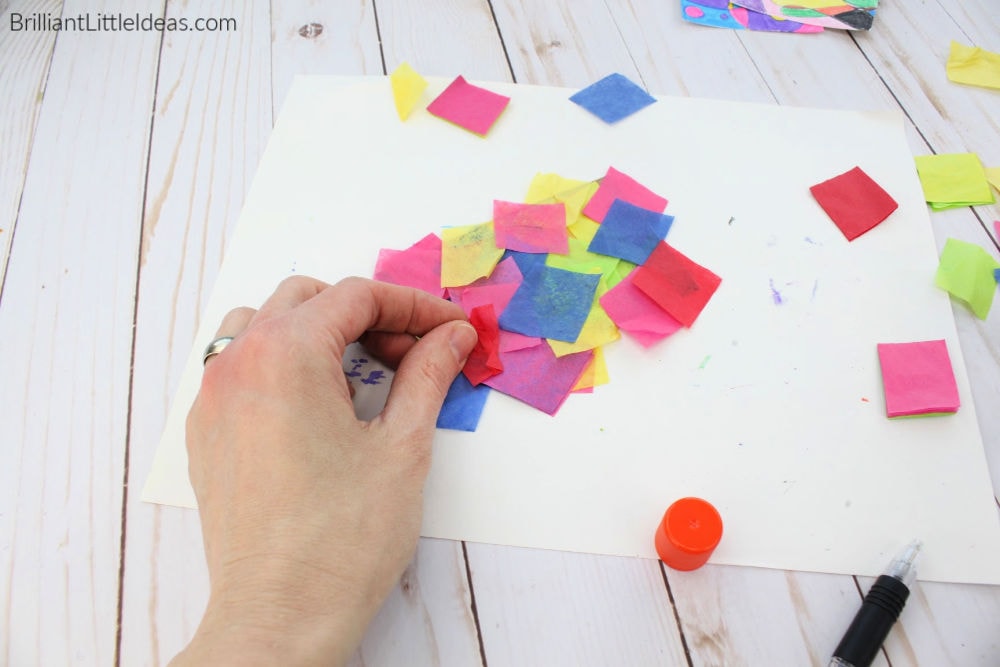
Now cover your index card with the colorful tissue paper pieces. You can layer them as much as you want or as little. Don’t forget to add more glue if it dries too quickly or the collage isn’t touching the base index card. If you cut too many tissue paper pieces of one color this is the perfect way to get kids to share the color they have to get another color to make a fun new art project.
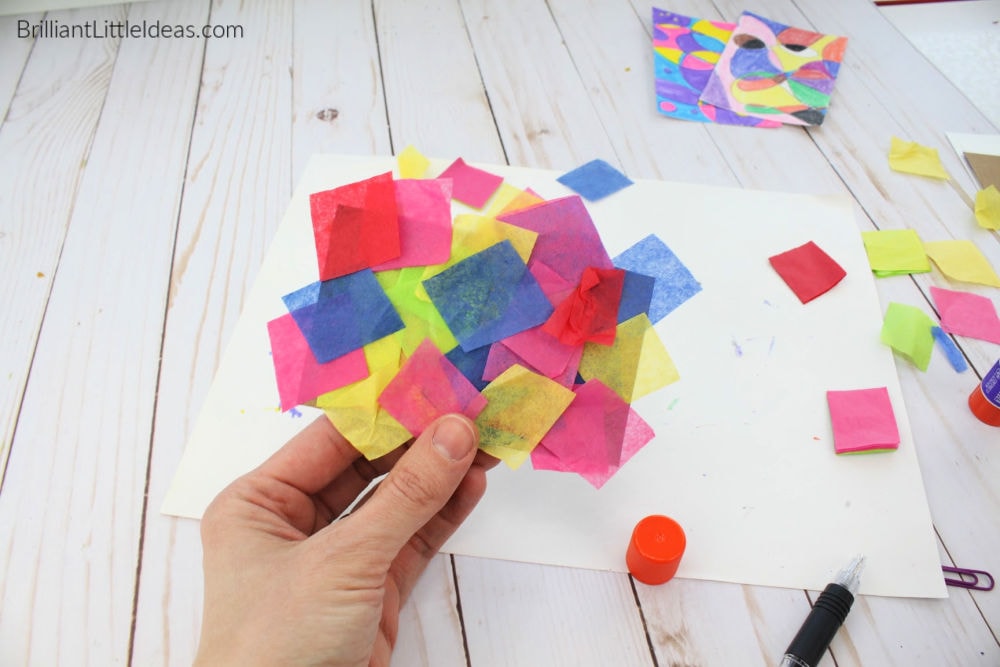
Now your option will be to cut down the index card to make it more uniform or to just let it go wild. I honestly, regretted cutting mine afterward. I like the wild look… it matches my chaos.
If you use a paper trimmer the side should be straight. If you want the edges to be wavy or zig zag use some fun shaped scissors. A standard index card doesn’t have to be boring. You can even fold paper to act as a window or book.
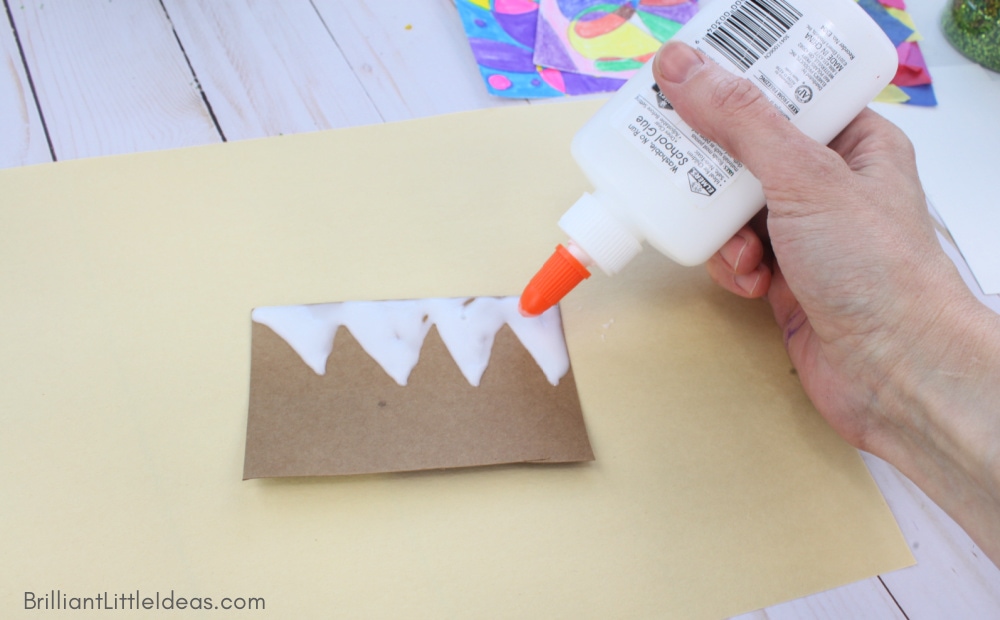
Glitter and Glue Recycled Art for Kids
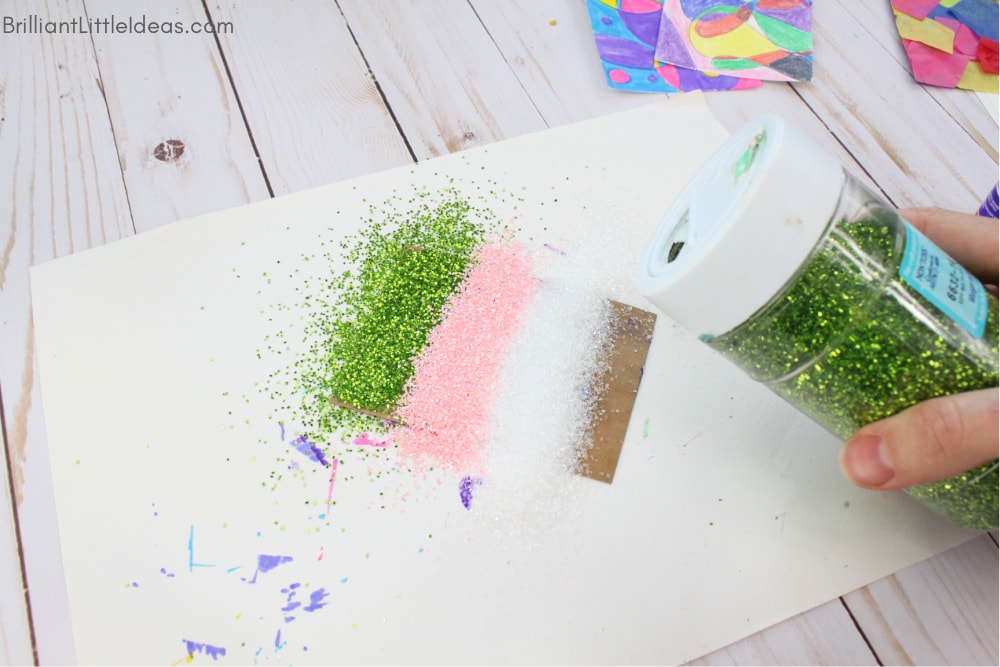
Today’s last index card idea for you is simply using glitter and glue. Do not move your art until the glue is completely set. I made that mistake.
Take your index card or recycled rectangle from an old cereal box and let your kids draw a design. I choose triangles first then stripes.
If you choose to take this great project to the next level with glitter be sure to use the glitter somewhere that it’s easy to clean up. The last time I used glitter in the living room I regretted it for months. I still get glitter on me every time I sit on the couch.
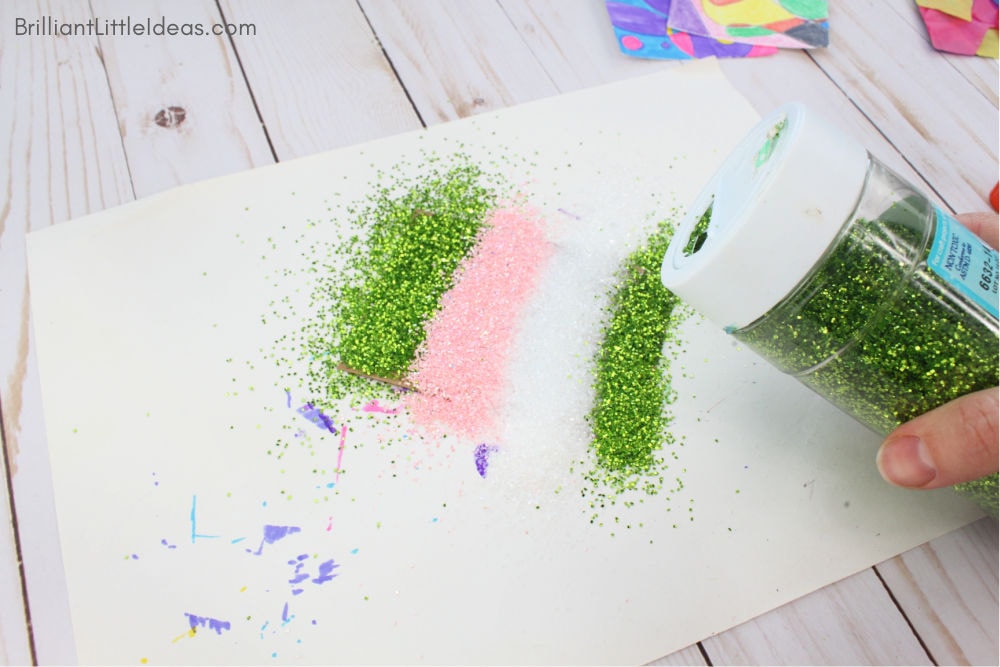
Use mini highlighters to cover the the index card first or to touch up the spots that the glitter didn’t stick to. If you want the glitter craft to be a little less messy try putting the index card with glue in a flat laid quart or gallon size plastic bag add in some glitter and make sure to blow the ziplock bag up with a little air through a straw. The glitter will blow around and land on the index card.
If that isn’t working well for you just give the bag a little shake making sure not to lift up the index card because the glue will get stuck to the bag itself and not end up with a pretty piece of art.
Sprinkle enough glitter to cover the area you want that color. See the picture below.
Once your art is complete LET IT DRY FOR 12-24 HOURS BEFORE MOVING. If you move it too much before the glue has hardened it will drip… see the pictures below to laugh at my ridiculous impatient self. I just had to take the pictures of the index cards right now… (insert forehead slap here).
How to display your index card art?
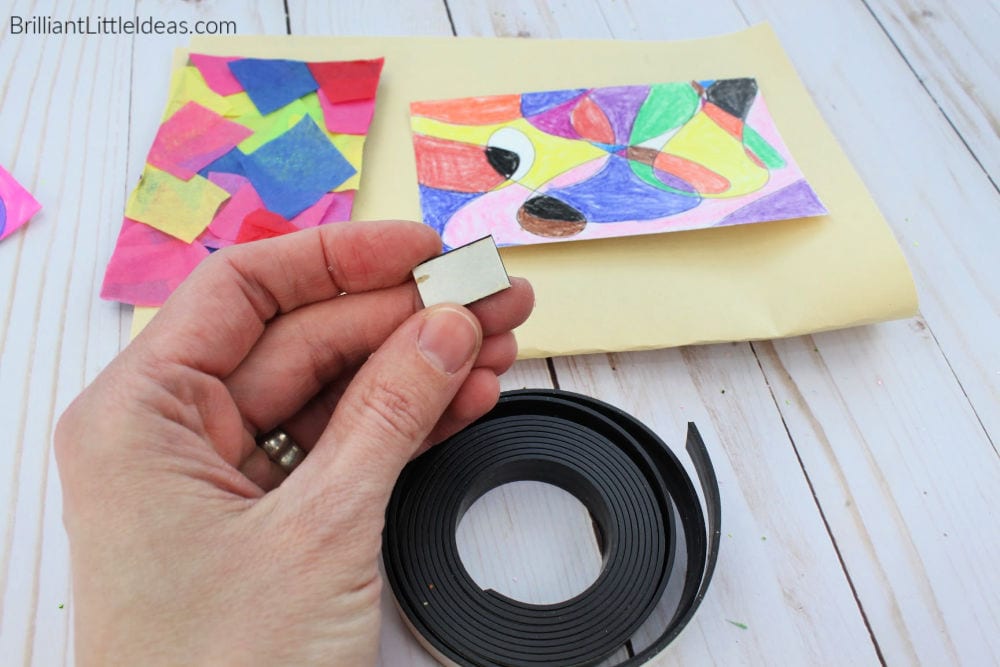
I gotcha covered. All you will need is a magnet, hot glue gun, and a paper clip. If you want some art for your fridge then add a small dab of glue to the back of your art and peel the back off of your magnet and press into the hot glue. Don’t burn your fingers. Make sure you glued the right side. I don’t want your art repelling from the fridge. Looking for another fun way to display your art? Check out this Easy Popsicle Art Easel (click here).
**I know the magnets usually have a sticky side but honestly, the magnet sticky just doesn’t last long.
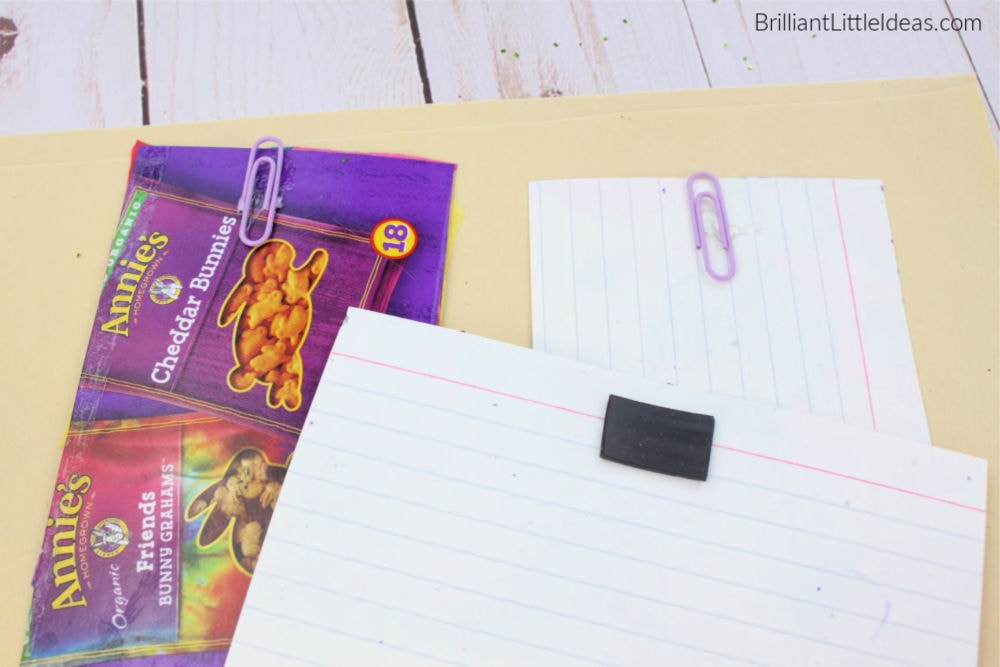
Grab a paperclip and hot glue if you’re looking to hang your index card art when you’re finished.
Put a dab of hot glue and carefully place the paperclip in the hot glue before it drives.
If you want to make the DIY Art Easel (click here).

*This post probably has affiliate links at no cost to you! That means I may make a small amount if you purchase from my links to pay for more crafts or to feed my coffee addiction. See more about that in my Disclosure Policy (here).
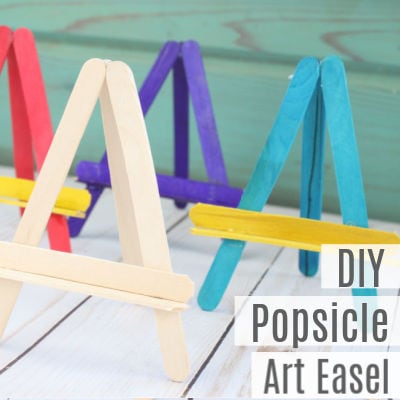
Easy Art Easel
Step-by-step pictures on how to make a popsicle stick easel.
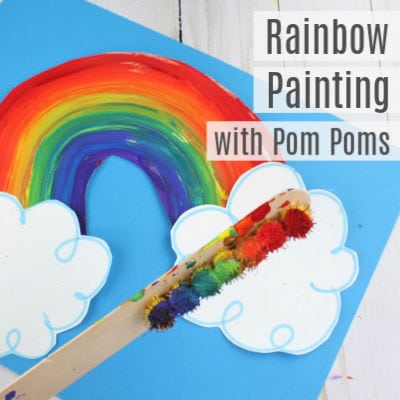
Rainbow Painting
Best way to rainbow paint that everyone can do!
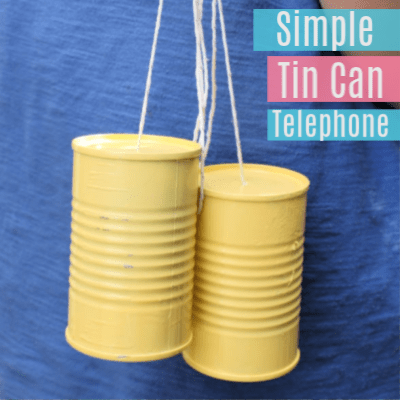
Tin Can Phone
Do you have extra tin cans? Make this tin can telephone for your kids!
We made the the easel and a index card picture with black glue and my sixth grade class, all girls, absolutely love it. Thank you. ;-D
This made my day! I’m glad they loved it!