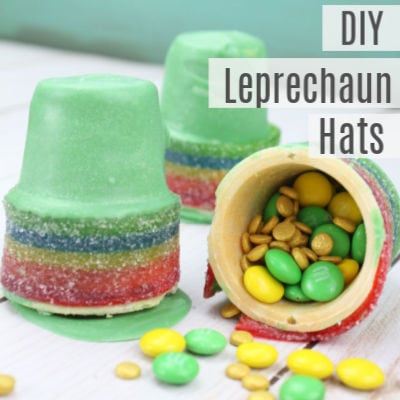
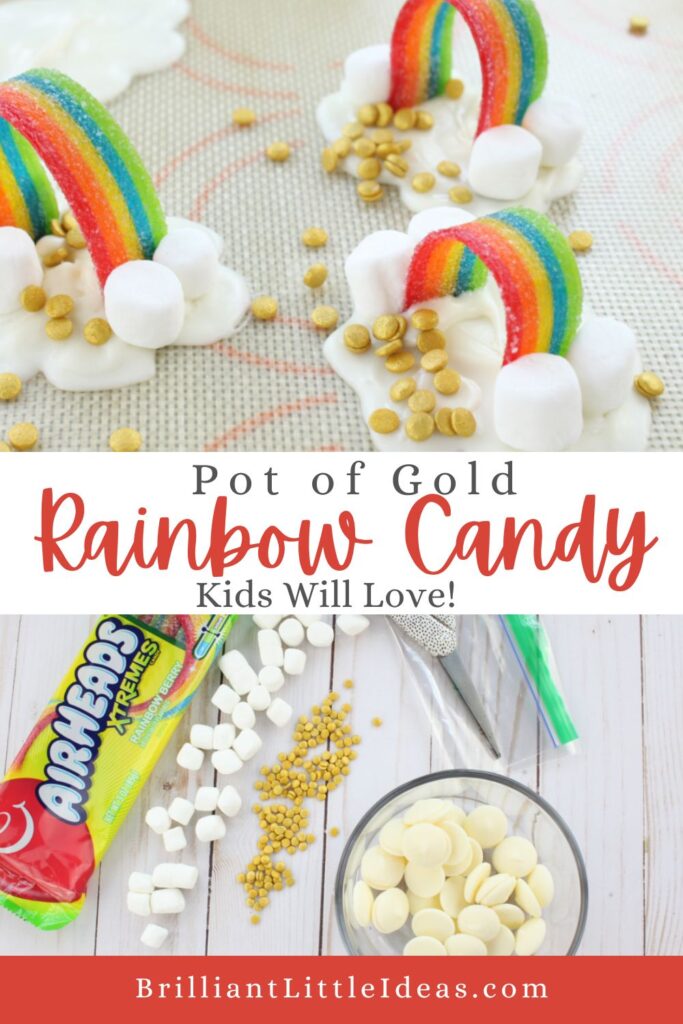
Pot of Gold Rainbow Candy St Patrick’s Day Snack
Have your kids ever wondered what’s at the end of a rainbow? Surprise them with the answer in a fun way by making a St. Patrick’s Day Snack idea for Kids. This Easy to Make Rainbow Candy with Edible Gold Coins is like finding the pot of gold at the end of the rainbow.
The sweet chocolate with the chewy rainbow belt, gold sugar coins, and fluffy clouds make this st patrick’s day treat a hit at a school party, spring event, or any celebration. These are as much fun to make as they are to eat especially with those tiny yellow candies that look like coins!
Your kids will love to help you make these simple Rainbow Candies as a festive treat on a rainy day. Plus, this is a great way to spend more time with your kids and make some memories with some of these fun food ideas! Do you have cupcakes already made? Add these cute candy rainbows to the top of each cupcake for the perfect treat. You can find the printable recipe card below.
This post contains affiliate links. If you use these links to buy something we may earn a commission (at no cost to you). Thanks for the support! See our Disclosure page.
What You Need to Make Pot of Gold Rainbow Candy St Patrick’s Day Snack
- Gold Coin Sprinkles also called Gold Sugar Coins
- Rainbow Belt Candy
- Mini Marshmallows
- White Candy Melts or
- White Chocolate Almond Bark
- Sandwich Size Ziplock Bag
- Kitchen Scissors
- Microwave Safe Bowl
- Spoon to stir
- Baking Sheet
- Slipmap or
- Parchment Paper or Wax Paper
- Air-tight Container or
- Plastic Treat Bags
- Ribbon or String to tie the top

How to Make Pot of Gold Rainbow Candy St Patrick’s Day
Grab all of your ingredients and make sure to have a candy rainbow for each sweet treat you make. These treats just wouldn’t be the same with a solid-colored candy belt.
Let’s make some edible st. patrick’s day crafts for kids! If your children are old enough, let them help you with this. They would love to create their own rainbow candy and make some memories while along with something delicious.
The first step is to get your cookie sheet or jelly roll pan ready. I also used a slipmat but you can use wax or parchment-lined cookie sheet. You want to be able to easily remove the hardened chocolate from the cookie sheet without breaking it.
Next, melt your white chocolate candy melts, or white almond bark. If you choose to use almond bark be sure to chop up the almond bark so it’s easier to melt. Using a microwave-safe bowl, heat the chocolate in 10-15 seconds increments stirring between to make sure the chocolate is melting properly and you don’t burn it.

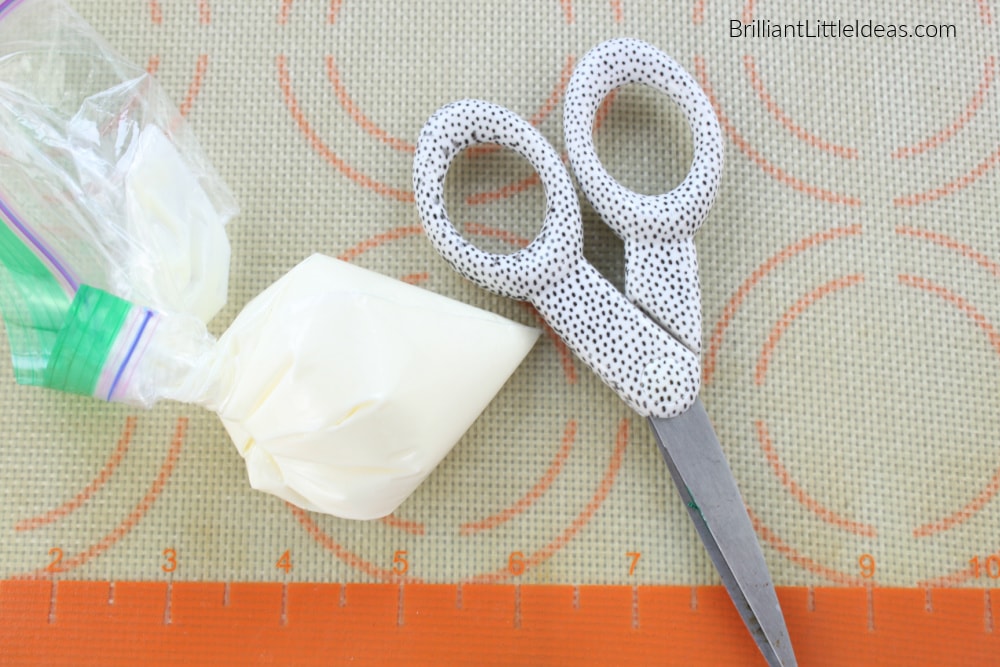
Spoon your melted chocolate into a piping bag.
If you don’t have a piping bag, no problem, I use a ziplock bag. Once the chocolate is in the bag squeeze out the air and then zip the top. You will need to cut a small edge off the ziplock bag so that the chocolate will be able to come out and is controllable. So not too small or too large.
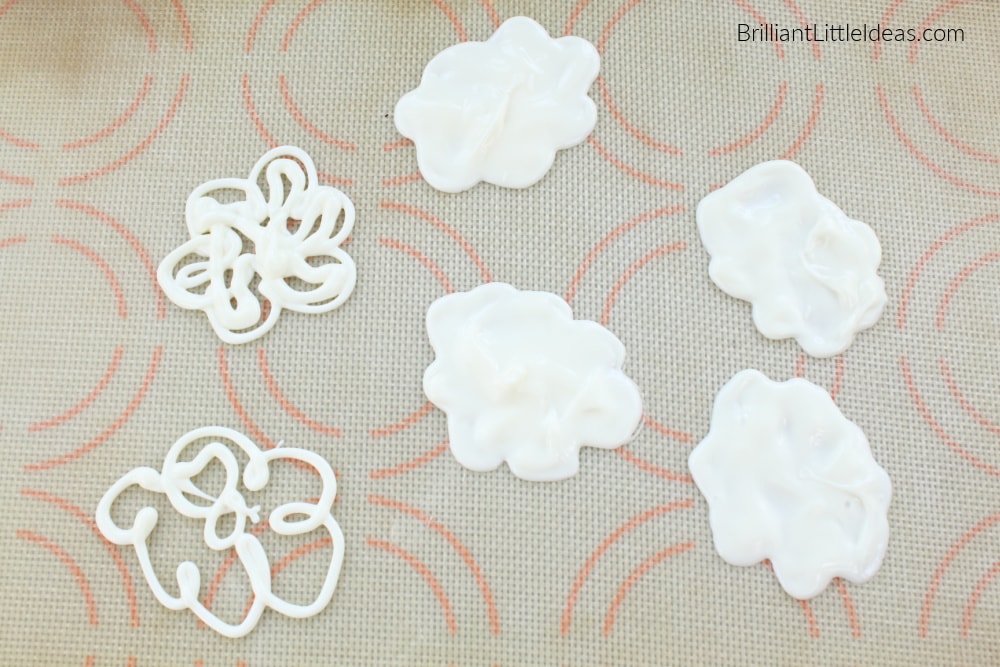
Remember that pan we sat aside earlier? Grab that cookie sheet with the slipmat (or parchment paper).
Starting on the far side with the piping bag, lightly squeeze to allow the chocolate to smoothly come out while outlining cloud shapes. Be sure to leave gaps in between each cloud.
Don’t worry if your clouds look ugly, chocolate is forging and you can always smooth it out by rounding the edges. My last cloud is usually the best.
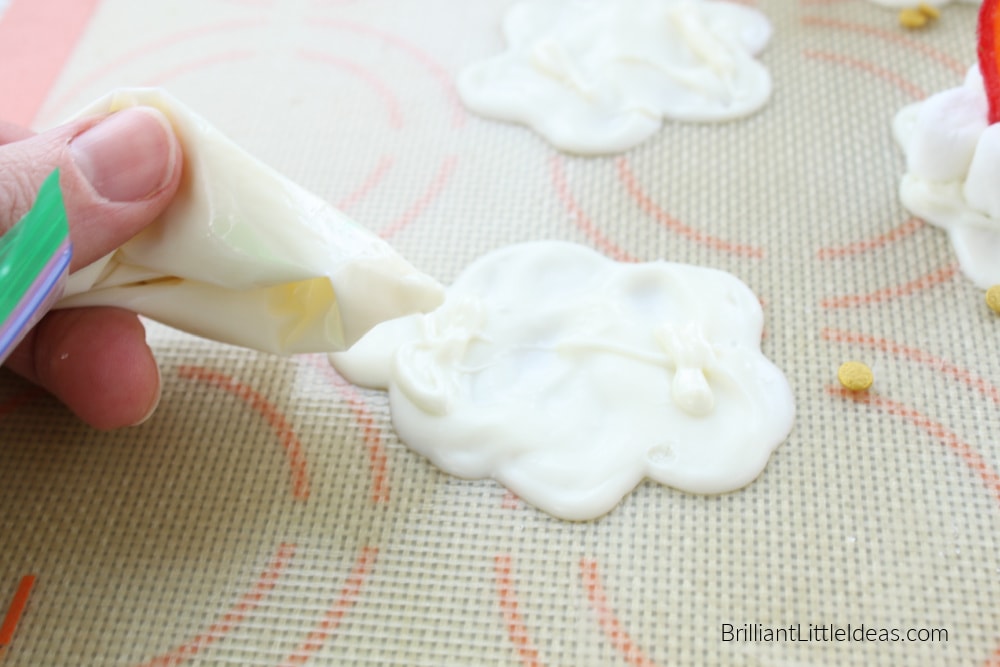
When your clouds outlines are finished it’s time to start filling them in. Starting at the corner fill the cloud in with chocolate. If you need to stop and heat up more chocolate go ahead and heat up the candy bark the same way as before but this time use a new ziplock bag.
Try to not make peaks and streaks in the chocolate as you work. If it’s a warm day the chocolate won’t set as quickly so it should be easy to move on to the next step, the rainbow candy belt. I bought the airheads extreme candy.
However, if it’s a cool day and your chocolate is setting up quickly then you may need to add a touch of chocolate to make your candy belts set up correctly. See the image below.
The mix of sweet with the sour belt candies is so yummy, but you do need to hide these after making them or they will all be gone in no time. I like to leave a few out and store the rest in an airtight container or in a snack size ziplock bag so you will have individual servings ready to go.
Depending on the size of your candy belts you will need to at least cut them in half. Make sure to measure the sour candy belts and cut them accordingly with some kitchen scissors. The rainbows need to stand by themselves so test the size before you put the rainbow into the chocolate cloud.
If the chocolate is still wet go ahead and put the cut rainbow into the base of the candy cloud. If the white chocolate is already dry then just add a small dab of melted chocolate and set the candy belt into the chocolate.
Add mini marshmallows set into the chocolate for a little 3D fluffy cloud look. Don’t forget that a small amount of melted chocolate may be needed if the chocolate is dry or hardened. Mini Marshmallows will also help to hold up the candy belts and make these rainbow desserts irresistible! Look at those beautiful rainbows, fluffy white clouds, and yummy chocolate.

This easy st. patrick’s day pot of gold candy is perfect for the green holiday or even to explain the story of what’s at the end of the rainbow. It may not be a big ole pot o’ gold but these lucky charms are going to be a big hit!
You can make mini pots of gold by adding Reece’s peanut butter cups or maybe even Rolo candy. Spend a little time making these treats for a st. patrick’s day party and the options are endless.

Place a cute edible rainbow on top of cups of chocolate pudding cup, chocolate cupcakes (to look like an actual pot of gold). Using something with a dark base like the pudding of cupcakes will look like mini cauldrons. You can also wrap each one in little treat bags tied with a cute string and set it on top of a plastic cauldron or chocolate pot of gold. You can grab those at the dollar tree around saint patrick’s day.
Sugar cookie dough can also be used as a base for these cutest st. patrick’s day snacks. The end result that your looking for is as many ways to use these rainbow candies as you can.

Easy St. Patrick’s Day Cupcakes
Pot of Gold Rainbow Candy can be added to any st. patrick’s day desserts would be really cute on top of some pot of gold cupcakes or call them rainbow cupcakes. Use a black cupcake holder to set your cupcake in and top it with white frosting or white buttercream frosting.
Make it really easy on yourself and use a cake mix and a can of frosting. Set the candy rainbow on top and add a few more gold sprinkles. Not only is this the easiest st. patrick’s day recipes I have ever made but you will also be the hit of the party! You can find the full ingredient list above. The end results you should have a delightful easy bake dessert that will make your kids happy.

Have you ever made St. Patrick’s day treats for your kids before?